
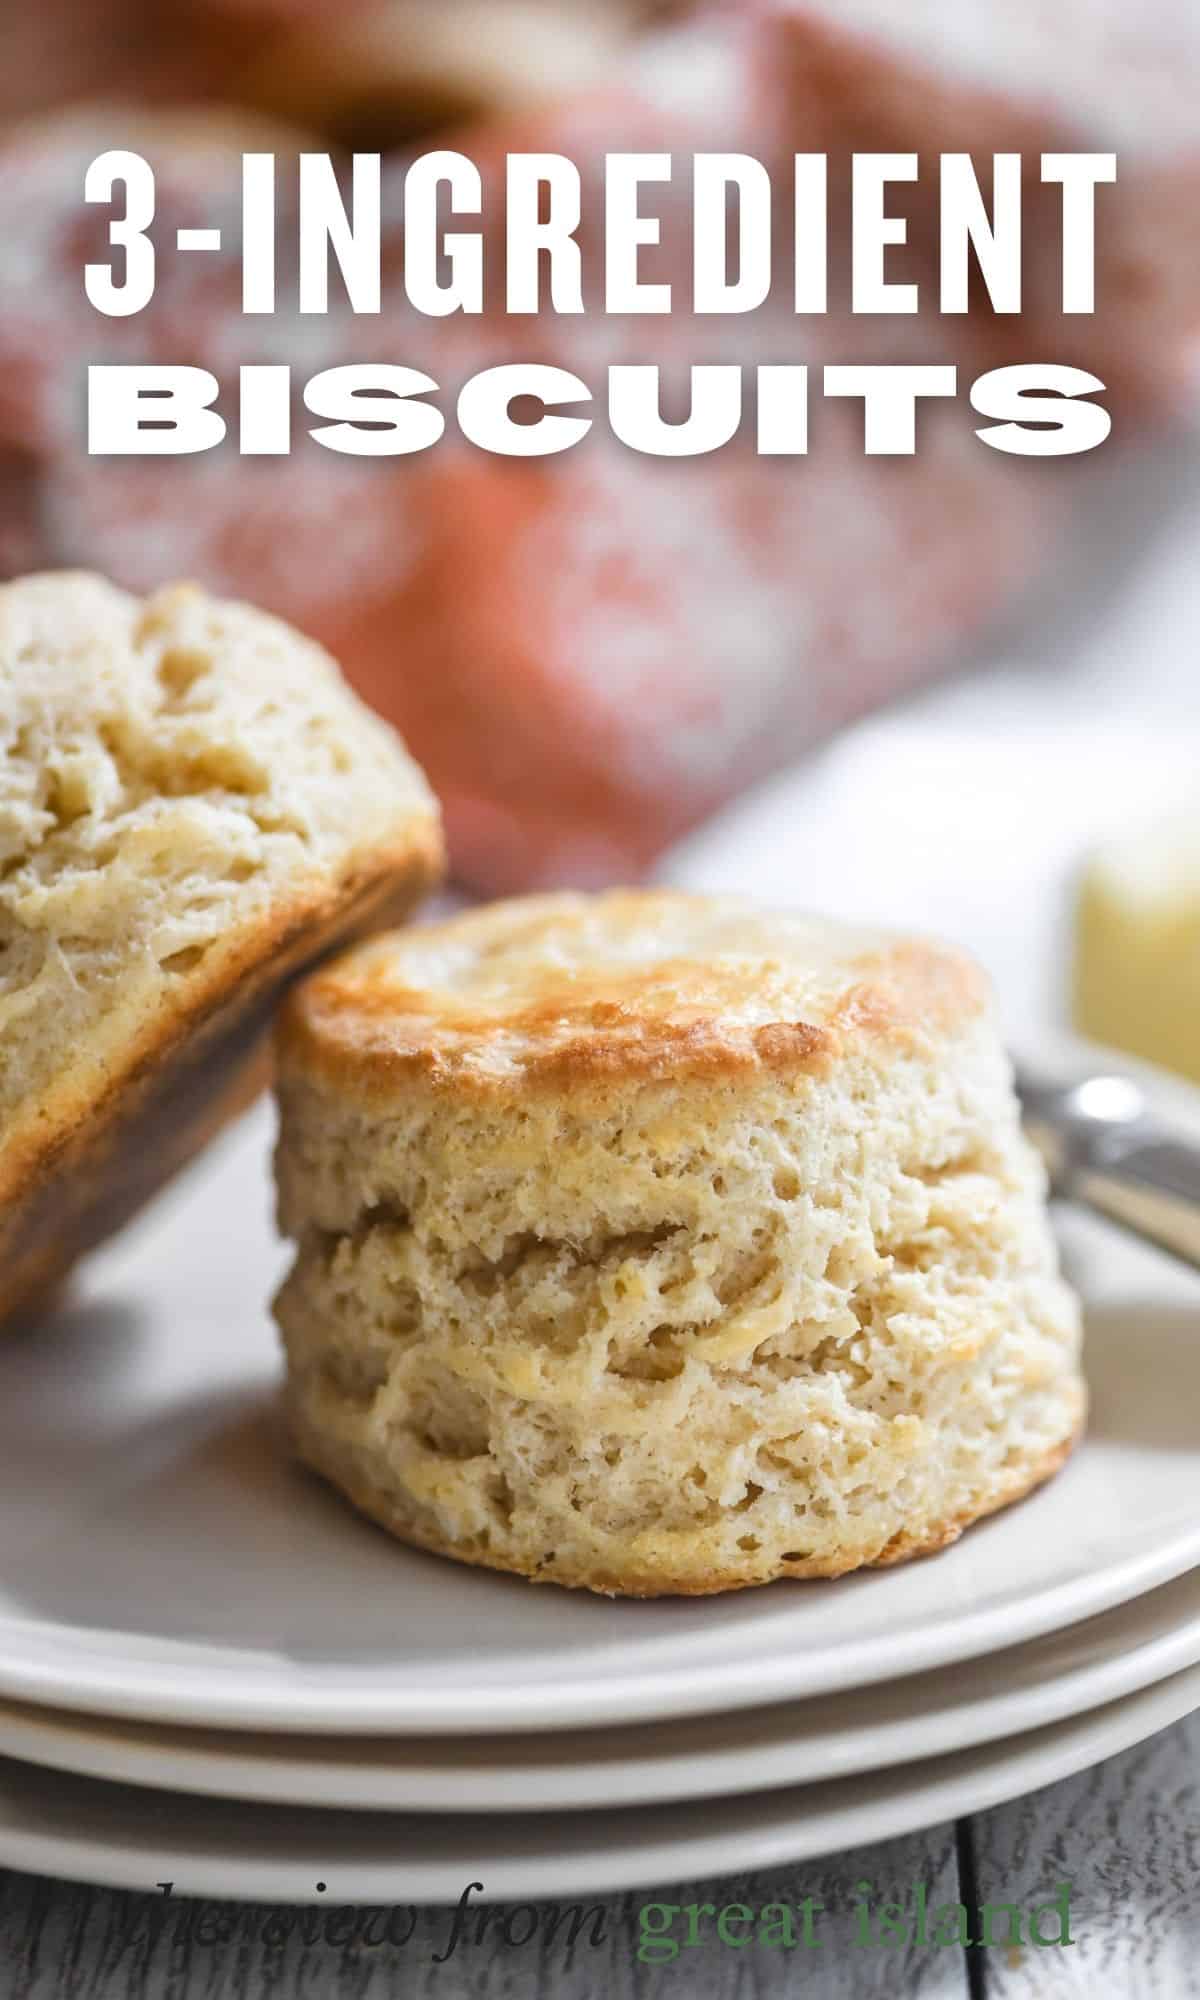
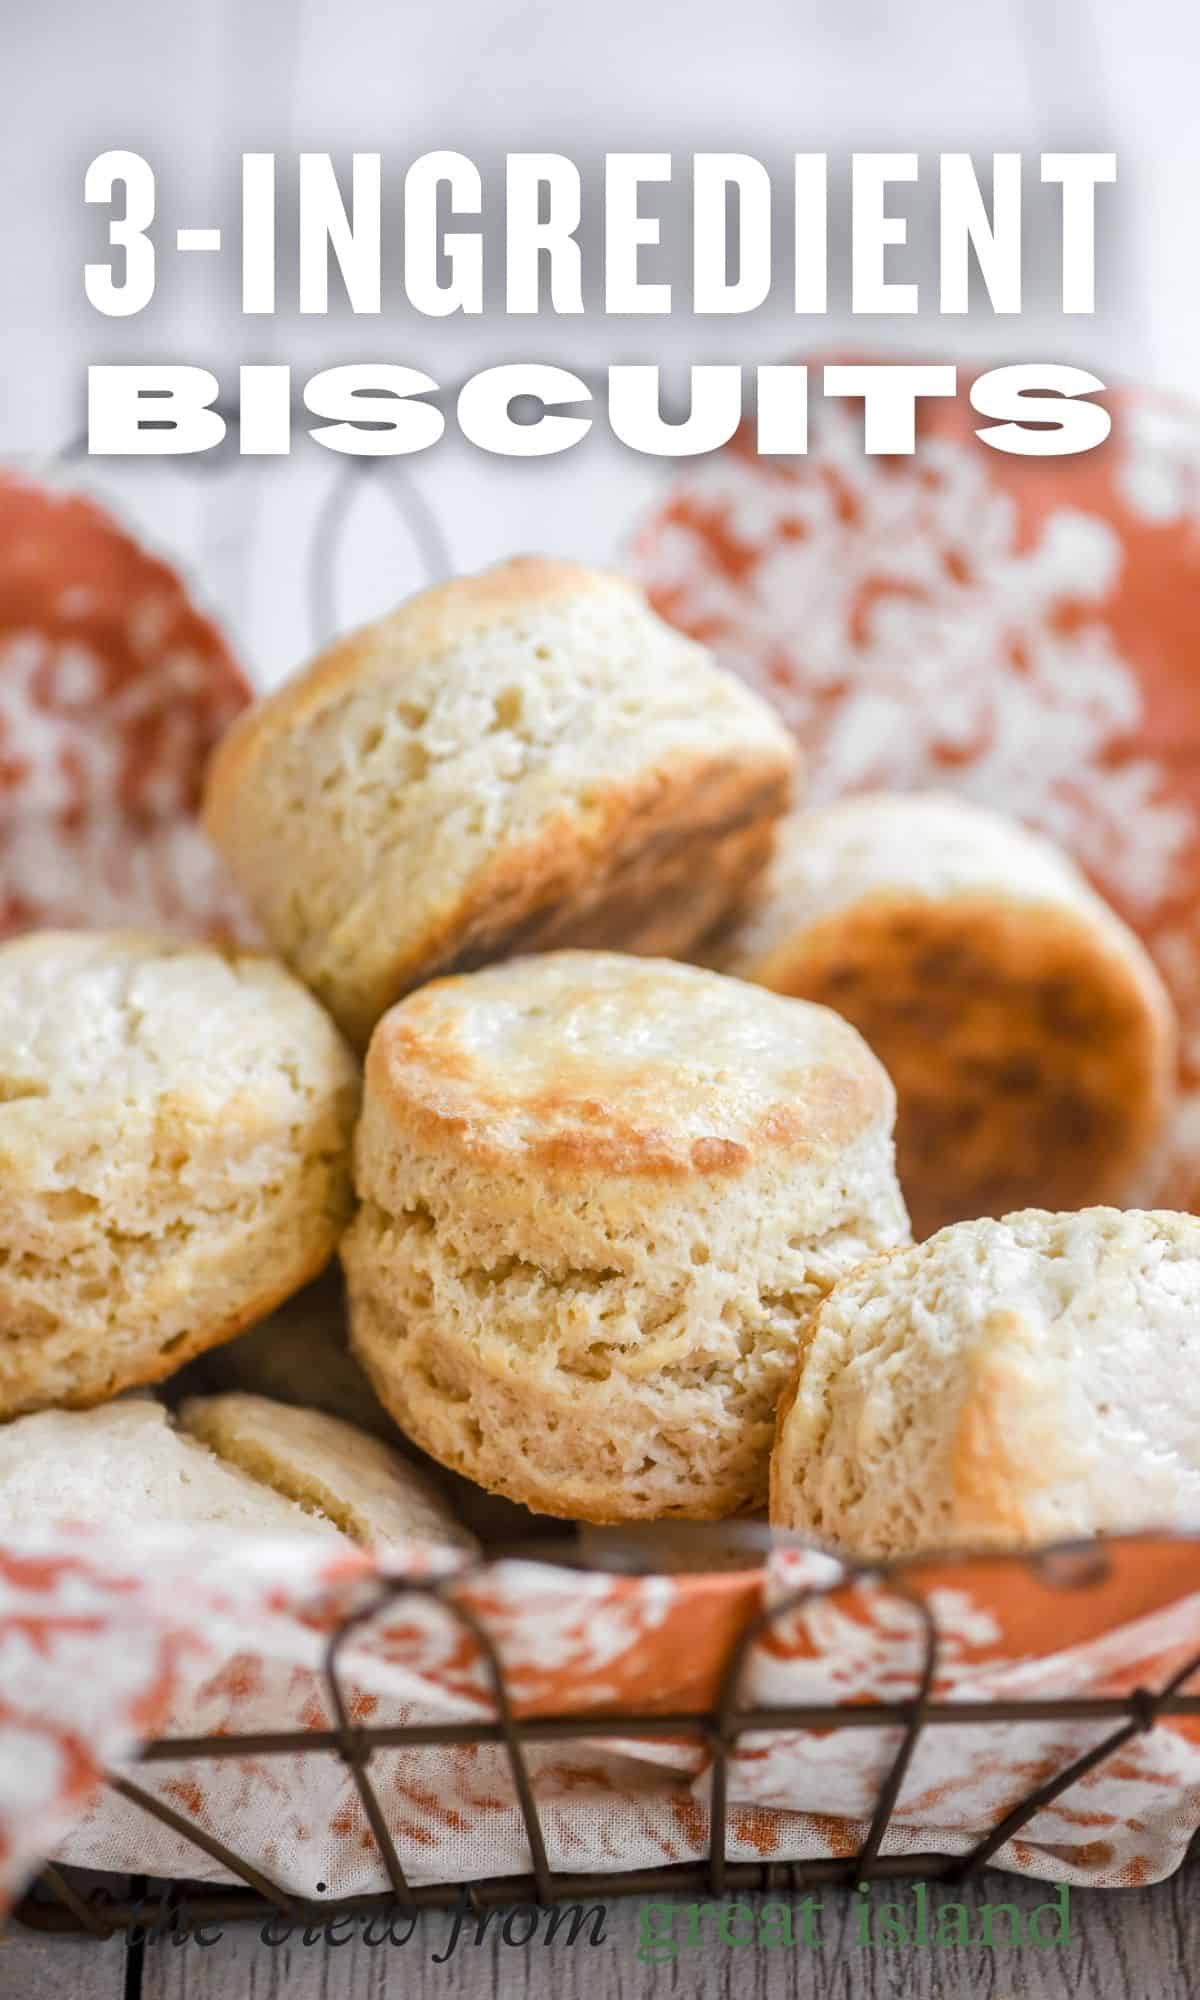
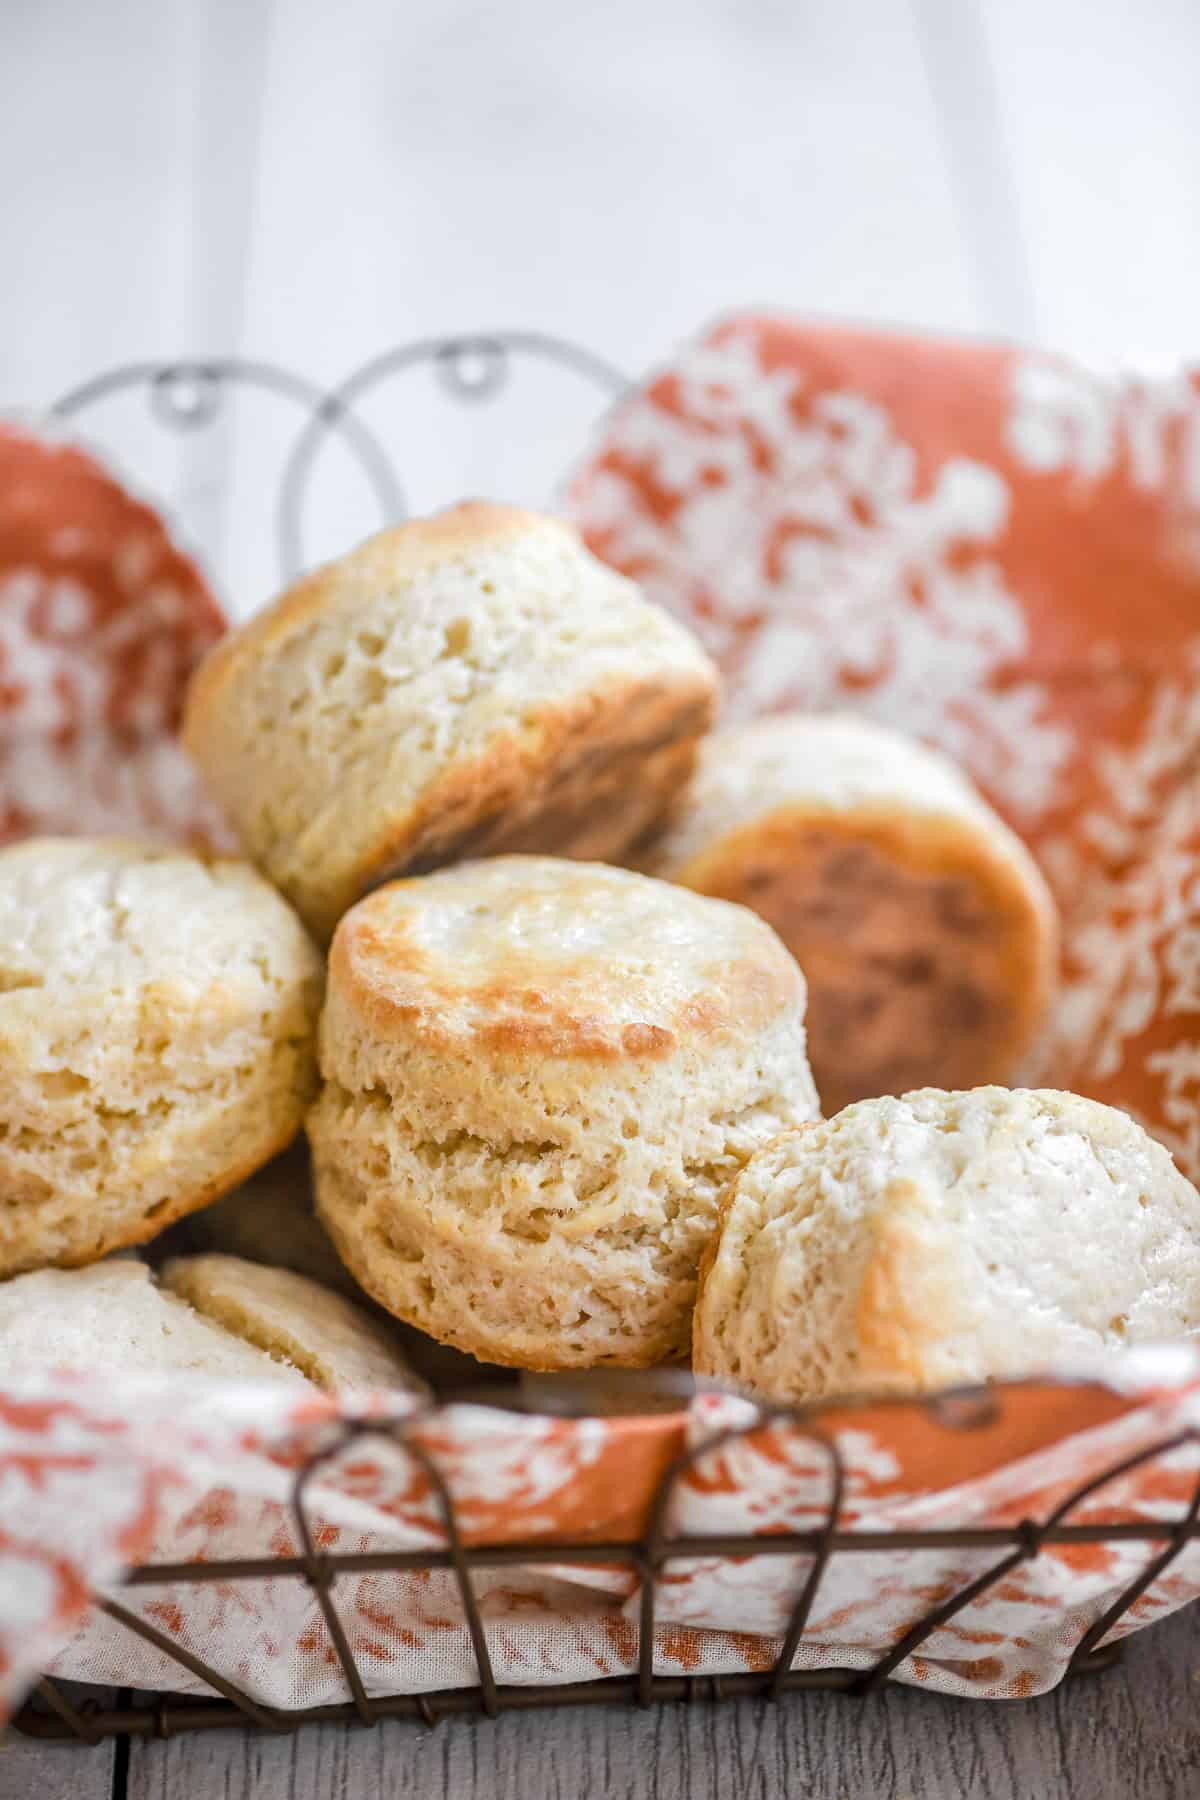
Learn my foolproof method for making simple, high rise biscuits with just 3 ingredients. Warm, fluffy, and perfect for any meal!
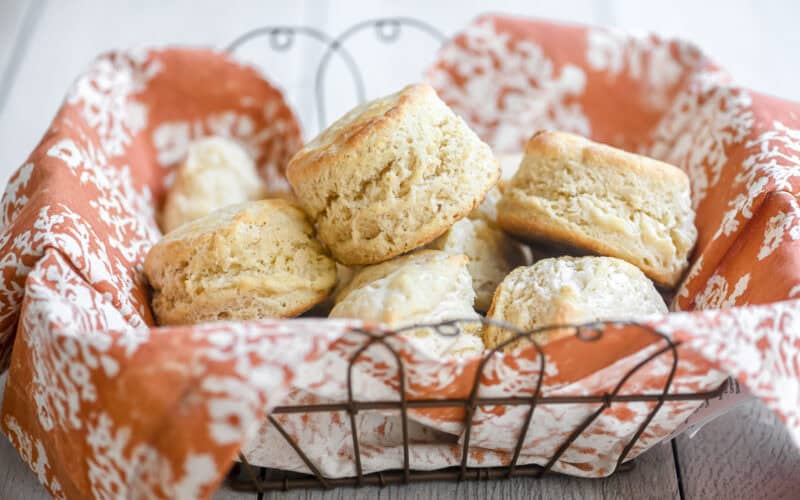
heavenly homemade biscuits don’t have to be difficult
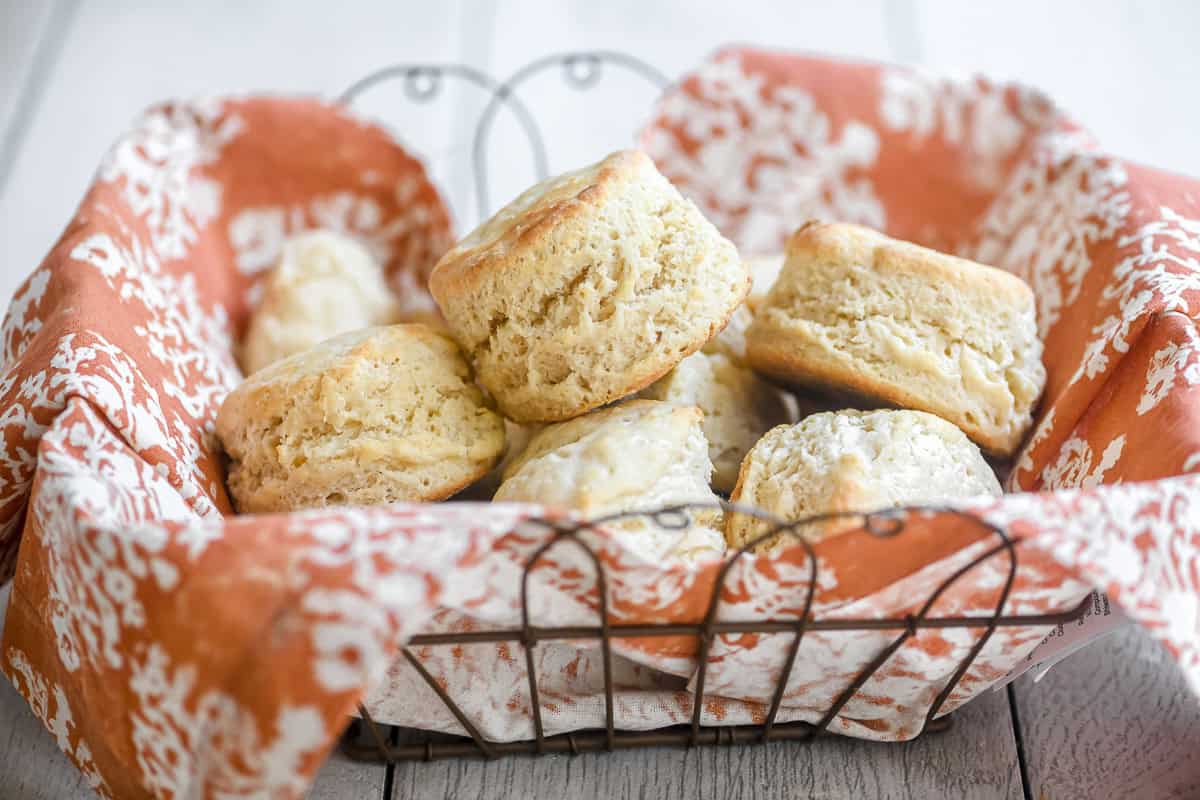
My easy method for making simple, high rise, 3 ingredient biscuits is the best I’ve found. Even better, it takes just minutes of your time. Now there’s no excuse not to serve warm fluffy biscuits with dinner or alongside that cozy bowl of soup, stew, or chili! The secret is in those 3 little ingredients, below!
what you’ll need for 3 ingredient biscuits
Yes, it’s just 3 ingredients, but each one is a workhorse!
- Self rising flour
- I used White Lily Self Rising Flour, it has a devoted following, particularly among Southern bakers because it makes exceptionally tender and fluffy baked goods. Milled from 100% soft red winter wheat, it has a lower protein content compared to standard all-purpose flours, resulting in less gluten formation and a finer texture. This makes it ideal for creating light-textured, flaky biscuits and pastries. If your store doesn’t carry it you can order from Amazon to check it out. Otherwise use any brand of self rising flour you like. I’ve made these biscuits with store brand self rising flour and they turn out great.
- Cold butter
- make sure it’s cold, even frozen butter works! I prefer to use salted butter but sweet will also work. And by the way good quality butter makes better biscuits
- Buttermilk
- I buy cultured buttermilk right in the milk section of the supermarket. It’s thick, low fat, tangy and delicious, sort of like drinkable yogurt.
how to make self rising flour at home
- To 1 cup (120 g) flour: add 1½ tsp (6 g) baking powder + ¼ tsp (1.5 g) fine salt. Whisk well.
Tips: For that Southern, high-rise softness mix 3 parts AP : 1 part cake flour before adding the leavener and salt.
If you make your flour ahead, be sure to whisk it again before using to make sure everything’s evenly distributed.

biscuit science 101: how to get the fluffiest biscuits
The aim here is to get cold butter cut into the flour quickly, finely, and efficiently. It’s the bits of cold butter hitting the heat of a super hot oven that causes the dough to spring up and rise tall. That rising makes the texture light and fluffy. There are lots of opinions about the best method for mixing the butter into flour, here are my top choices:
3 ingredient biscuit method #1: the food processor method
- Put the flour and pieces of cold butter in the bowl of a food processor, close the lid, and pulse 20-25 times.
- Remove to a bowl to stir in the liquid.

3 ingredient biscuit method #2: the hand grater method
- Start with frozen butter. Hold the butter using the paper wrapper (to prevent the warmth of your hands from melting it) and grate the butter using the large holes on a box grater.
- Add the grated butter to the flour in a bowl and add the liquid to form into a dough.

which method is best?
Both methods work well, but I prefer the food processor partly for convenience but mostly because I thought the result was a fluffier texture and a smoother top to my 3 ingredient biscuits. I think the processor does the best job of getting the butter cut in very finely, without melting it, allowing the biscuits to rise higher, too. The box grating results in a coarser texture, it almost reminded me of a light corn muffins texture, and those biscuits had a craggier top. Still good, just not my fave.
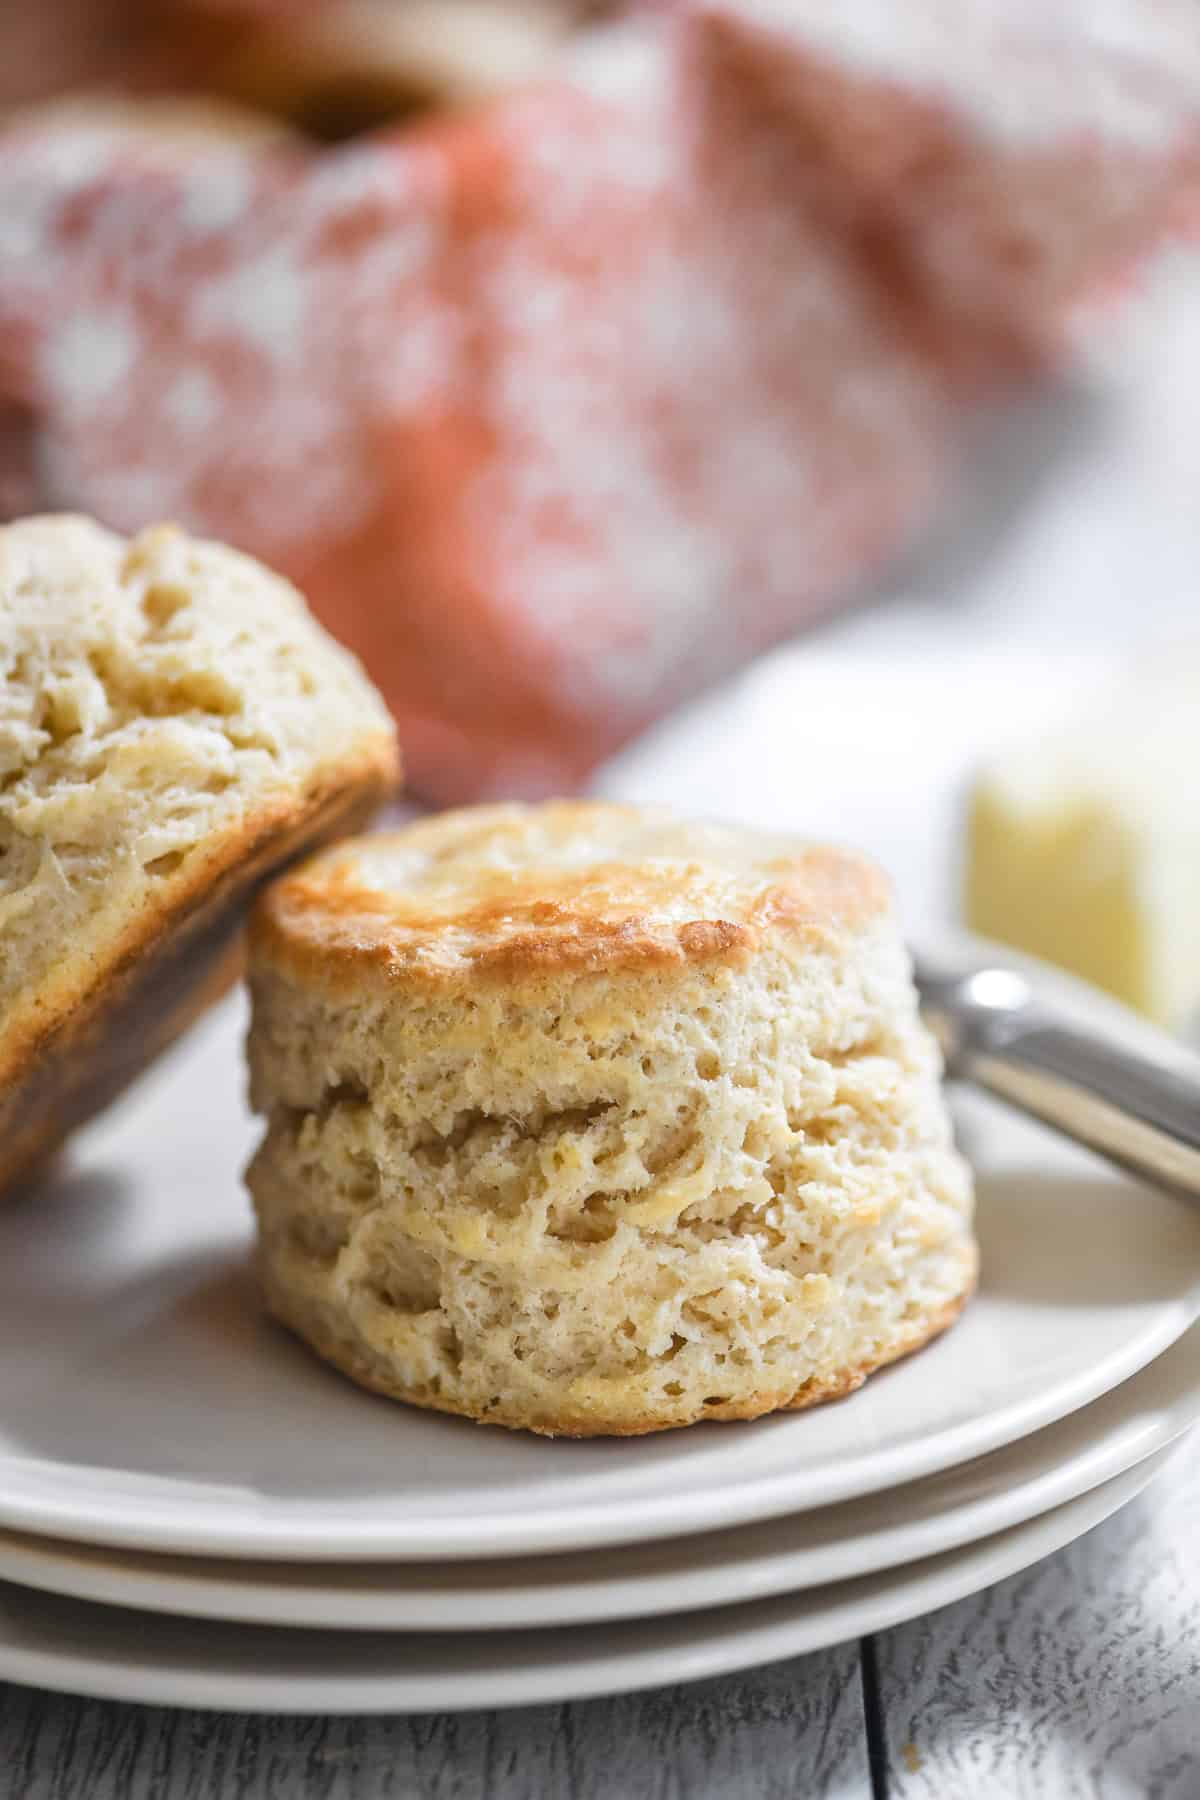
make sure your biscuits rise high!
Your job isn’t done once you’ve mixed up the dough, you still have a few things to keep in mind.
- Don’t work your dough too much, just get it together and pat it out nice and thick, Roll/cut thicker than most recipes say. Aim for 1¼–1½ inches before cutting.
- Use a sharp edged metal biscuit cutter, not a drinking glass. The thin metal will cut through the biscuit dough without compacting it and sealing the edges.
- Don’t twist as you cut, just cut straight down. Many of us have a tendency to give the biscuit cutter a twist, but again, this can seal the edges of the biscuit so it doesn’t rise well.
- Chill: 10–15 min after cutting (sheet pan in fridge/freezer)
- Make SURE your oven is HOT!! It should be at least 425 – 450F before you slide your biscuits in. The oven needs to be hot before putting biscuits in because the high heat quickly melts the cold butter in the dough, creating steam that helps the biscuits rise and develop a flaky texture.

2 best prep-ahead secrets for 3 ingredient biscuits
- REFRIGERATE THE BISCUIT MIX: After you’ve cut the butter into your flour you can load it into a storage container, or zip lock baggie, and keep it in the fridge for up to a week. When you’re craving biscuits, whip it out, add buttermilk, cut, and bake.
- FREEZE UNBAKED BISCUITS: Put the unbaked biscuits on a lined baking sheet and pop in the freezer until the biscuits are frozen solid. Then transfer to a freezer storage container or zip lock freezer bag and keep for up to 3 months. Cook them without thawing, they will take a little longer and you might need to lower your oven temperature to 425F.

3 Ingredient Biscuits
Equipment
- 2 1/2 inch biscuit cutter
- food processor optional
Ingredients
- 2 cups self rising flour, I use White Lily
- 1/4 cup cold butter, (plus more for brushing, optional)
- 1 cup cultured buttermilk, cold (plus more for brushing, optional)
Instructions
- Preheat your oven to 450F (Give it enough time to get there, you want it hot)
- Put the flour and cold butter in a food processor. You can also do this by hand. Pulse the machine 20-25 times until the butter is incorporated and the mixture is crumbly.
- Add the buttermilk to the processor and process just until the dough comes together ~ this should only take 15 seconds of processing or so. f working by hand stir in the buttermilk just until everything is moistened.
- Turn the dough out onto a lightly floured surface and bring it together gently with your hands, but don't over work the dough. Pat or roll it out to about 1 1/2 inch inch thick. Cut out 8 biscuits with a 2 1/2" biscuit cutter, reforming the dough as necessary.
- Place on a baking sheet, in cast iron skillet, or a biscuit baker, and brush lightly with buttermilk, if desired. Bake for 10 minutes or until golden and risen.
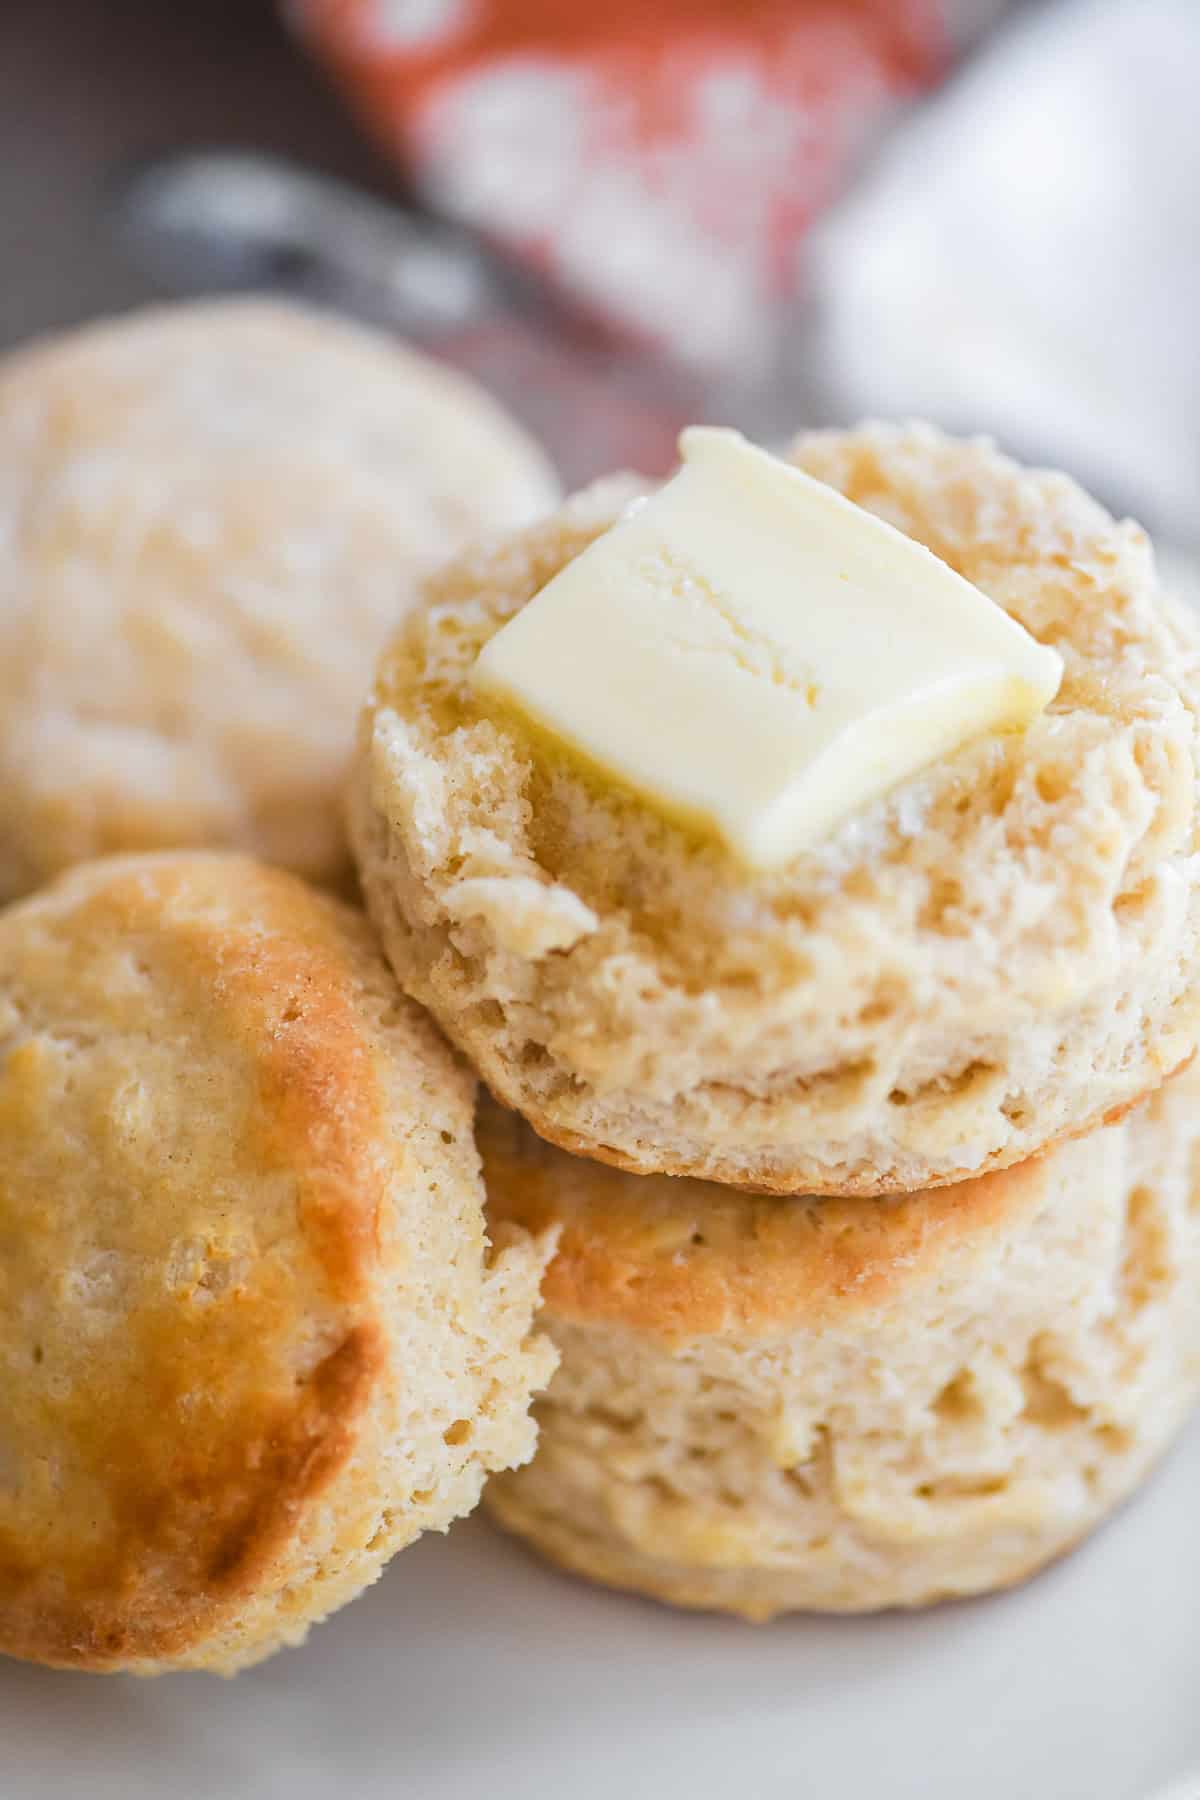
- If you like, brush the hot biscuits immediately with melted butter, and enjoy.
Notes
- Use cold butter and cold buttermilk.
- Make sure to preheat your oven and give it sufficient time to get up to temperature.
- Don’t over work your dough.
- Cut your biscuits with a sharp edged cutter and don’t twist as you cut. Cut straight up and down.


Can I make these with soy milk (with added vinegar) and margarine? My son is allergic to dairy. They sound great.
I would think so Sandy.
OK sounds good thanks.
This is my first time making biscuits from scratch (it always seemed too intimidating). I don’t have a food processor, so I shredded the frozen butter. My biscuits didn’t really rise. They’re still delicious, but more dense , similar to Popeyes style. Did I get this reaction because my butter got to warm or is there something else I should be looking out for on my next try?
A couple of things come to mind…make sure your oven is hot and at the correct temp, if you don’t have a thermometer it might be off, and if it’s too low, the biscuits won’t rise as well. Also make sure in this case you used self rising flour, or, if not, you need to add fresh baking powder and salt to the recipe. And yes, if your butter got warm, it’s a good idea to refrigerate the unbaked biscuits to chill them up before baking.
All other biscuit recipes use one stick of butter for 10 biscuits, while yours only uses half a stick for 8. Why is there less butter? How does this biscuit recipe compare to others?
Is it salted or unsalted cold butter?
I always bake with unsalted butter.
I absolutely LOVE this recipe! I am curious, do you think low fat vs whole buttermilk changes the texture or flavor in any way?
All the buttermilk I buy is low fat cultured. I think either will work.
These were divine! Thank you for your clear, easy-to-follow instructions. I’ve made your amazing Raspberry Lemon Cake twice now, so when I was searching for a biscuit recipe and came across yours, I knew I could count on your site for an incredible recipe!
How do I keep mine from falling apart when you eat them? Mix seemed dry and lots of flour falling out when I pressed them down. Do I need to add more milk to make them a little moister? They taste great but unable to eat without them crumbling.
Yes, if your dough was dry and crumbly it needed more milk or buttermilk. This can happen because measuring flour can be very imprecise. Your dough should be moist but not wet.
These are delicious and so easy!! My husband loved them! How would you store them once baked? Thank you!!
I store them at room temperature, loosely under foil. They freeze well, too.
They freeze really well. I’d like to comment about cutting the biscuits…do not twist I think that makes for high rise too. Right Sue? Love that you add comments which I always read along with other readers questions and comments, very helpful, especially since I’m not a baker. Happy thanksgiving to all
Yes, right, no twisting the biscuit cutter, thanks Donna Marie 🙂
Thank you for your thorough recipe with great tips! Just wanted to know if you think using regular milk is a possibility or if the buttermilk is essential? Thanks!
It’s not essential, but you can make your own quasi buttermilk mixing a cup of milk with a teaspoon of vinegar or lemon juice and letting it sit for 15 minutes. Otherwise, just use whole milk.
Oh you’re fantastic, thank you!!
Can I use all purpose flour instead of self-rising flour?
Yes, for every cup of flour, you’ll need to add:
1 1/2 teaspoons baking powder
1/4 teaspoon salt