

Making homemade pita bread is so easy to make right on your stove top. You’ll never have to buy flatbread again!

WANT TO SAVE THIS RECIPE?
homemade pita bread is an easy skill to master
Depending on where you live, it’s possible you’ve never tasted really good pita bread before. The stuff in the plastic bags at the supermarket is like cardboard compared to the soft, pillowy texture of homemade. The bread served in Middle Eastern restaurants isn’t always much better. In Los Angeles we found wonderful pita at our farmers market, and at one or two favorite restaurants. Here in Wisconsin, we’ve had to rely more on our diy skills.
pita bread is one of the perks of an incredibly healthy Mediterranean diet!
Pita bread is your reward for eating all those healthy fats and fresh veggies. We eat vast quantities of hummus in our house, so this recipe is tried and true. It’s a basic, no skills required bread, but even though it’s a simple process, you’ll still get that primal thrill when you turn flour and water into pillowy rounds of soft, warm bread. Rip it, cut it, fold it, wrap it, or stuff it — it’s a wonderfully versatile, nourishing food.
why make pita bread from scratch?
The first and obvious reason is because it’s simply better. Better than anything you’ll buy in your local store. When you make it homemade it’s soft, puffed, and chewy: nothing like the dry stuff in bags.
And if you appreciate good Mediterranean food, pita bread is a staple. If you take pride in your own homemade hummus it’s only natural that you’re going to want really good pita bread to go with it.
I’m going to be using the word soft a lot, I can tell, but that’s what I love about it. We will definitely experiment with whole grains eventually, but for this first recipe I’m sticking with all purpose flour, I think it makes a more appealing pita.

ingredient list for pita bread
You can definitely experiment with whole grains, but for this recipe I’m sticking with all purpose flour, I think it makes a very appealing classic pita.
- flour ~ we’re using all purpose here.
- yeast ~ I like to use Instant Yeast, and make sure your packets aren’t expired.
- salt
- olive oil
- water

how to make homemade pita bread, step by step
- Dump your ingredients into a stand mixer fitted with the paddle attachment. (You can do this by hand if you prefer, but it takes elbow grease.)
- Mix on low to combine, then turn the speed to medium and let the machine knead the dough for 5 minutes. You will probably have to stop and re-arrange the dough from time to time as it tends to climb up the paddle.
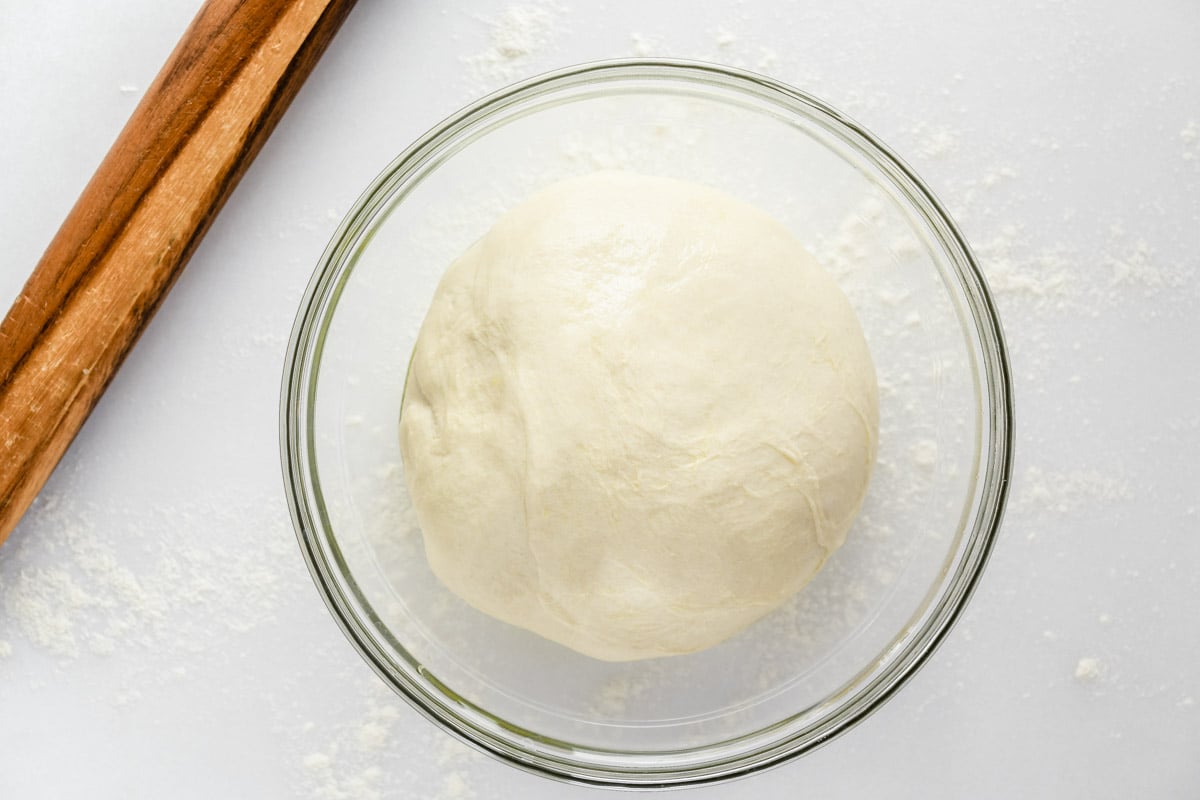
- Lightly coat the dough with oil, put in a large bowl, cover with plastic wrap, and let rise for an hour to an hour and a half in a warm place. It should double in bulk.
- Punch down the dough and cut it into 8 equal parts. Form into smooth balls and cover completely with plastic wrap so it won’t dry out.
- Roll out each ball on a lightly floured surface. Use the same principle you would for pie dough; you want to roll from the center out, constantly shifting your rolling pin around the circle to keep it even. Don’t fret if you can’t get perfect circles, it doesn’t matter in the least.
- Cook the pitas on a hot griddle or skillet. I like to use cast iron. 30 seconds on the first side, one minute on the second, then flip once more for another 30 seconds or so. Sometimes they will puff up dramatically, but most often, not.
- The minute they come off the heat stack them and cover with a clean kitchen towel. The steam softens the bread and gives it the perfect texture. When they’re cool, store them in zip lock bags.

what’s with the puffing?
The dough cooks right on the stove top (just like my homemade English muffins!) on a hot griddle or pan, in just a couple of minutes. Get the pan hot, at medium high heat, and leave it there. I’ve cooked these on both gas and electric stoves and you’ll have to find the sweet spot for your particular stove. My gas burner goes from 1 to 7, and I kept it at mark 5. You’ll need to experiment a little to get the temperature right on your stove.
The dramatic puffing that you see above is a little unreliable…sometimes it puffs, sometimes it doesn’t, and it’s a little hard to predict. but the bread is great either way. The puffing is what makes the inner pocket, so that you can cut it and open it up, but I don’t generally use my pita that way, and I prefer the thicker, ‘pocketless’ version.

turn your homemade pita bread into pita chips
Homemade pita bread is one of those super satisfying projects. If you like hummus or other Middle Eastern dips you need to try this recipe. My husband likes to cut the bread in small triangles and toast them with a brushing of olive oil and a dash of seasoning, but mostly I like to use them as is, to enjoy their wonderful fresh baked quality.
For a slightly different spin on a Middle Eastern flat bread, try my Laffa Bread recipe!

what to eat with your homemade pita
- Lemon Artichoke Hummus
- Instant Pot Hummus
- Muhammara (roasted red pepper & walnut dip)
- Spiced Lamb Meatballs with Hummus
- Jalapeño Goat Cheese
- Smokey Baba Ganoush
- Warm Hummus with Mushrooms
- Kofte Bowl with Warm Spiced Yogurt
“I made this last night and it was the most satisfying, easy project! Your instructions were great and the pita turned out beautiful and delicious. I’m going to try your laffa bread recipe today. Thank you!”
LINDSEY

How to Make Pita Bread
Ingredients
- 1 cup warm water at about 100F, or warm but not hot to the touch
- 2 tsp (or 1 packet) active dry yeast
- 1 Tbsp olive oil plus more for coating the dough and oiling the pan
- 2 tsp salt
- 3 cups all purpose flour
Instructions
- Put the warm water in the bowl of a stand mixer (or a regular bowl if doing by hand) and sprinkle in the yeast. Let it sit for 5 minutes.
- Blend in the oil and salt, and then mix in the flour. Once the flour is incorporated, knead for 5 minutes until the dough is soft and elastic.

- Coat the dough lightly with oil and place in a clean bowl. Cover with plastic and then a clean kitchen towel. Let rise in a warm spot for an hour, it will double in bulk.

- Turn the dough out onto a floured surface. Cut it in half, and then cut each half in half, and then cut each one in half a final time, so you have 8 total.

- I like to take each piece and form a round ball, that way it is easier to roll out evenly. Keep the rest of the dough covered as you work with each piece.

- Roll out one of the pieces of the dough into approximately a 6 inch round.

- Heat a skillet or cast iron pan on medium high until it is hot. My gas range goes from 1 (low) to 7 (high) and I kept the heat at mark 5. Lightly oil the pan for the first piece of dough, but after that you should be fine without adding anything additional.
- Lay the round of dough on the hot pan and cook for about 30 seconds, until you start to see bubbles, or lumps, appear. Flip it over and cook for one minute. Then flip it again, and cook for a final minute.
- Remove the bread and immediately wrap it in a clean kitchen towel. The steam will keep it soft. While one pita is cooking you can be rolling out the next piece of dough.
- Repeat with the rest of the dough, and keep all the pitas stacked inside the towel until they have cooled. Then you can store them in plastic baggies.
- Your pitas will last several days, or you can freeze them for longer storage.
Notes
- The puffing can be a little bit capricious…if you really want it to puff and make an inner pocket, roll them on the thin side and make sure your pan is preheated. These can be cooked in the oven, but again, I tried that and wasn’t happy with the results. The pan gives you more control.


Honestly if you haven’t made this recipe do it today!!!!! Never disappoints. Make extra and put in the freezer. They come out beautifully. Sooooooo delish!!
Love reading your posts and awesome recipes!!! Thank you for sharing
This is the perfect pita to make pita pizzas!
I hadn’t thought of that!
This pita bread was so easy to make and so delicious! Thanks for sharing your recipes!
Hi, Sue!
Love your site and all your photos and recipes. Made these today; really a fun project! Was blessed to find yeast in the store! Blessings and stay safe!
Thanks Terri, hopefully we’ll start to see yeast on a regular basis again 😉
Just wanted to say that I love this recipe and made it many times. I think this is how I found your site!
Enjoyed making this recipe. During COVID 19 I purchased a case of garbanzo beans and plenty of tahini so I have been making my own hummus. No more pitas were in my fridge so I decided to make my own. Great recipe. Have you ever made Dhal puri? If you live in the Caribbean and have a Trini population around they make the best rotis with dhal puri. I think you would enjoy the process. The Dhal Puri is delectable, very thin with layers and pockets of yellow pea.
I’ll look up Dhal Puri, sounds right up my alley 🙂
Hi, im gonna make this tomorrow and as im watching my diet counting calories and stuff, i was wondering if the 188.79Kcal are for the whole recipe or for just one bread.
It’s for one bread, but they’re fairly substantial.
Hi! These look great! Do you think whole wheat would work instead of refined flour?
Yes, you can definitely use whole grain flour, or a combination.
Hi Sue! I have had this recipe in my bookmarks for years, probably – finally decided to make them! I followed your recipe and instructions exactly, and they turned out perfectly! I am so happy!!! They turned out like yours – soft and thick, more like Naan bread which WE LOVE! We will eat them tonight with our butter chicken. Two things that helped me: I used a heating pad set on Low to proof my dough (rested it on top of a coaster on top of the heating pad) and it rose beautifully. I also used a kitchen scale to ensure each of the 6 pieces was the same weight. They cooked up just great and I actually giggled the whole process through! Yeast breads do not have to be scary! Thank you.
Great comment, thanks Karen 🙂 I love that you giggled through the recipe, that’s great! I love to use heating pads in the kitchen, I used to keep my homemade yogurt warm with one…
I have found out for me after rolling out pita , I cover and let rest for 30 min . Results in a much fluffy pita and not as dense.