
My Easy Dutch Oven Bread is a simple white bread recipe perfect for beginning bakers, or anyone who craves a quick delicious loaf. Just 4 basic ingredients make this classic bakery style bread.

If you’ve never tried making bread before, there’s no time like right now.
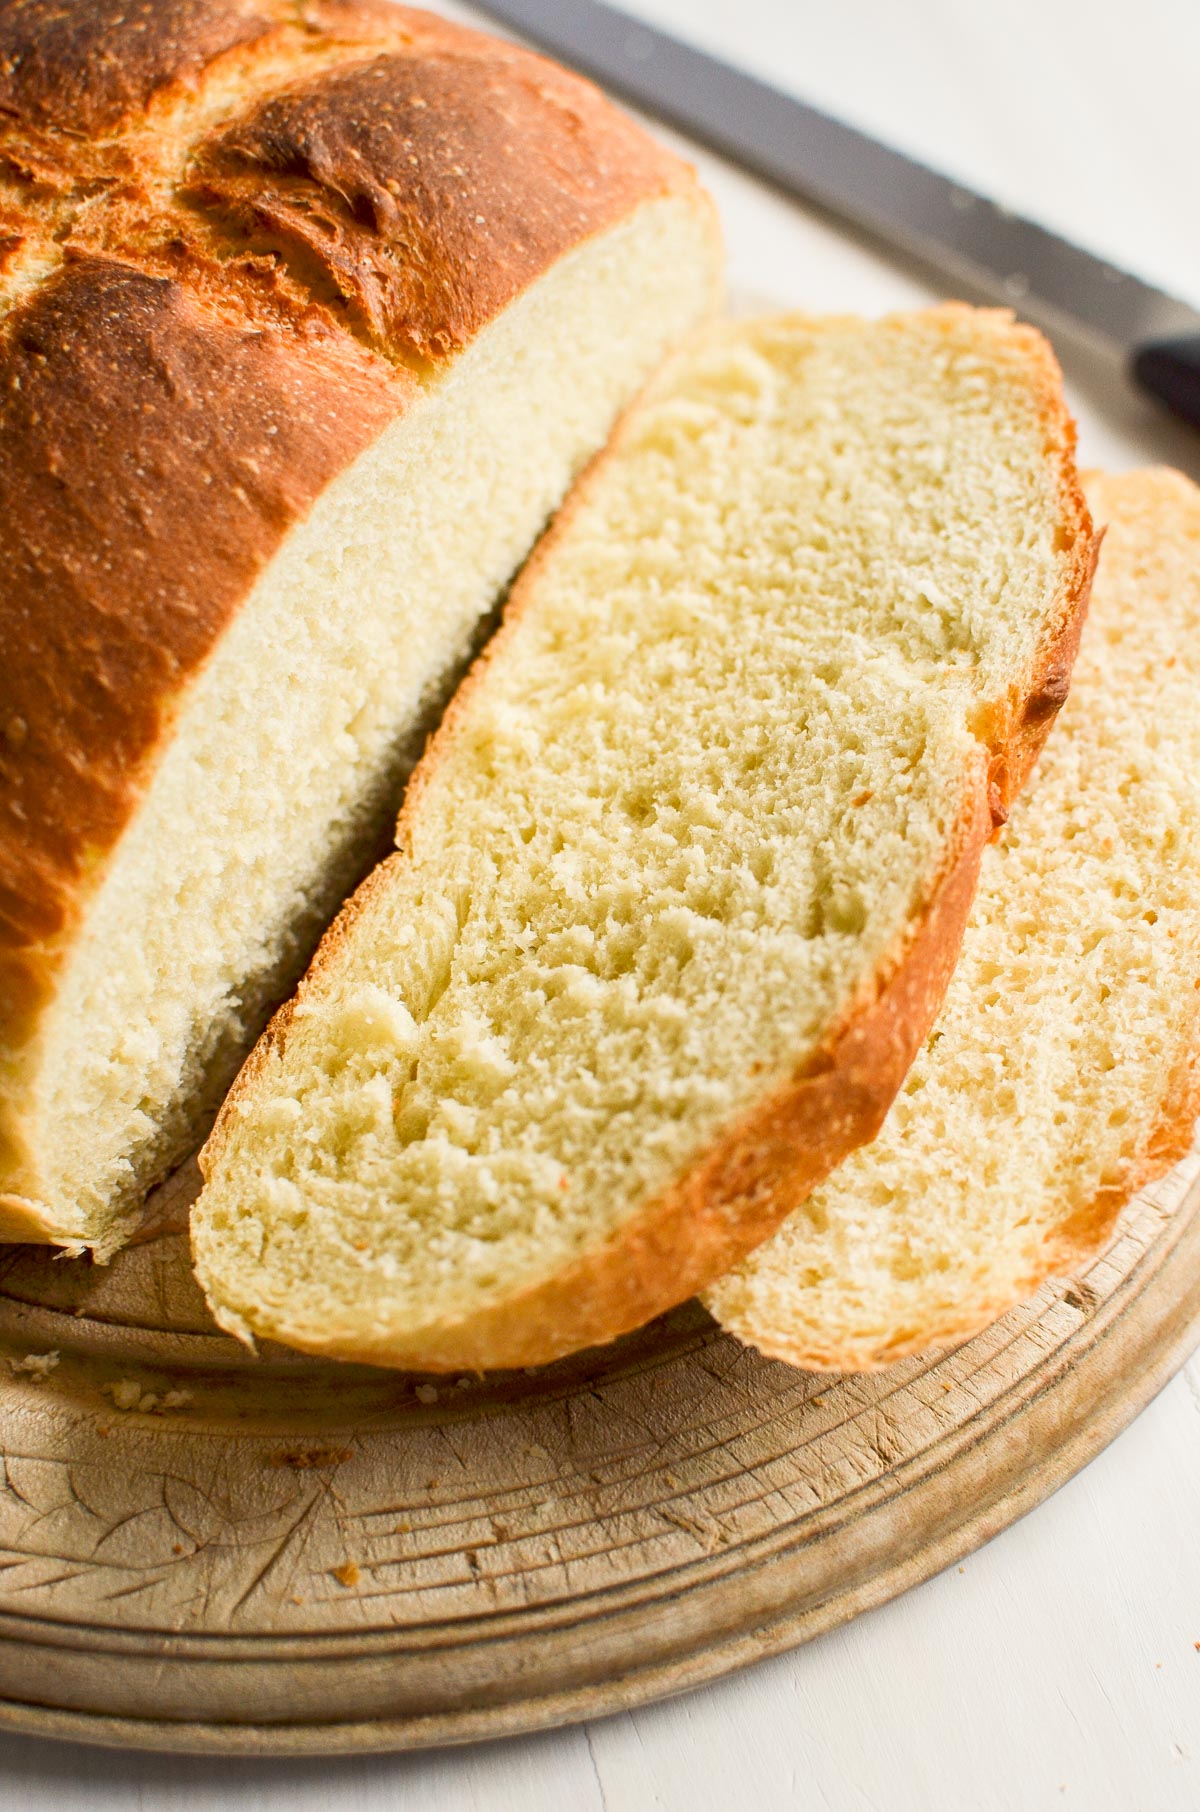
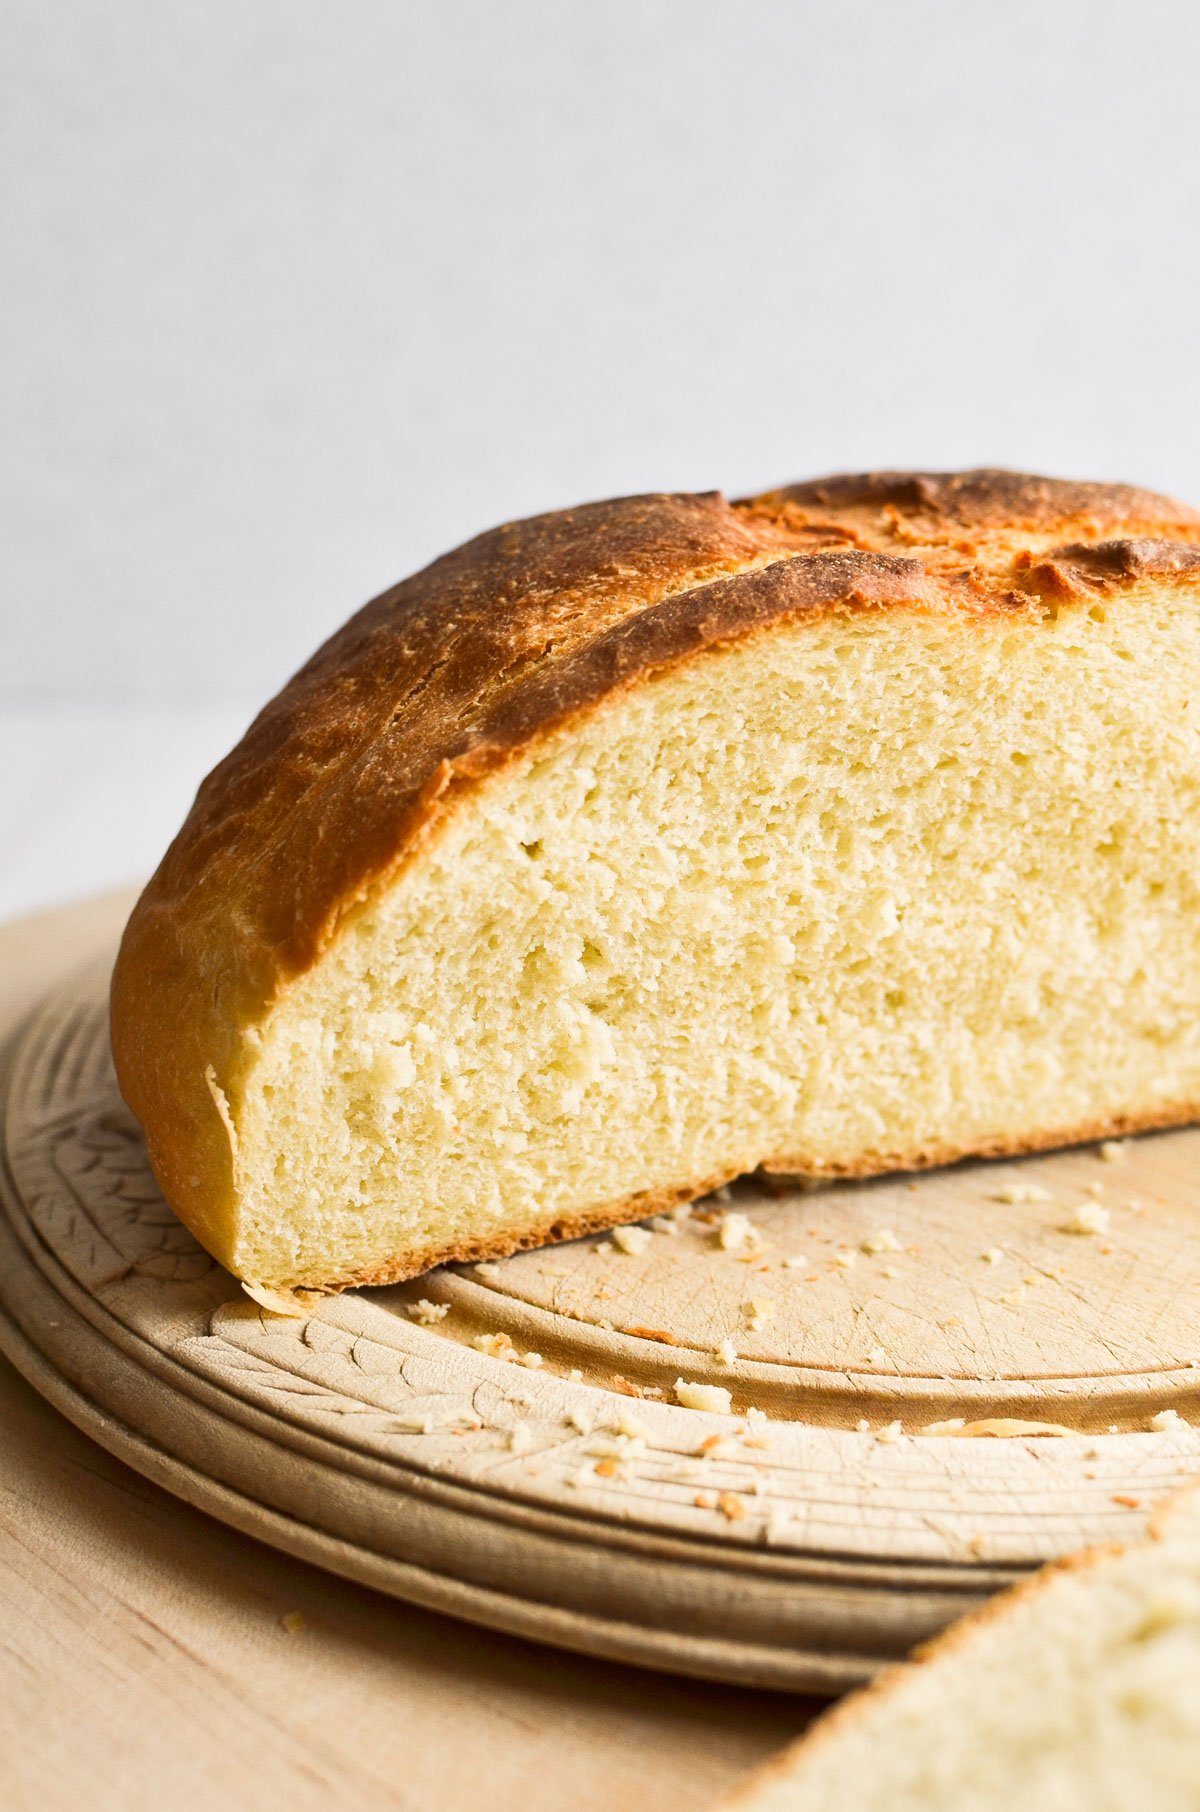
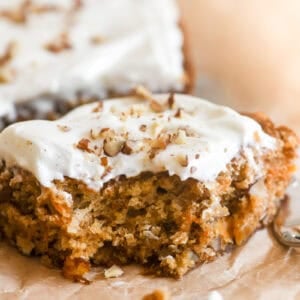
Whether you’re having a hard time buying bread right now, or just itching for a fun project to take your mind off things, making bread has got to be the most satisfying baking project of all. This rustic recipe makes a large, hearty loaf with a pleasantly chewy crust and a soft, fluffy interior.

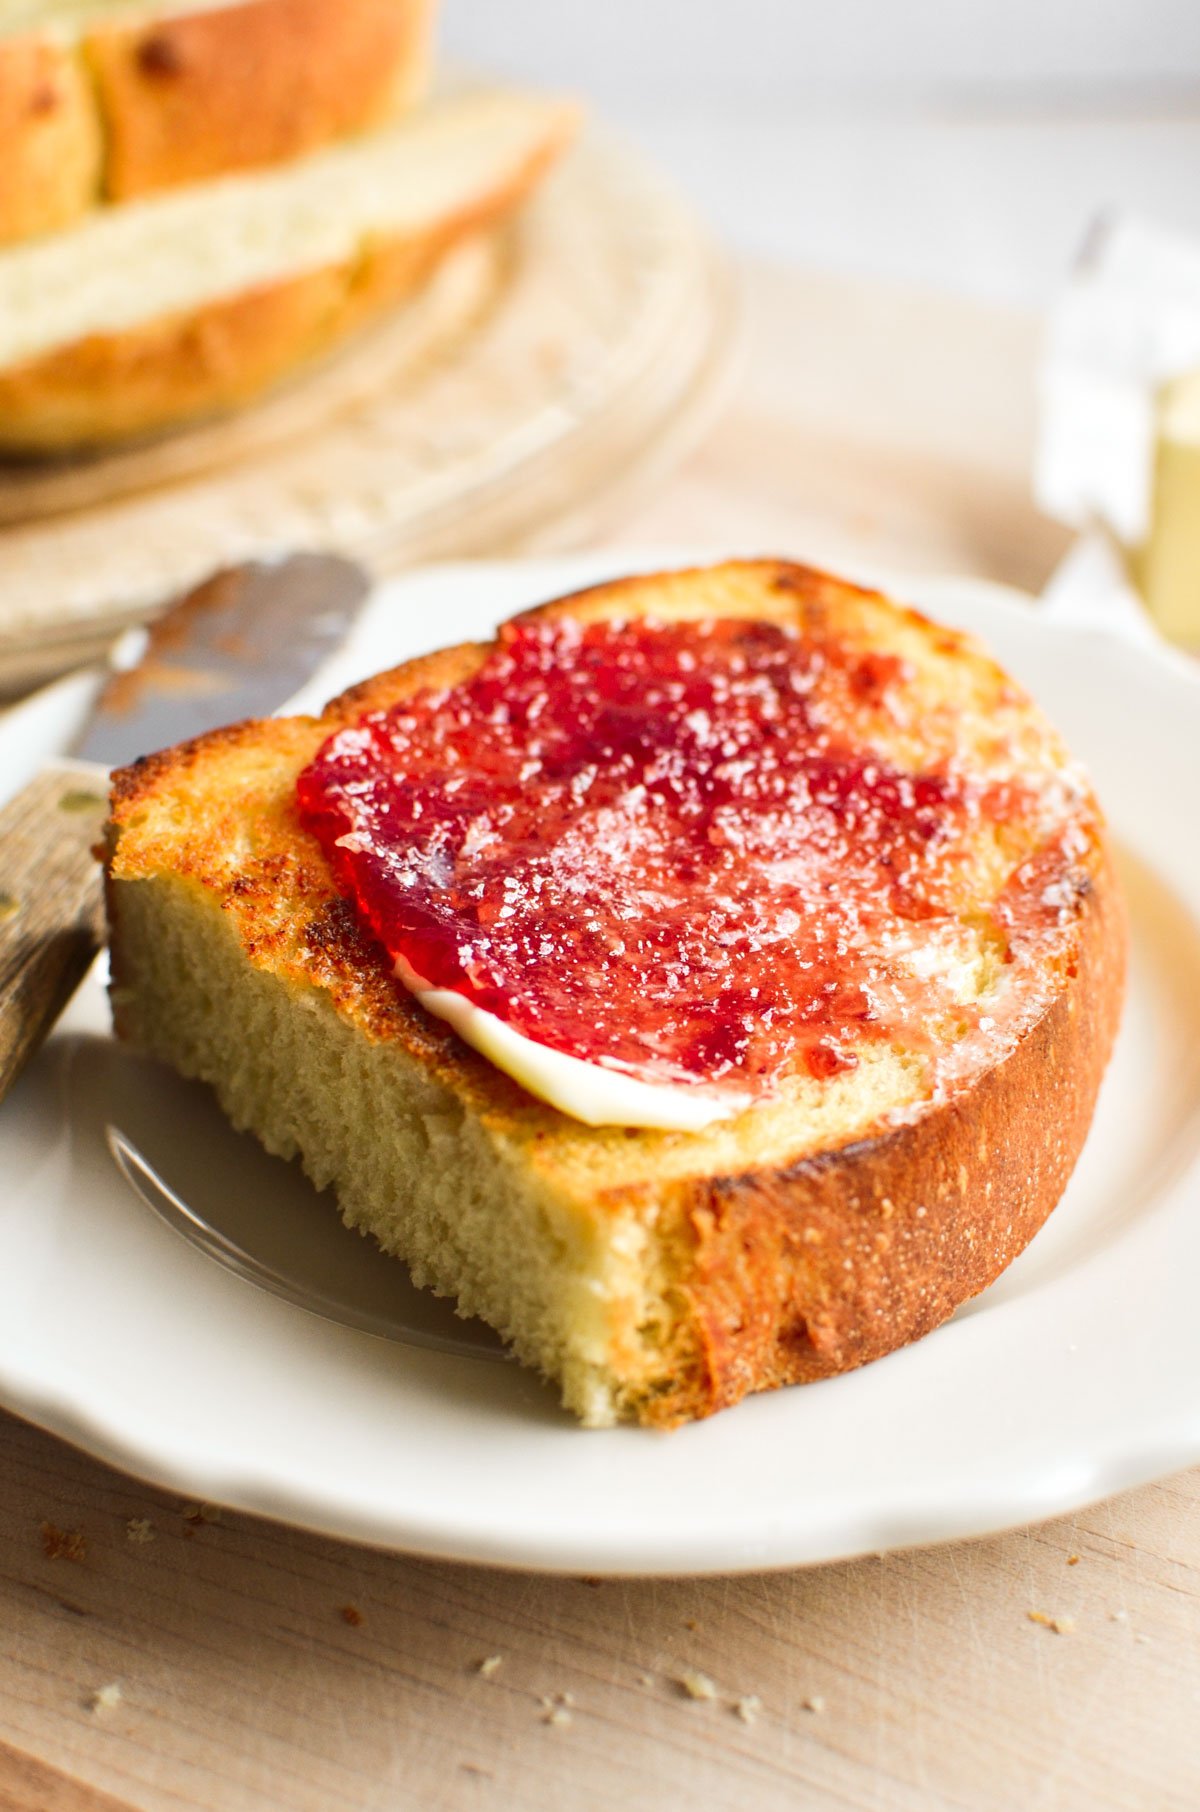
A thick slice of fresh baked bread has a way of making a meal feel so much more special, we love it with chilis and stews, and it contributes that all important dose of carbs when we’re having soup for dinner. I’ll often add bread to ‘bulk up’ lighter meals like brothy beans, or a main course salad.
But who’s kidding who here ~ we all know that your warm loaf will most likely be gobbled up before you can even grab your best bread knife. Make sure you’ve got butter, jam, pb, or some good olive oil for dipping.

Why bake bread in a Dutch oven ~
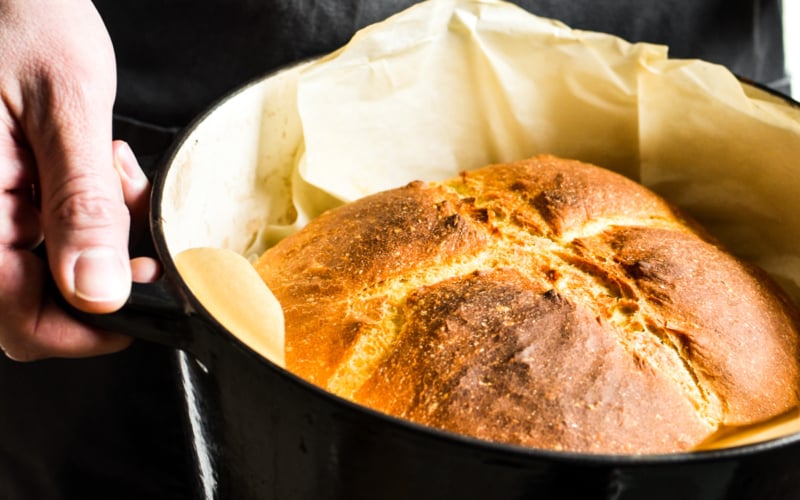
- Baking bread in a covered Dutch oven traps the moisture from the dough as it cooks, allowing the bread to “steam” for the first part of baking. This keeps the crust softer longer and encourages a higher rise.
- You’ll remove the cover toward the end of the baking time, which is when the bread will form its crusty top.
- The shape of the Dutch oven supports the bread so that it’s nice and round and doesn’t flatten out like it can if you baked it on a baking sheet.
What is the best size Dutch oven for baking bread?
- You’ll want to use a round 5 to 7 quart pot. Enameled cast iron is great. That’s the same size you’ll use for soups and stews so the pan will be worth its weight in gold in the kitchen.
Can you bake this bread without a Dutch oven?
Yes, totally! Just shape your dough and place it on a lined baking sheet for baking. You can put a skillet of hot water at the bottom of the oven to compensate for the steaming action of the Dutch oven.
The keys to fluffy, high rising bread ~
- Fresh yeast will always give you the best results. You can use active dry yeast OR instant yeast in this recipe. If you know your yeast is past its prime, try adding a little more.
- Technically the ideal temperature for rising dough is between 75F and 78F.
- Depending on your home, room temperature might be just fine for rising dough. But if not try placing it in the oven with the pilot light on. Believe it or not that gives off just enough heat to enable the bread to rise. Another method is to turn the oven to the lowest setting for just a few minutes, then turn it off before placing your dough inside. The residual heat will rise your dough.
- One of my favorite tricks in winter is to use a heating pad, set on low. I wrap that in a towel, and then make a ‘nest’ for my bowl of dough…it’s super cozy.
- If you love to bake, consider investing in a dough proofing box, I have this one and love it. It’s money well spent.
More easy bread recipes ~
- Irish Oatmeal Soda Bread
- Rosemary and Olive No Knead Focaccia
- 3 Ingredient Biscuits
- How to Make Pita Bread
- Quick Whole Grain Oat Rolls

Easy Dutch Oven Bread
Equipment
- Dutch oven
Ingredients
- 4 1/2 cups all purpose flour (562 grams)
- 1 Tbsp sugar (11 grams)
- 2 1/2 tsp salt (feel free to reduce this to 1 or 1 1/2 if you are watching salt intake)
- 2 1/4 tsp instant yeast, or 2 3/4 tsp dry active yeast
- 1 2/3 cup lukewarm water (379 grams)
Instructions
- In a mixing bowl or in the bowl of a stand mixer, mix all the ingredients together.
- Knead by hand, or in your mixer with a dough hook, for 6-7 minutes until the dough is smooth and stretchy.
- Rub a little oil in a bowl and add the dough, cover with plastic wrap and allow to rise for 1-2 hours. The dough should roughly double in size.
- Gently turn your dough out onto a lightly floured surface and shape it into a large round loaf.
- Line your Dutch oven (or baking sheet, if using) with parchment paper. Place your dough inside.
- Cover again with plastic wrap and allow the dough to rise for about 45 minutes. It won't rise as dramatically this time, but should look puffed up.
- Meanwhile, preheat your oven to 450F.
- When the dough is done rising, use a sharp knife to slash it across the top. Slashing, or scoring, is done to allow the bread to expand and to control the way it rises. If you don't slash the dough it can become misshapen as it bakes.
- Place the lid on top of your Dutch oven and place in the oven.
- Bake for about 45 minutes. Remove the lid for the last 15 minutes or so of baking. The bread should be golden brown.
- Allow your bread to cool completely before slicing.
Notes
Nutrition


Hi Sue! I have a cast iron Dutch oven. Will that work for bread or will it make it to dark (would still like with parchment paper)? I really want to make this bread this weekend!
Yes, cast iron works great, and I would still use the paper if you’ve got it.
Thanks Sue! I do have parchment & will definitely use…..thanks again!
Can I use a stainless steel pot?
It depends on your pot, if it’s sturdy and can withstand the high oven heat, then yes.
Hi Sue, I don’t have a dutch oven, will the dough maintain its round shape if I put it on a parchment lined cookie
sheet or may I use an All Clad 8 quart stock pot?
Thank you!
You can definitely bake the bread on a baking sheet, and it will stay round, but not quite as perfect as if you baked in the pot. You can put an oven safe skillet of water at the bottom shelf of your oven to create steam. I’m not sure about the All Clad pot, it would have to withstand the high heat of the oven, and be fairly thick/sturdy to conduct the heat evenly.
I can only brewers yeast, that a good substitute?
I’ve never done that Ann so I looked it up and it seems like you can use brewers yeast, but I’m not sure how much you should use. Also keep in mind that brewer’s yeast has a slightly bitter flavor, which can affect your bread.
For repeatability please provide the measurements in weight. Helps to eliminate mistakes.
I just added those Rob ~ happy baking!
I also read on another blog that spritzing the parchment paper with water helps make more steam (and more rise) while baking. But honestly, the last thing I need right now is fresh, warm bread! Just hoping to be able to squeeze into some of my clothes when this is over!
Lol Donna, we’re all gaining the ‘Covid 15’!! Thanks for the spritzing tip 🙂
I am going give it go and it will be mt first attempt at baking bread.My question is what position do I set the oven rack?
The main issue is that you leave enough room for your pot and lid. You can use the center or a lower rack for that. (I used my center rack.)
Hi Sue, I’m looking forward to trying this recipe! I’ve always avoided making bread, because there never seems to be enough time! I recently made the well-known no-Knead bread, and while it was successful and easy, there is one tip that I’d like to add: aerate your flour! It’s really important, otherwise your dough will be too dry and the result will be a denser and more compact loaf. Thank you for all your great recipes! I love your doughnut cake!!!
I always do the fluff/scoop/level method when I measure flour, great point.
Thank you.
Hi Sue
On your link to King Arthur flour where you found and adjusted the recipe to your liking, KA flour states using bread flour but you state use all purpose flour. I have both flours on hand so am wondering if you found using AP flour instead of bread flour made any difference in the recipe outcome?
thanks Sue
Yes, you can use either flour, whichever you have or prefer. Bread flour will yield a slightly chewier texture.
Hi sue, could you use bread flour for this recipe? Also is your all purpose flour the same as our plain in the uk? Thank you.
Yes, you can definitely use bread flour, the same amount. And yes, all purpose flour is the same as plain in the UK.
Thanks Sue, I have one more question if you don’t mind. I’m assuming from your instructions you don’t bother to pre-heat your dutch oven before baking, right? I only ask as the colour of my old enameled cast iron dutch oven after pre-heating in the oven so many times has become quite dark on the outside it’s now no longer the nice green it used to be. If I can make a successful quick loaf without preheat my pot, it would be great.
Thanks Sue
I didn’t preheat my pan, I like the ease of just rising the dough right in the pan and sliding it into the oven. That works fine for me, and as you can see, my bread rose well.
Yes indeed it sure did turn out great. Good to know I can do the same without preheating my pot too.
Thanks Sue!