
My Easy Dutch Oven Bread is a simple white bread recipe perfect for beginning bakers, or anyone who craves a quick delicious loaf. Just 4 basic ingredients make this classic bakery style bread.

WANT TO SAVE THIS RECIPE?
If you’ve never tried making bread before, there’s no time like right now.
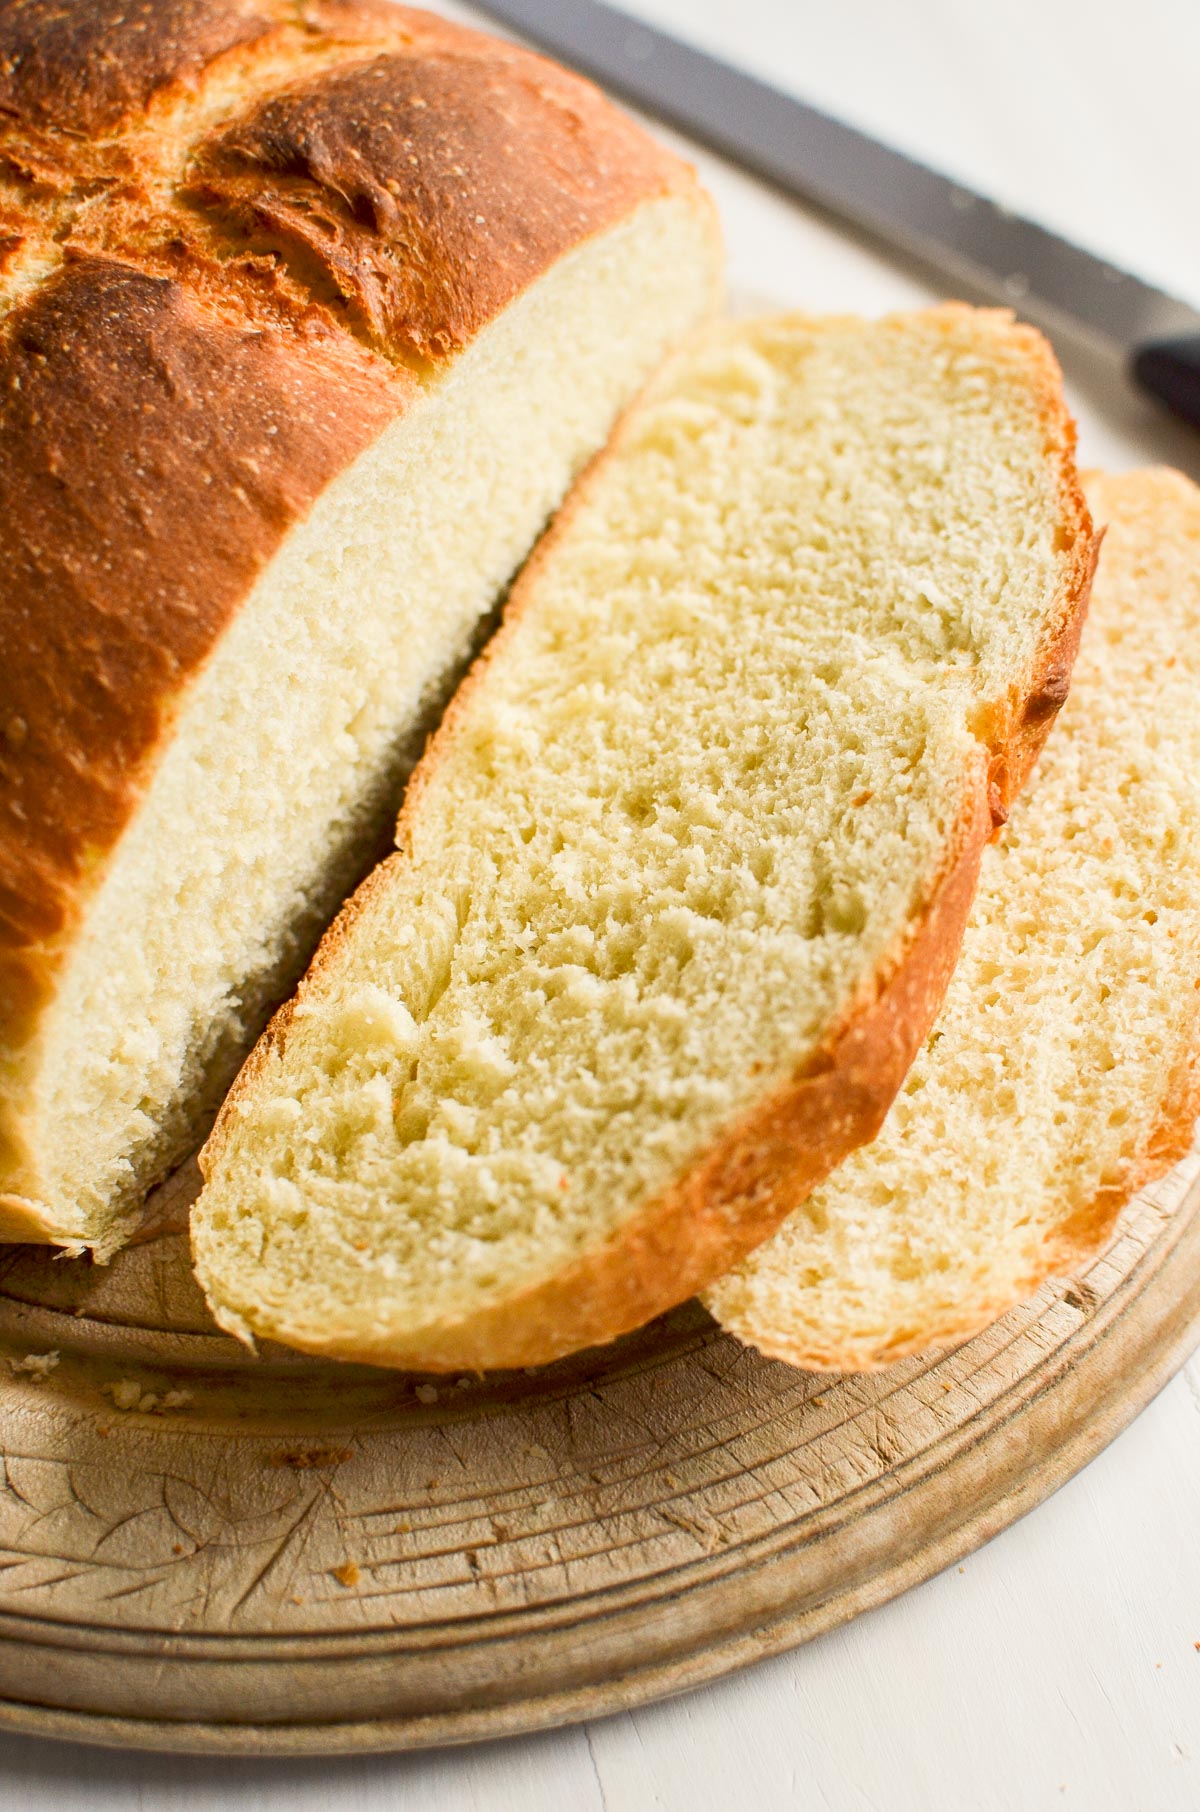
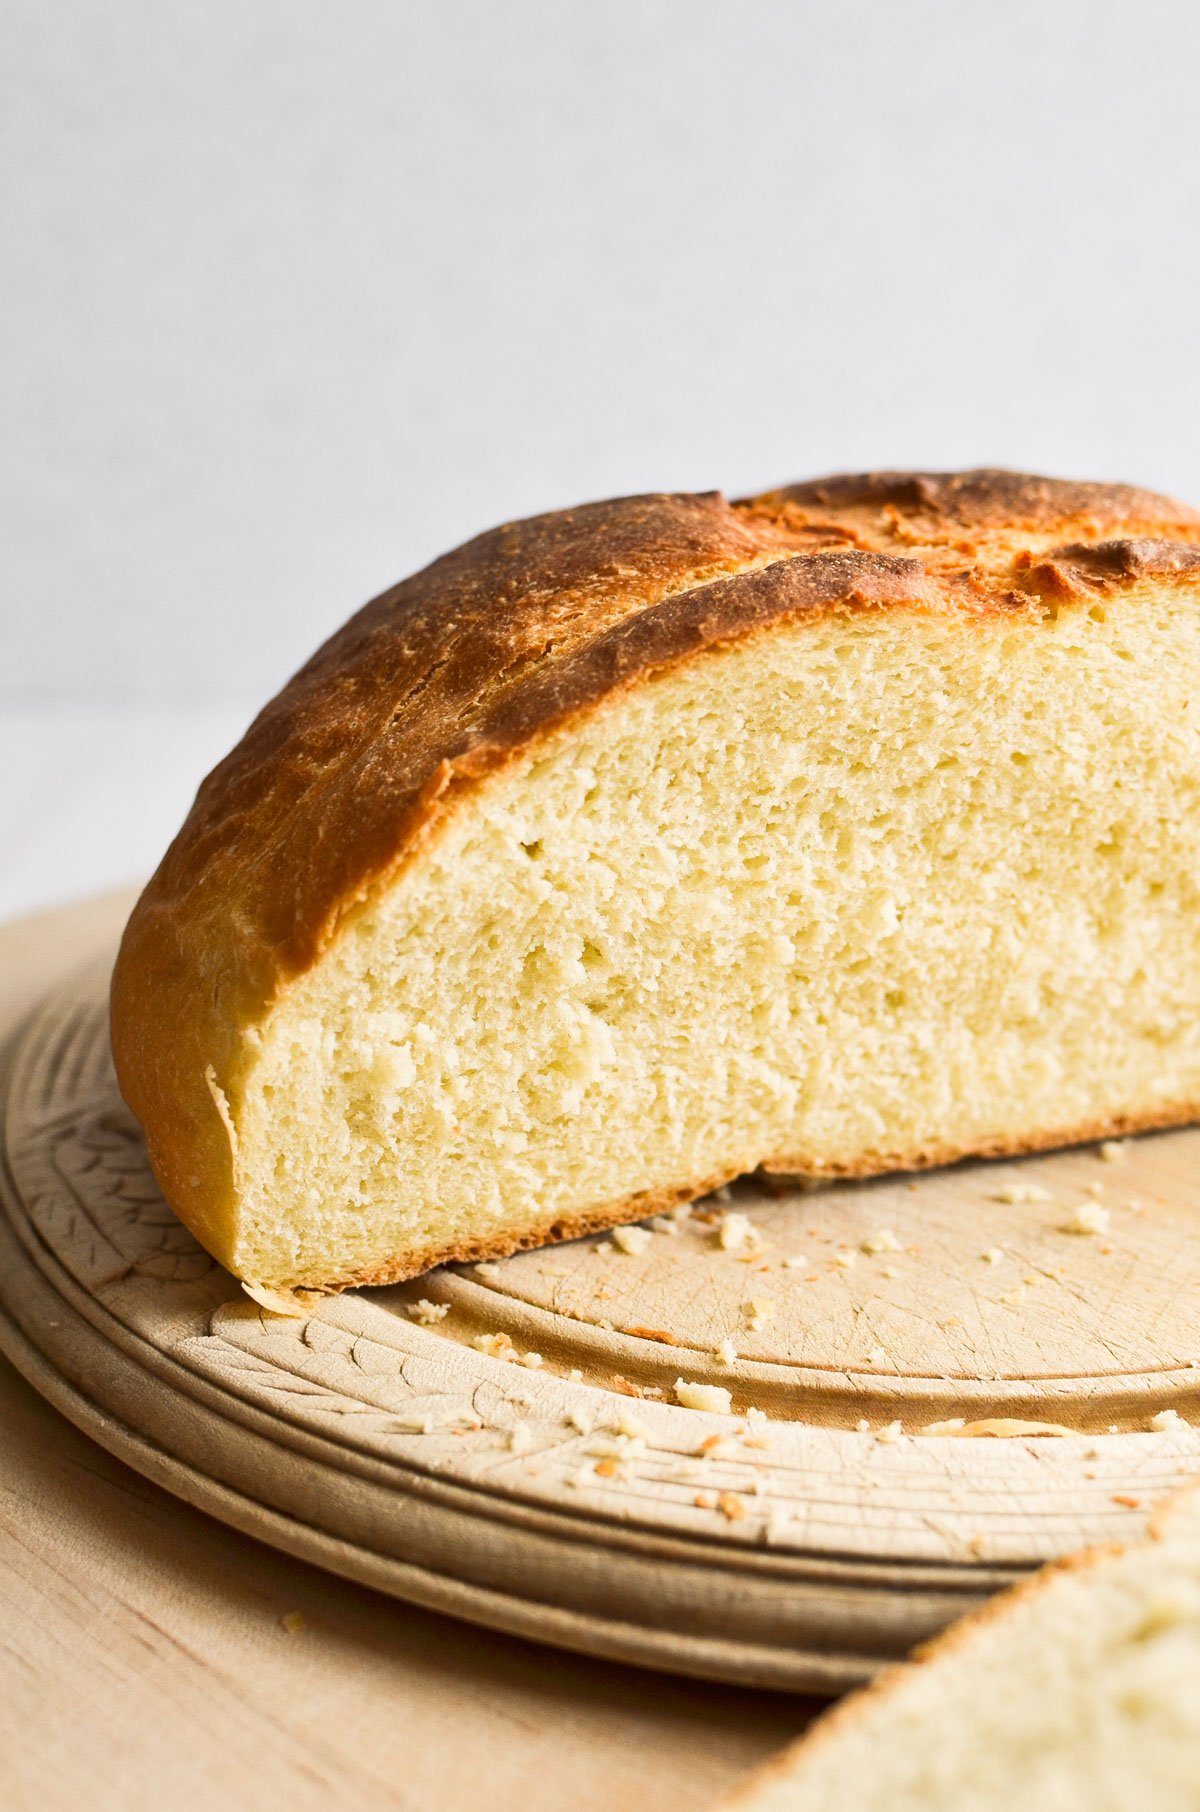
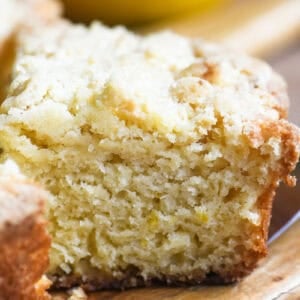
Whether you’re having a hard time buying bread right now, or just itching for a fun project to take your mind off things, making bread has got to be the most satisfying baking project of all. This rustic recipe makes a large, hearty loaf with a pleasantly chewy crust and a soft, fluffy interior.

A thick slice of fresh baked bread has a way of making a meal feel so much more special, we love it with chilis and stews, and it contributes that all important dose of carbs when we’re having soup for dinner. I’ll often add bread to ‘bulk up’ lighter meals like brothy beans, or a main course salad.
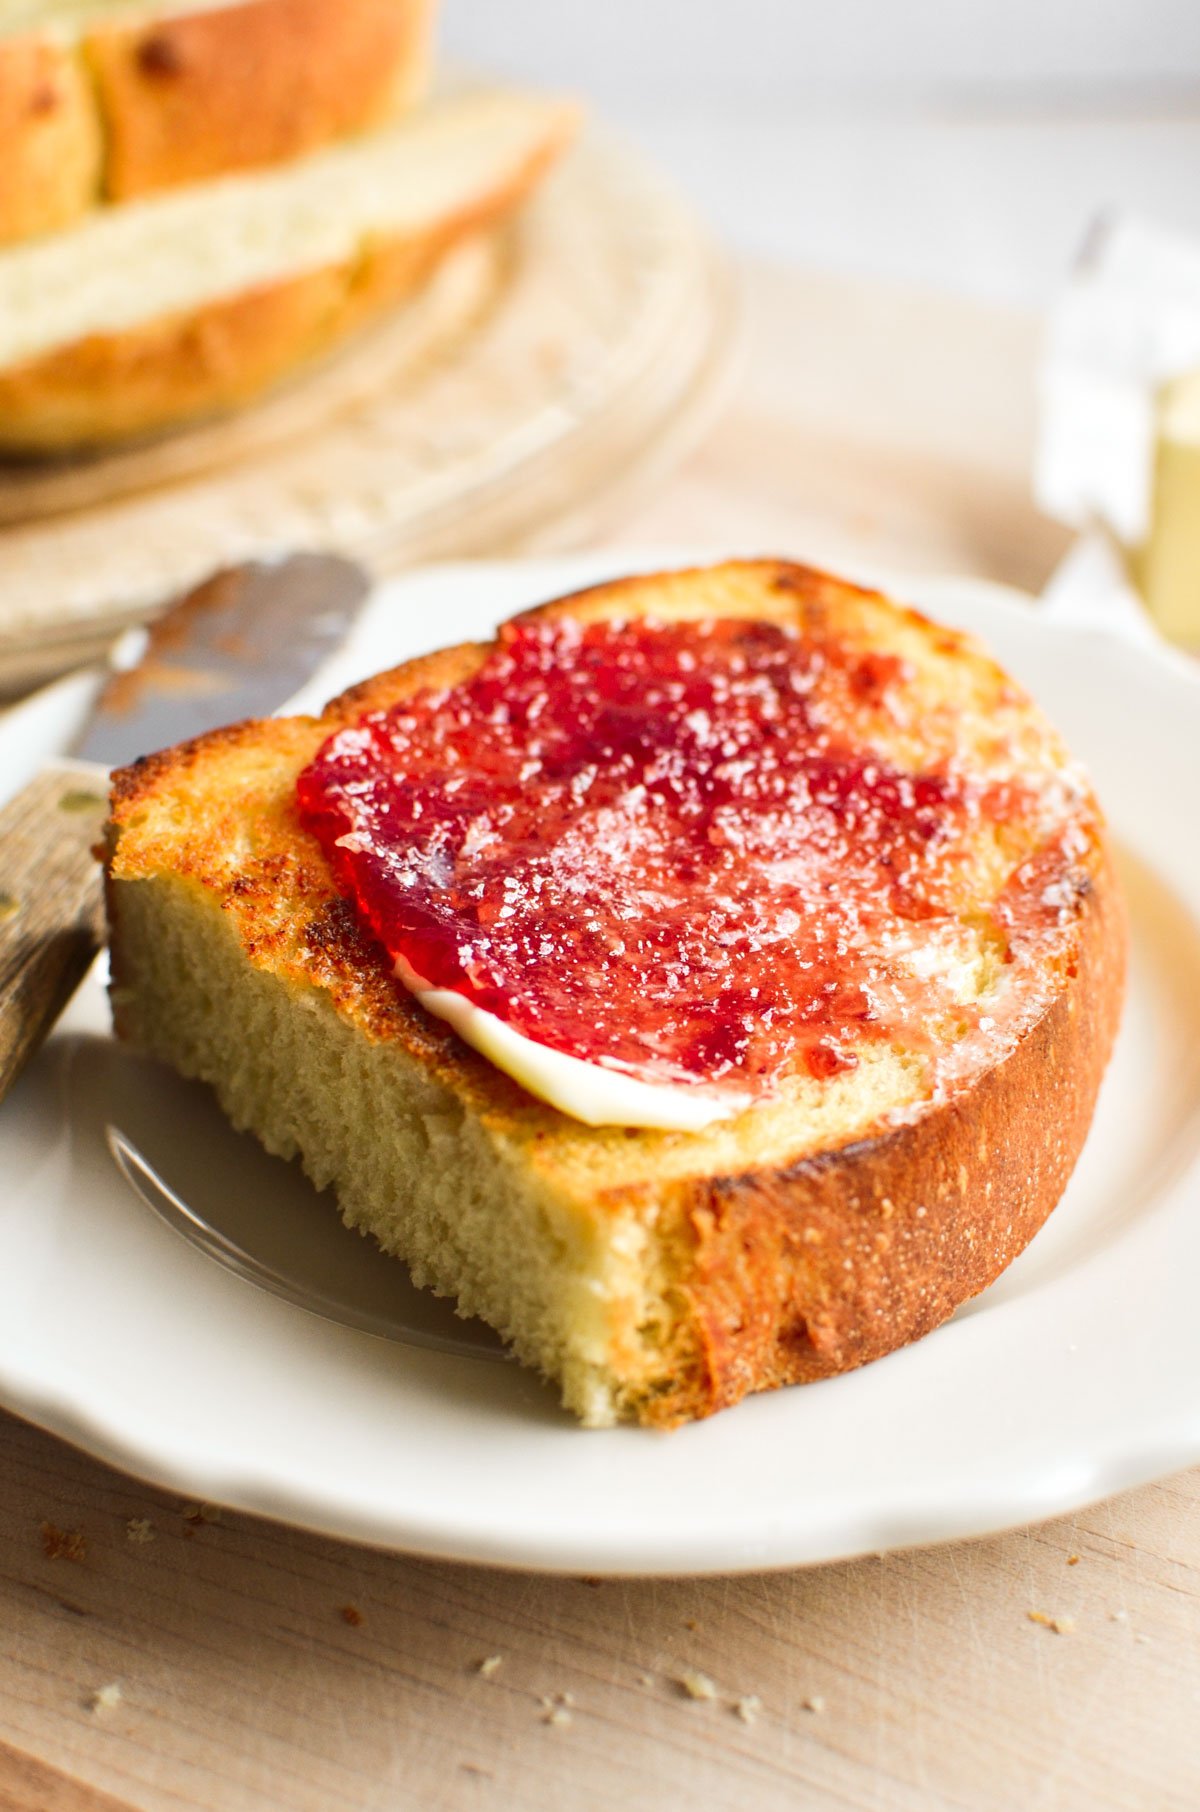
But who’s kidding who here ~ we all know that your warm loaf will most likely be gobbled up before you can even grab your best bread knife. Make sure you’ve got butter, jam, pb, or some good olive oil for dipping.

Why bake bread in a Dutch oven ~
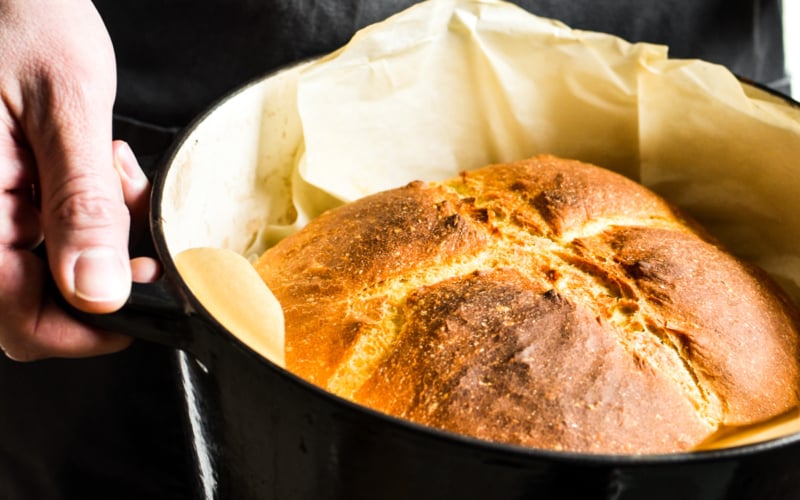
- Baking bread in a covered Dutch oven traps the moisture from the dough as it cooks, allowing the bread to “steam” for the first part of baking. This keeps the crust softer longer and encourages a higher rise.
- You’ll remove the cover toward the end of the baking time, which is when the bread will form its crusty top.
- The shape of the Dutch oven supports the bread so that it’s nice and round and doesn’t flatten out like it can if you baked it on a baking sheet.
What is the best size Dutch oven for baking bread?
- You’ll want to use a round 5 to 7 quart pot. Enameled cast iron is great. That’s the same size you’ll use for soups and stews so the pan will be worth its weight in gold in the kitchen.
Can you bake this bread without a Dutch oven?
Yes, totally! Just shape your dough and place it on a lined baking sheet for baking. You can put a skillet of hot water at the bottom of the oven to compensate for the steaming action of the Dutch oven.
The keys to fluffy, high rising bread ~
- Fresh yeast will always give you the best results. You can use active dry yeast OR instant yeast in this recipe. If you know your yeast is past its prime, try adding a little more.
- Technically the ideal temperature for rising dough is between 75F and 78F.
- Depending on your home, room temperature might be just fine for rising dough. But if not try placing it in the oven with the pilot light on. Believe it or not that gives off just enough heat to enable the bread to rise. Another method is to turn the oven to the lowest setting for just a few minutes, then turn it off before placing your dough inside. The residual heat will rise your dough.
- One of my favorite tricks in winter is to use a heating pad, set on low. I wrap that in a towel, and then make a ‘nest’ for my bowl of dough…it’s super cozy.
- If you love to bake, consider investing in a dough proofing box, I have this one and love it. It’s money well spent.
More easy bread recipes ~
- Irish Oatmeal Soda Bread
- Rosemary and Olive No Knead Focaccia
- 3 Ingredient Biscuits
- How to Make Pita Bread
- Quick Whole Grain Oat Rolls

Easy Dutch Oven Bread
Equipment
- Dutch oven
Ingredients
- 4 1/2 cups all purpose flour (562 grams)
- 1 Tbsp sugar (11 grams)
- 2 1/2 tsp salt (feel free to reduce this to 1 or 1 1/2 if you are watching salt intake)
- 2 1/4 tsp instant yeast, or 2 3/4 tsp dry active yeast
- 1 2/3 cup lukewarm water (379 grams)
Instructions
- In a mixing bowl or in the bowl of a stand mixer, mix all the ingredients together.
- Knead by hand, or in your mixer with a dough hook, for 6-7 minutes until the dough is smooth and stretchy.
- Rub a little oil in a bowl and add the dough, cover with plastic wrap and allow to rise for 1-2 hours. The dough should roughly double in size.
- Gently turn your dough out onto a lightly floured surface and shape it into a large round loaf.
- Line your Dutch oven (or baking sheet, if using) with parchment paper. Place your dough inside.
- Cover again with plastic wrap and allow the dough to rise for about 45 minutes. It won't rise as dramatically this time, but should look puffed up.
- Meanwhile, preheat your oven to 450F.
- When the dough is done rising, use a sharp knife to slash it across the top. Slashing, or scoring, is done to allow the bread to expand and to control the way it rises. If you don't slash the dough it can become misshapen as it bakes.
- Place the lid on top of your Dutch oven and place in the oven.
- Bake for about 45 minutes. Remove the lid for the last 15 minutes or so of baking. The bread should be golden brown.
- Allow your bread to cool completely before slicing.
Notes
Nutrition


Hi! I just made the first part of the recipe. Waiting on the first rise. My quesion: I used the dough hook in my Kitchen Aid Mixer. It never came to a ball in the mixing bowl. I “kneaded” it for 6-7 minutes. Is this normal? When I did some searching on You Tube, all the videos showed the dough forming into a nice smooth ball. Thanks for your help! Ally in NJ USA
It sounds like maybe your dough was a little too wet, if this happens again, sprinkle in a little more flour until the dough comes together.
Can you supply nutrition information or calorie count, please? Thank you very much
Done 🙂
OMG this is the best bread recipe yet. Fast, easy and delicious. Thank you for this recipe and all you help with other baking and cooking concerns. Glad I discovered your posts.
I have made my first Dutch oven bread. It turned out well–I actually started with a ‘no knead’ recipe, but switched to your recipe to get a quicker rise. Worked great! Can I add herbs to the recipe? I have fresh rosemary–if so, how much would you recommend for your recipe? Thank you!
Herbs would be lovely, and you have a lot of leeway when it comes to the amount, if you’re using fresh chopped for one loaf you can start with 2 Tbsp and go up from there.
This was a great easy bread recipe with delicious results. Thank you.
Hi Sue,
I just came across your blog via Pinterest. 🙂 I’ve been wanting to make an easy Dutch Oven Bread at some point. The ones I’ve come across are no-knead. I haven’t tried any yet. Maybe this week I will try your recipe.
If you don’t mind a little trivia (explanation) on the use of words coming from a complete stranger…..you mentioned using the pilot light in the oven to help rise the dough. Then you said the light bulb will give off enough heat. A pilot light is different than a light bulb in the oven. A pilot light is a gas flame in ovens and stoves that do not operate by electronic ignition. Before electronic ignition came into being, gas stoves always had pilot lights (tiny flames) underneath the stove burners and one in the oven which would ignite the burners (and oven) when the knob was turned. Electronic ignition ranges use sparks to ignite the gas in the line. 🙂 Pilot lights (tiny flames) were always burning, at the ready for when you went to use the stove or oven.
I hope I didn’t offend you by the explanation. I grew up with gas stoves with pilot lights. Unfortunately the last 2 houses I’ve lived in have electric stoves. alas…not the same!
Thanks for posting the bread recipe. I love fresh warm bread and lots of butter!
Best to you,
Linda
Good point Linda, I’ll change the wording of that. And welcome to tvfgi!
The best bread recipe ever!!! I let my ditch oven pre heat for 45 minutes. Amazing !!! Thank you for sharing this delicious recipe with us.
Hi Can I let it rise in the counter overnight?
I haven’t tried that with this bread, some people like to let their dough rise in the fridge overnight, you might try that.
My 3rd go round on this bread and it is now my go to bread recipe. Foolproof, good for toast, sandwiches, soups and stews!
Yes!
Hi sue,
I’ve just made my usual bread recipe but using this method of baking it in a Dutch oven, I cannot believe the results , the biggest lightest loaf ever. Thanks for a great idea and tip. ?
Sorry for question mark, it was a loaf of bread emoji.
lol, I wish the emojis would come through!
Hi Sue,
I have a few questions about different types of flour. I get confused with all the different terminologies. They seem to differ from country to country ie: in the UK all purpose is called plain flour. What is the difference between all purpose, bread flour, strong flour etc…
Maybe you could write a flour 101 on your blog?
I’m going to make this bread today and am using an unbleached organic white all purpose flour for it.
Thanks for the recipe, love your blog!
Great idea Nancy ~ we do have a flour alternatives post coming up, I can maybe address this there.