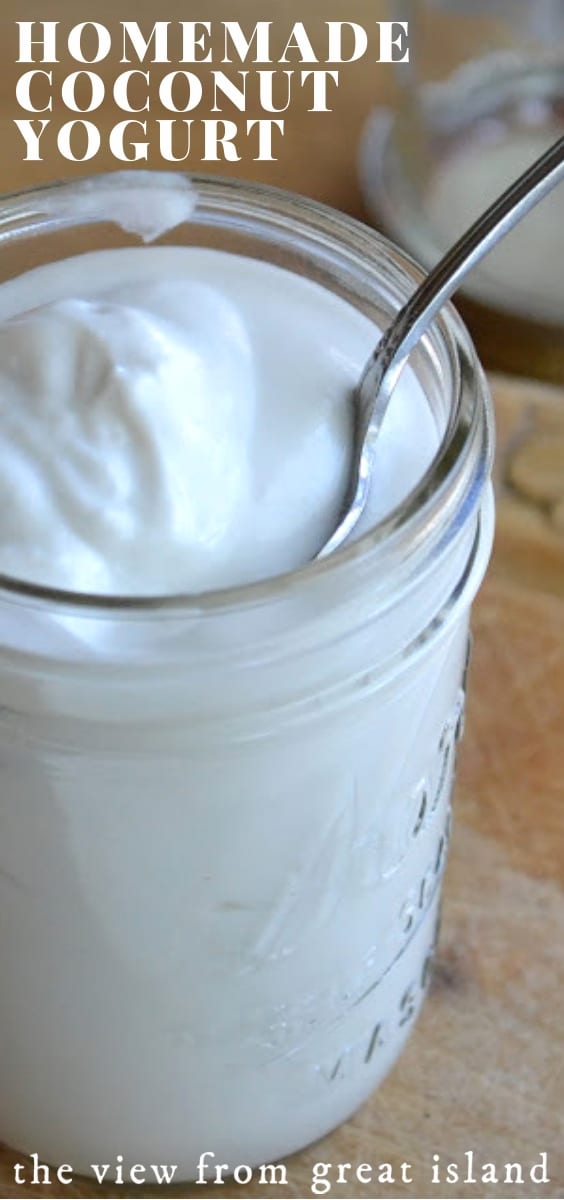
How to Make Homemade Coconut Milk Yogurt ~ since it’s one of the world’s healthiest foods, I think it’s worth the effort to make it yourself. This yogurt is creamy, full of flavor, and dairy free.
I’ve made homemade yogurt for years and I’ve posted about it on a couple of occasions.
But I always thought yogurt had to be made with dairy products. I just assumed that there was something inherent in animal products that allowed the yogurt cultures to thrive. But I guess not. You can culture coconut milk the same way. It’s naturally a little thinner, so it requires some sort of added thickener, but you will get the most incredibly creamy delicious coconut yogurt, you won’t believe it. The texture is even creamier than regular yogurt and it combines the natural sweetness and flavor of the coconut with the tang from the live cultures.
Why make homemade coconut milk yogurt?
Sometimes the impetus for making something from scratch is financial. Sometimes it springs from a health concern, and sometimes it just seems like a fun project. But for me the most persuasive reason to make something from scratch that is already available commercially, is if you can achieve a really superior flavor. This project checks all those boxes.
This yogurt went smoothly from beginning to end, and I made it almost exactly as I would make milk yogurt. The only difference is that I add a little powdered gelatin to encourage thickening, and instead of a milk based yogurt starter, I used coconut milk yogurt as the starter. Even with the added gelatin this coconut yogurt will tend to be a little thinner than regular yogurt. You can drain it through cheesecloth after it’s fermented, which I do anyway with homemade yogurt because I like the thick Greek style.
Homemade coconut yogurt beats store bought by a mile!
But it was only when I dipped my little tasting spoon into the finished batch that the bells went off. The taste was velvety smooth and pure coconut. It had none of the cloying sweetness or gelatinous texture of the commercial brand. It was way, way better than the commercial brand.
If you’re even thinking of trying this, I’m going to urge you to just plow ahead and do it. It’s really a treat. We had it for breakfast with bananas, honey and wheat germ, but it would be so good with granola, or in a smoothie. I am really looking forward to using it alongside a hot curry.
If you don’t have a yogurt maker:
First off, I highly recommend getting a yogurt maker, they are inexpensive and so easy to use. I am really happy with this one, but there are many on the market. The key is to find one that allows you to make a large batch, all in one container. It’s more versatile, and easy to clean.
Otherwise there are several options to help you keep your yogurt at the constant temperature (110F) it needs to ferment. Some methods are too elaborate to bother with; here are the ones I recommend:
- If your oven has a 60 watt or higher bulb in it, you may be able to store your yogurt in the oven (no heat) with the light on. Wrap it with a towel. You can experiment with different wattage bulbs to get your desired temperature.
- An electric heating pad or small electric throw blanket wrapped around the yogurt and set on low to medium will do the trick. If you use a heating pad, cover the whole thing with a towel.
- Whatever method you choose, do not disturb your yogurt while it’s fermenting.
You can keep your yogurt in one jar, or several individual jars, just be sure they are clean.
Do you have any experience with coconut yogurt? I would like to try almond milk yogurt, too!

How to make Homemade Coconut Milk Yogurt
Ingredients
- 3 13.5 oz cans full fat coconut milk
- 1 Tbsp powdered gelatin
- 1 6 oz container coconut milk yogurt
Instructions
- Heat the coconut milk in a saucepan to 180F. This will be hot, but not boiling.
- Sprinkle the gelatin over the milk and whisk in.
- Let the milk cool to 110F. This is important--- the temperature has to be warm enough to allow the cultures to grow, but if it is too hot they will be killed off.
- Whisk in the container of coconut milk yogurt.
- Pour your milk into a yogurt maker and let incubate for 10-12 hours. I leave mine overnight.
- Refrigerate the yogurt until ready to use. If you want thicker yogurt, lay two layers of cheese cloth over a colander, and set that over a large bowl. Pour the yogurt into the cheesecloth and let drain for an hour or so.


I doubled the recipe, put it in the fridge, and in a few hours the textured turned into a jello like consistency. I was thinking maybe I should not have doubled the gelatin? What do you think? 🙃
Hmmmm, I’ve never had that happen but it could be too much gelatin.