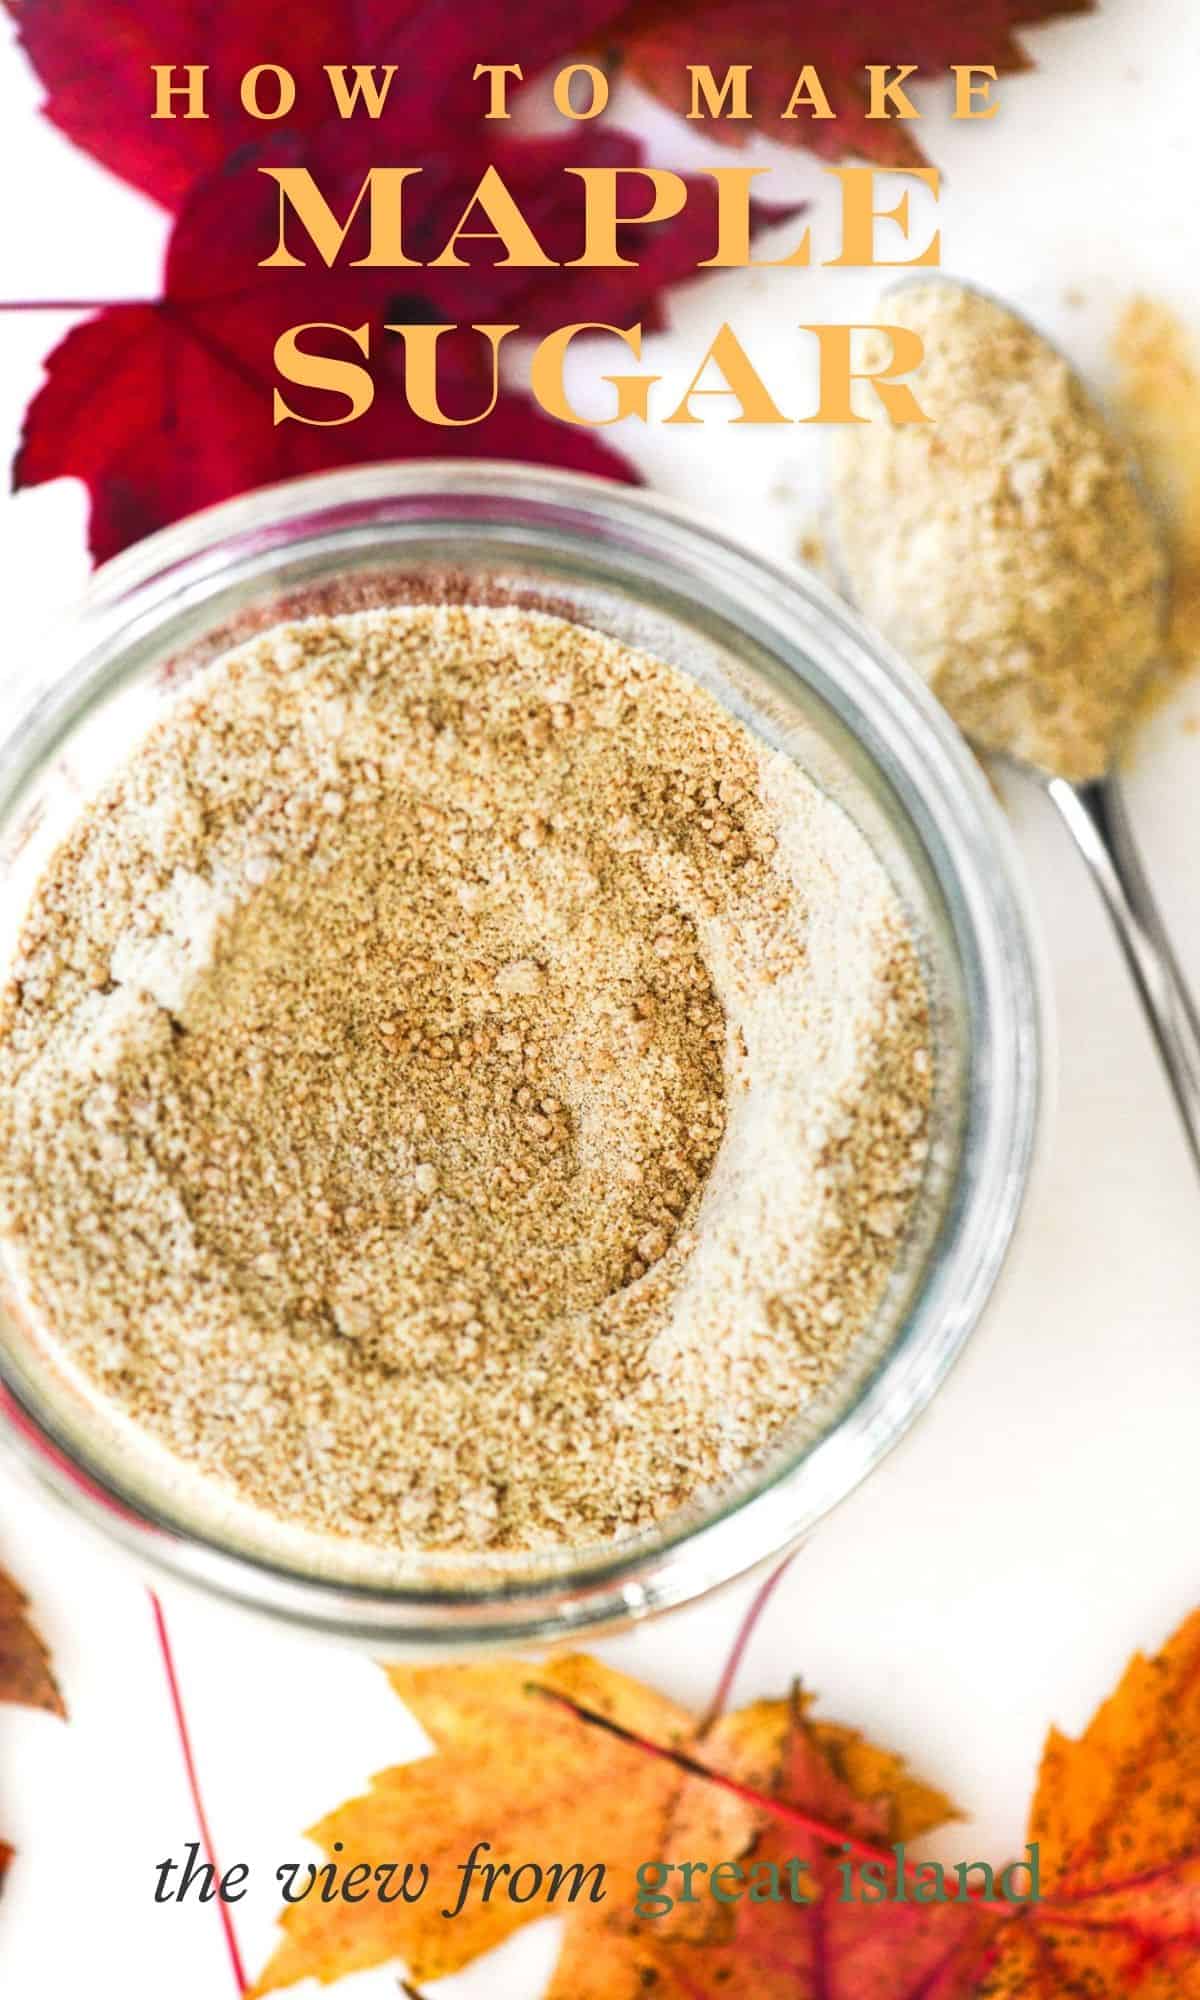
I’ll show you how to make maple sugar from pure maple syrup right on your stove top. Makes everything you bake taste richer and more holiday worthy!
Making maple sugar : what you need to know
- Maple sugar is made from pure maple syrup. It’s a single-ingredient, additive-free and minimally processed sweetener.
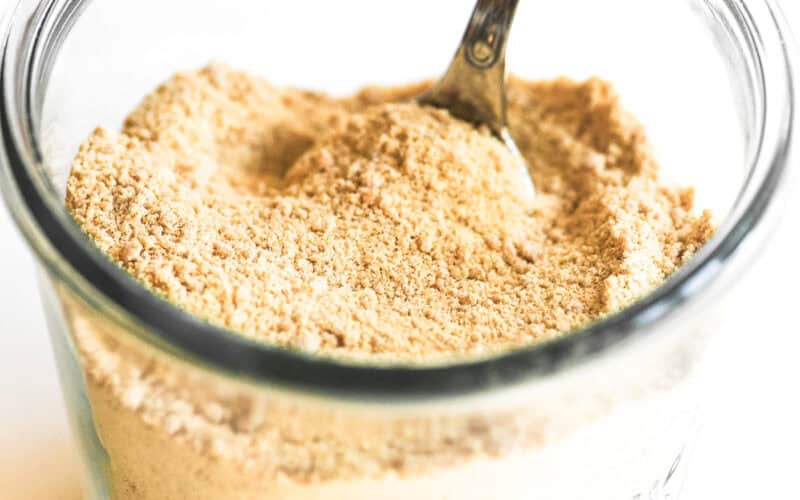
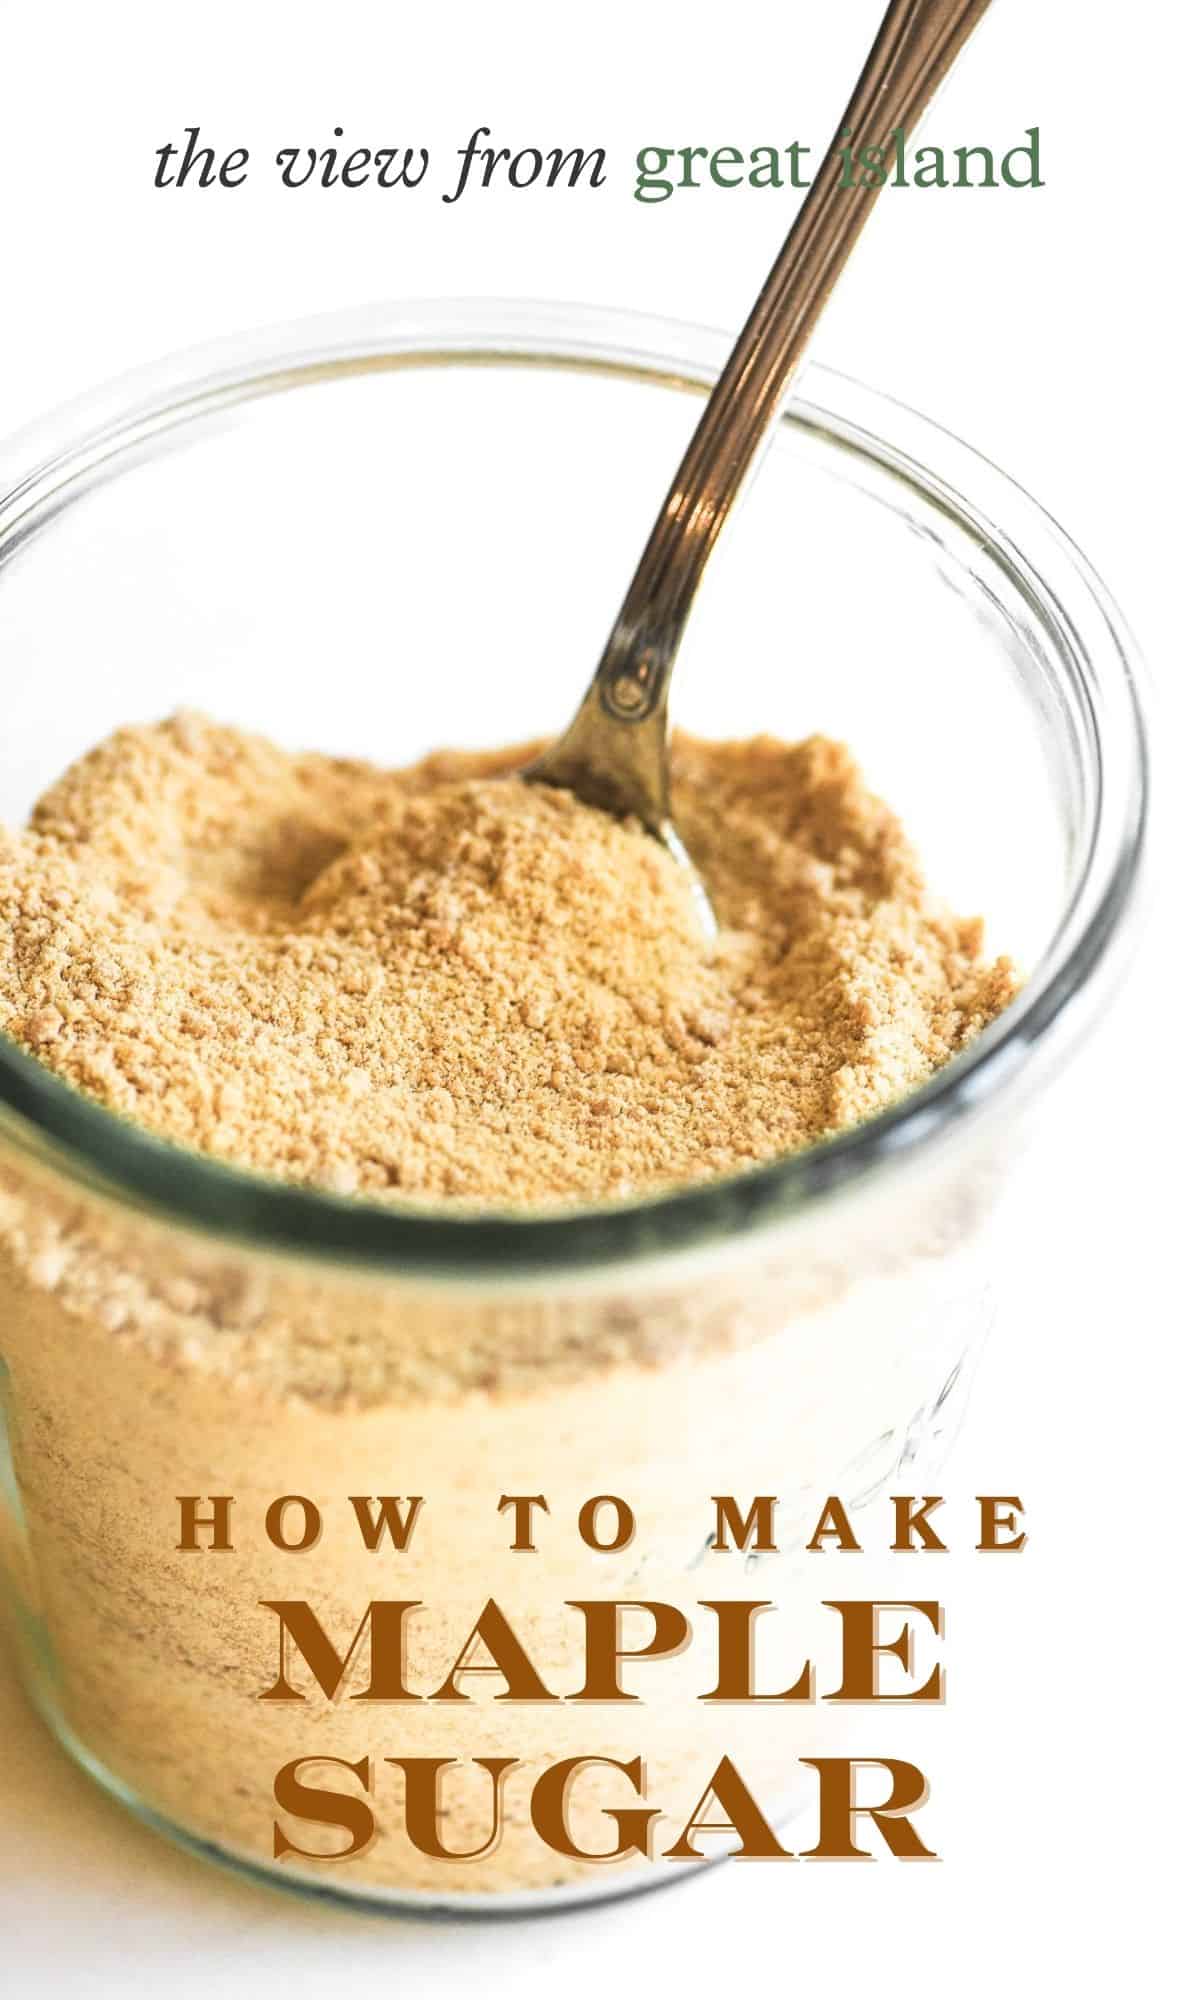
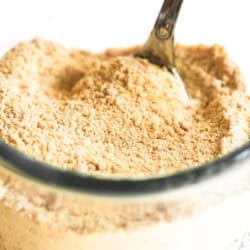
- Simply boil real maple syrup to 260F, then stir until it magically transforms into golden sugar crystals.
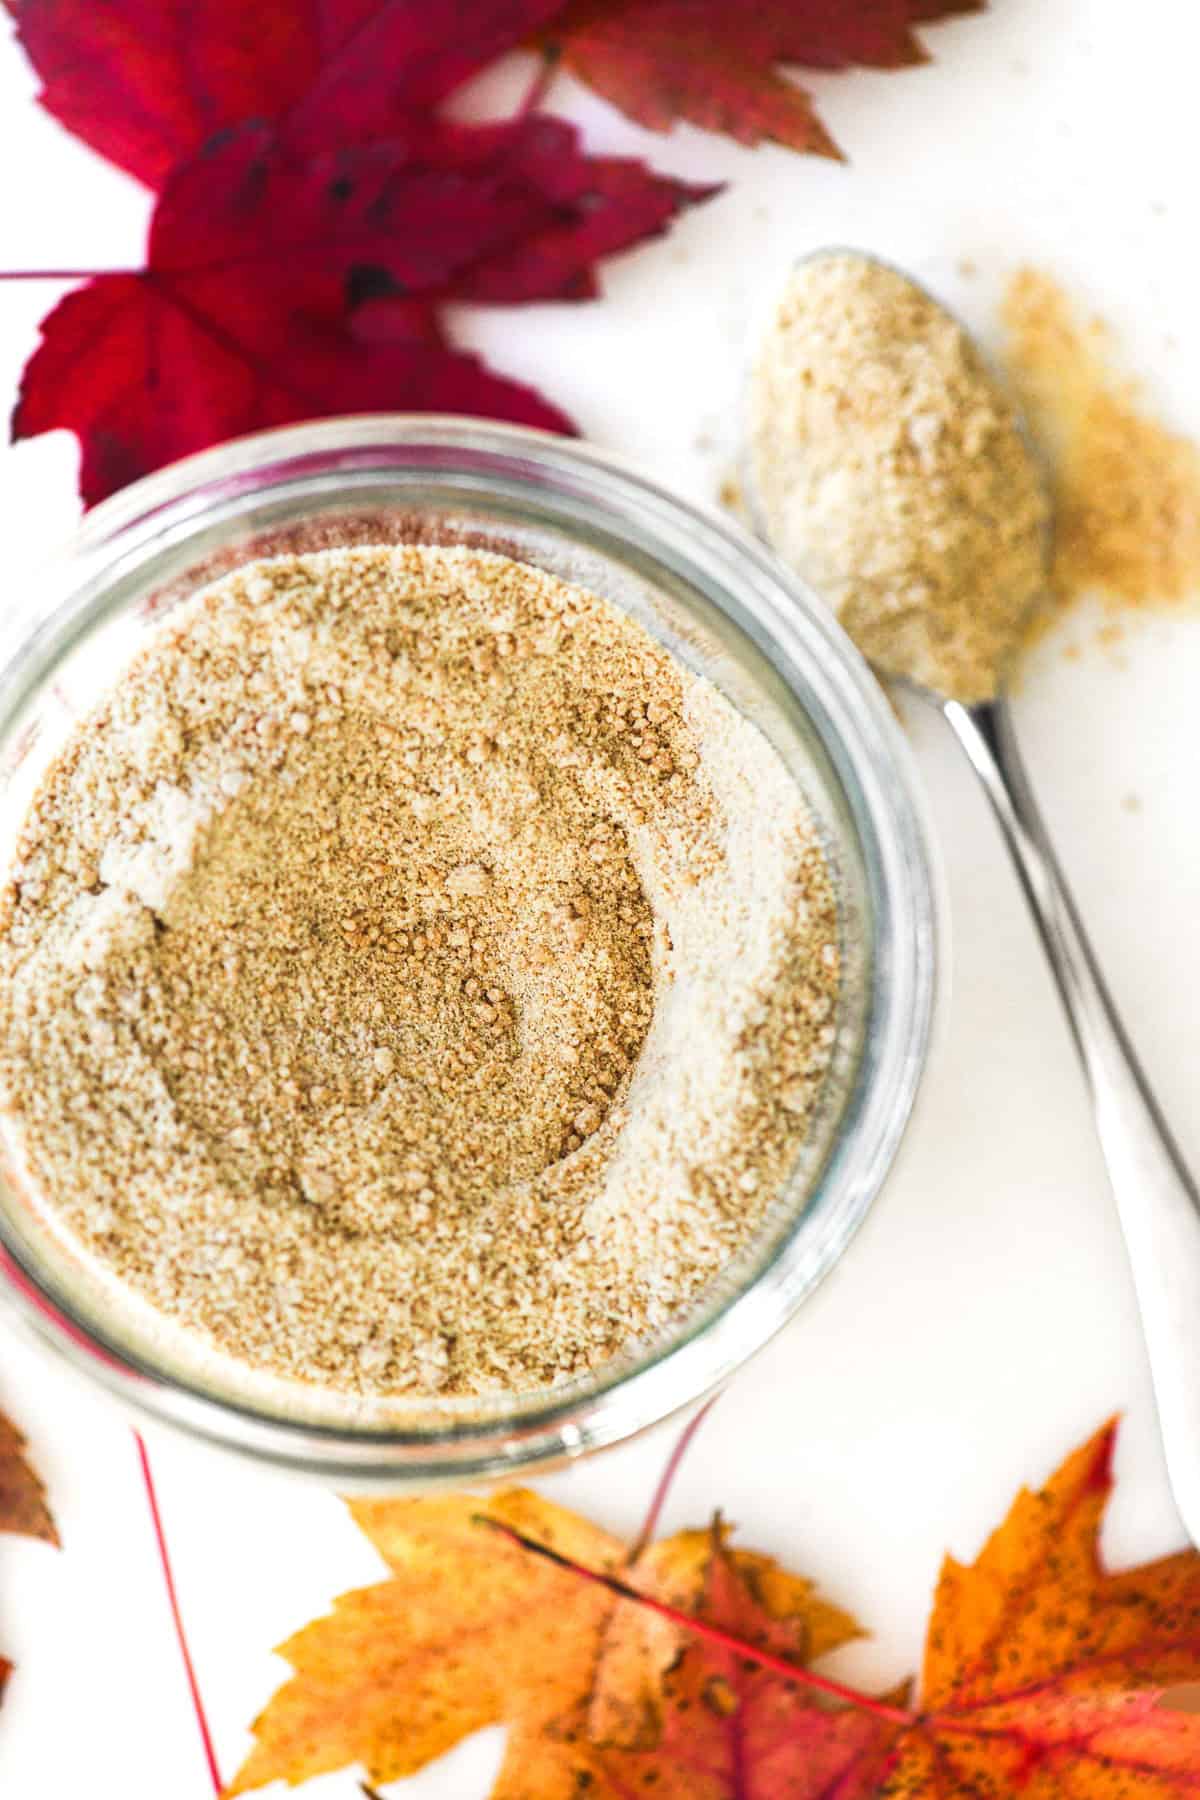
- Homemade maple sugar tastes amazing! It has the deeply aromatic flavor of maple syrup.
- Use maple sugar just like regular sugar for a warm, toasty taste in everything from cookies and cakes and blondies to granola and cornbread.
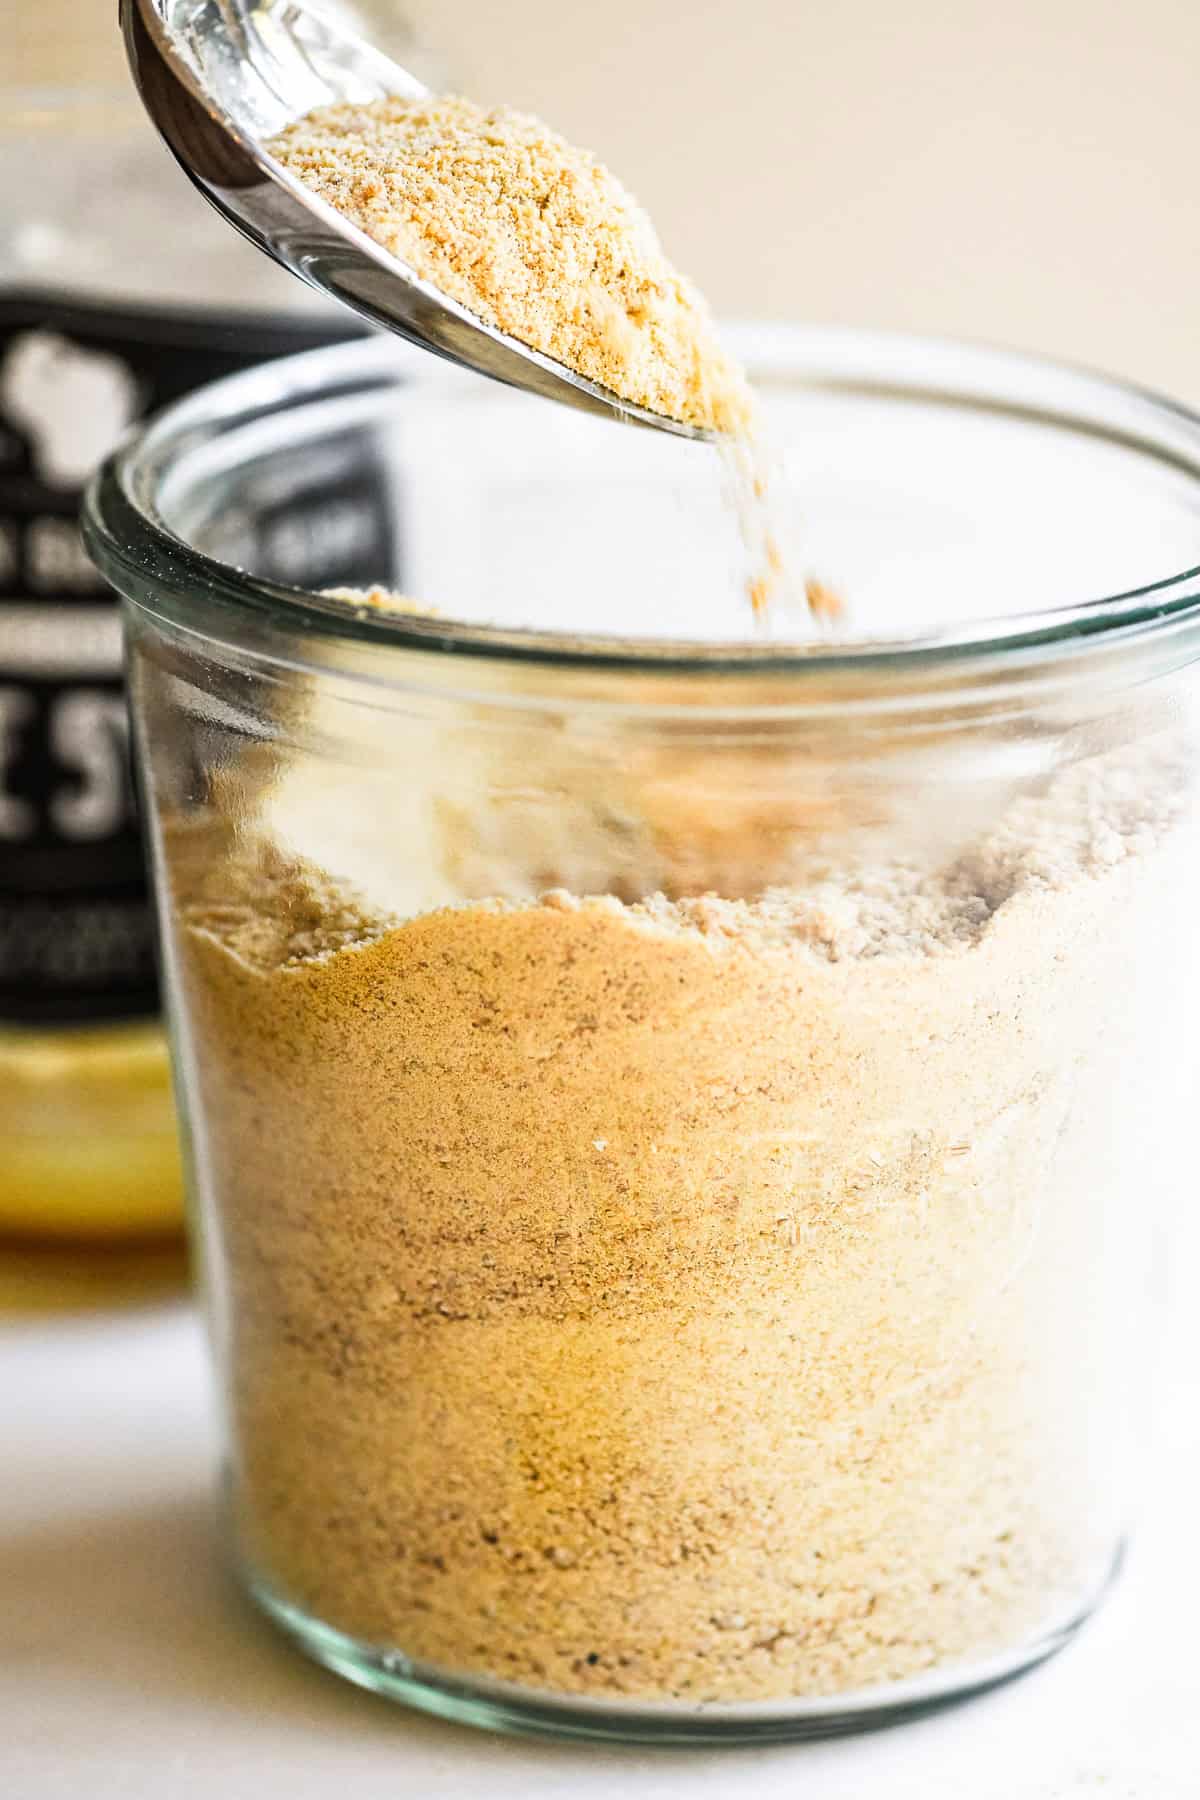
- It keeps for a year stored in an airtight jar in a dry, cool place.
what you’ll need
This is a one-ingredient recipe!
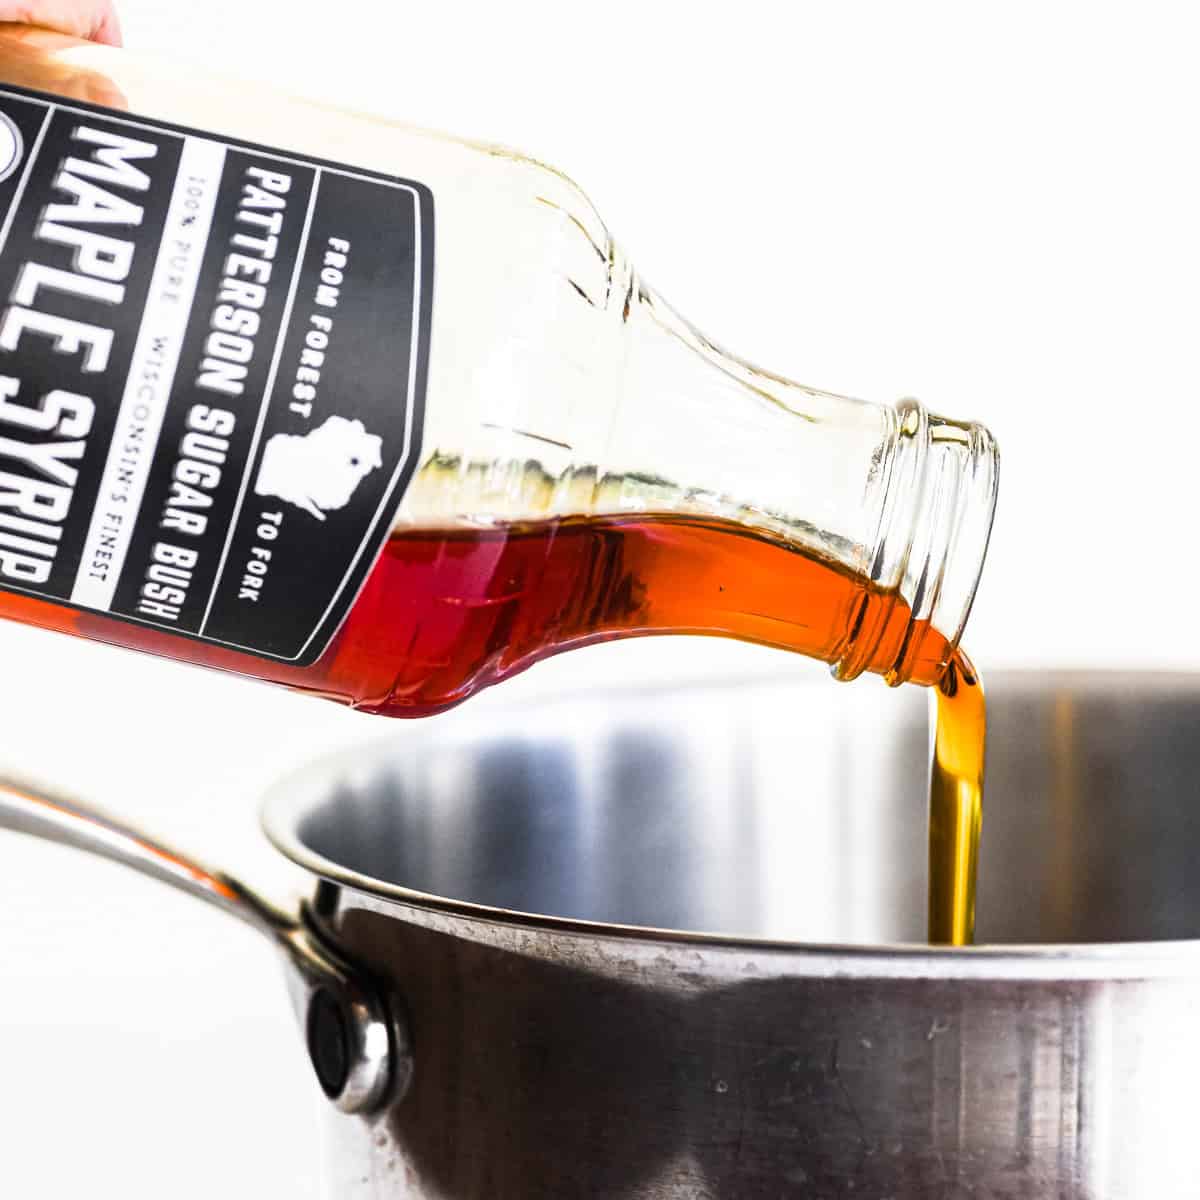
- pure maple syrup (must be real maple syrup)
- You’ll also need a heavy bottomed saucepan, the taller the better because your syrup will foam up quite high as it boils.
making maple sugar step by step
The method is simple: boil the maple syrup, without stirring, until it reaches 260F on a candy thermometer. For 2 cup of syrup this can take up to 30 minutes. Then stir it vigorously until it crystallizes into an aromatic granulated maple sugar. It’s almost like magic!
- Pour syrup into a large heavy bottomed pot and bring to a boil.
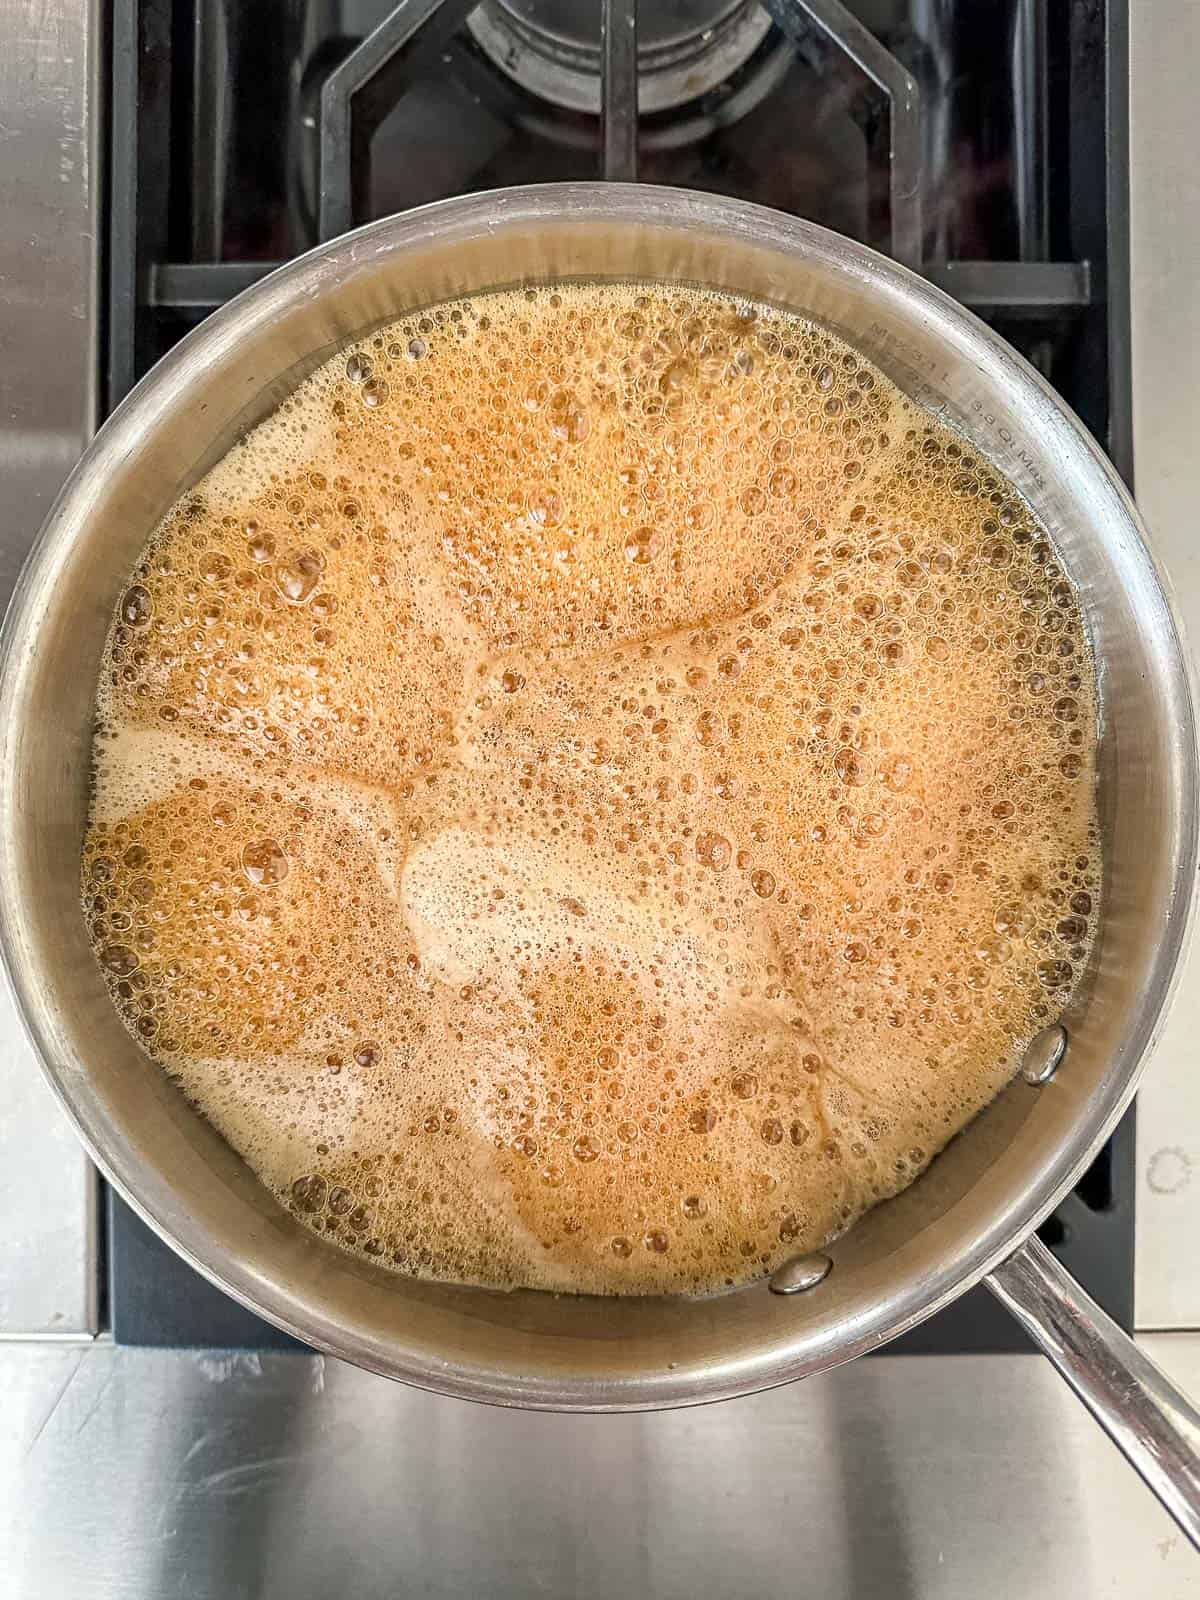
- Boil without stirring. It will foam up as it boils so modulate the heat or remove on and off the flame as needed to keep from boiling over.
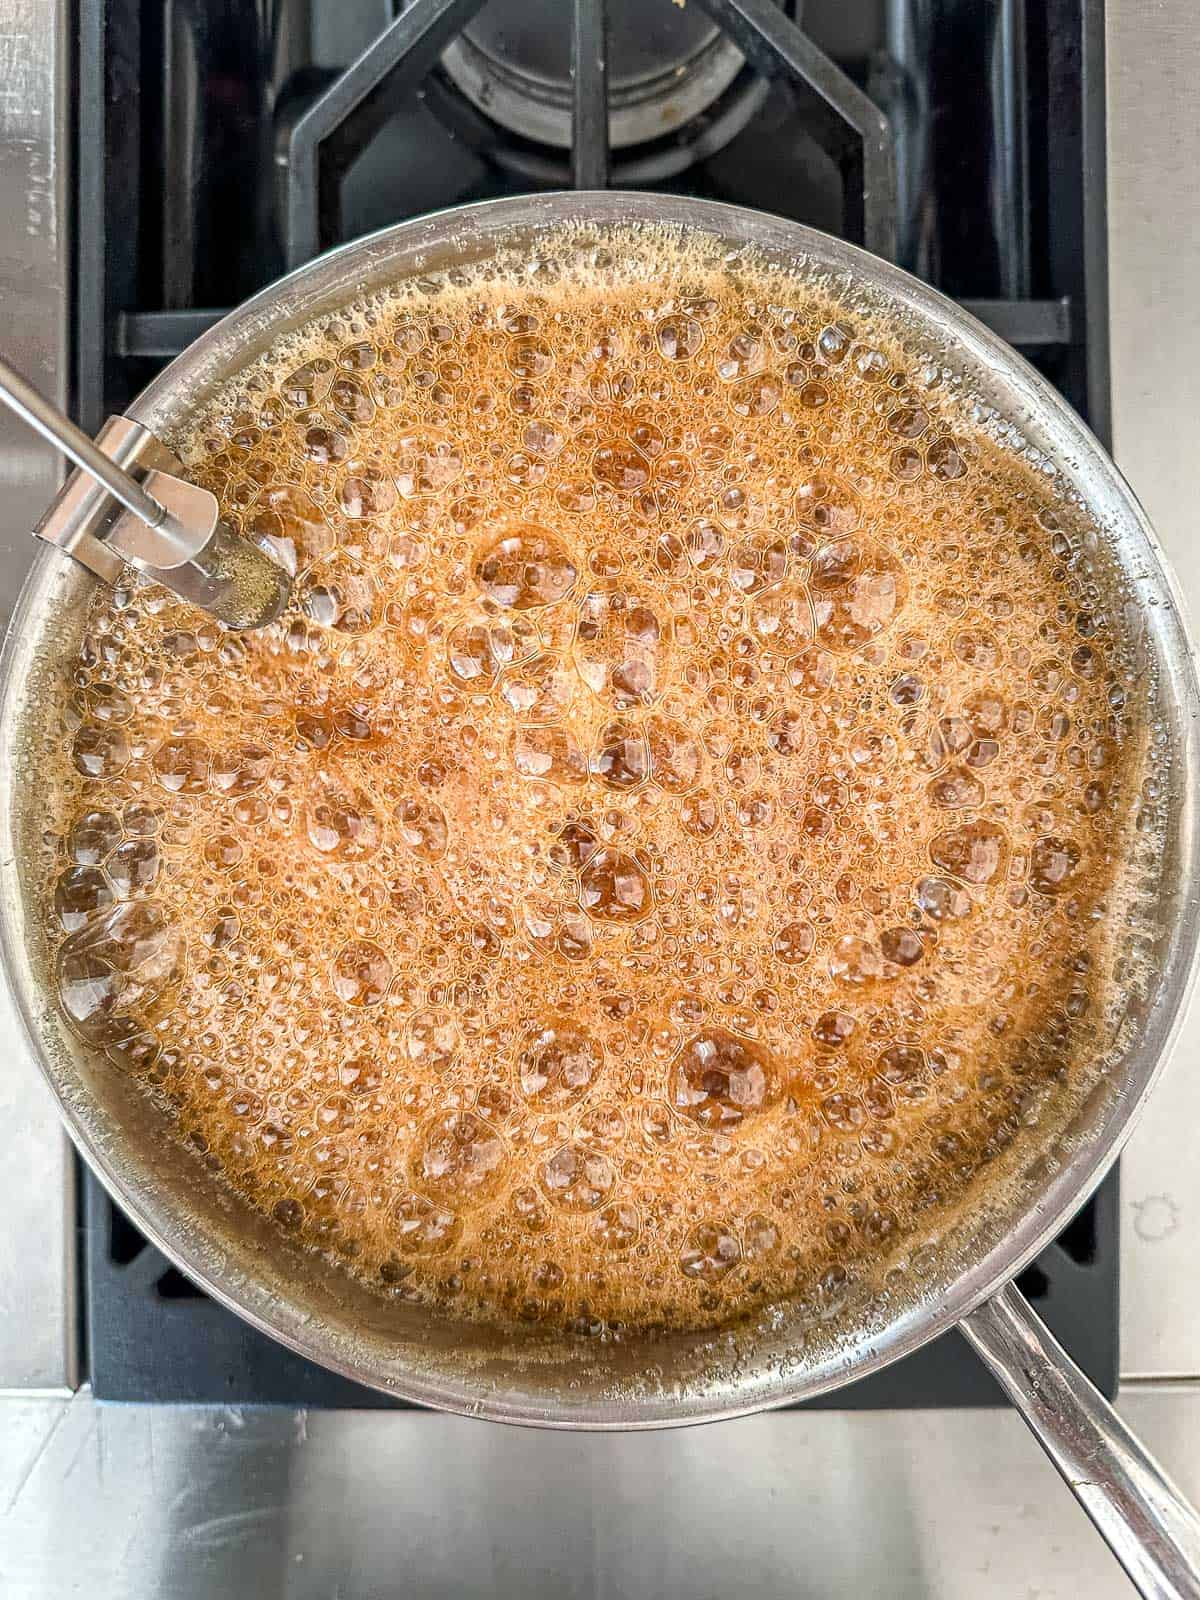
- Take the temperature. Clip an instant read thermometer on the side of the pan to keep track of the temperature.
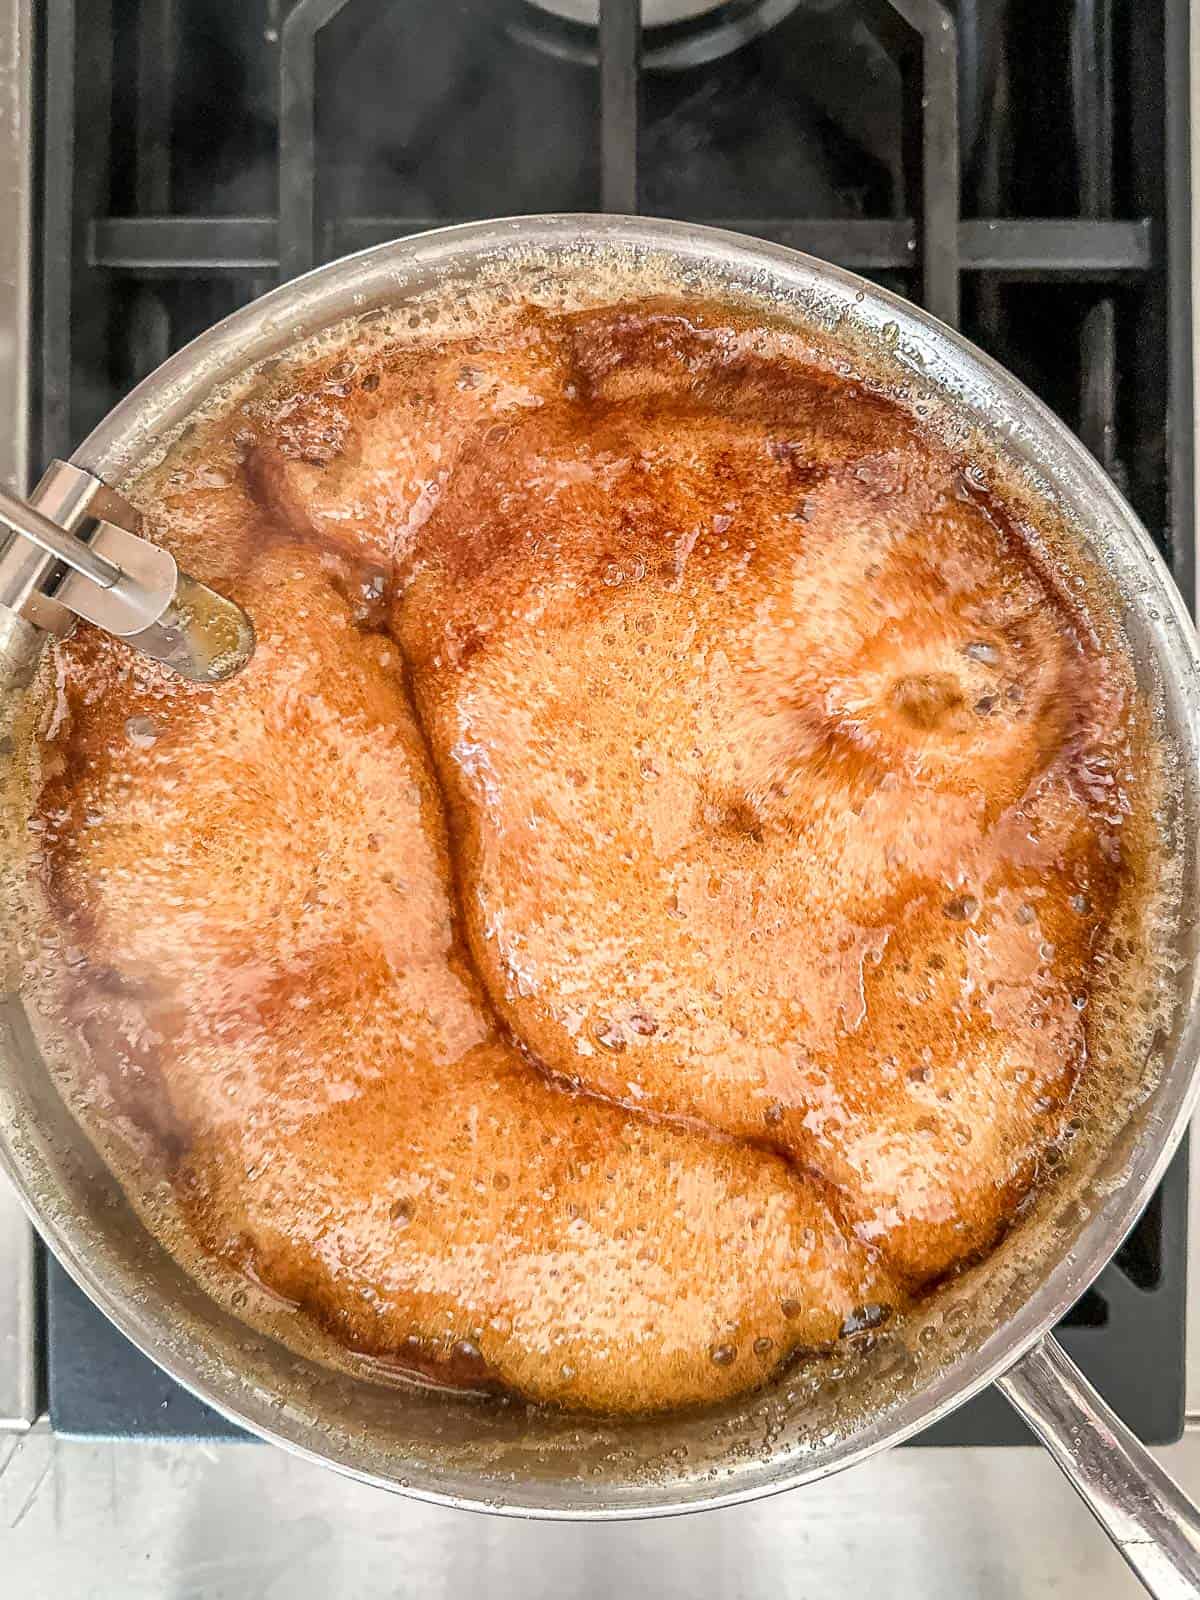
- After 240F the temp can climb quickly, so keep aware and don’t walk away! The minute the temperature reaches 260F remove the pan from the heat.
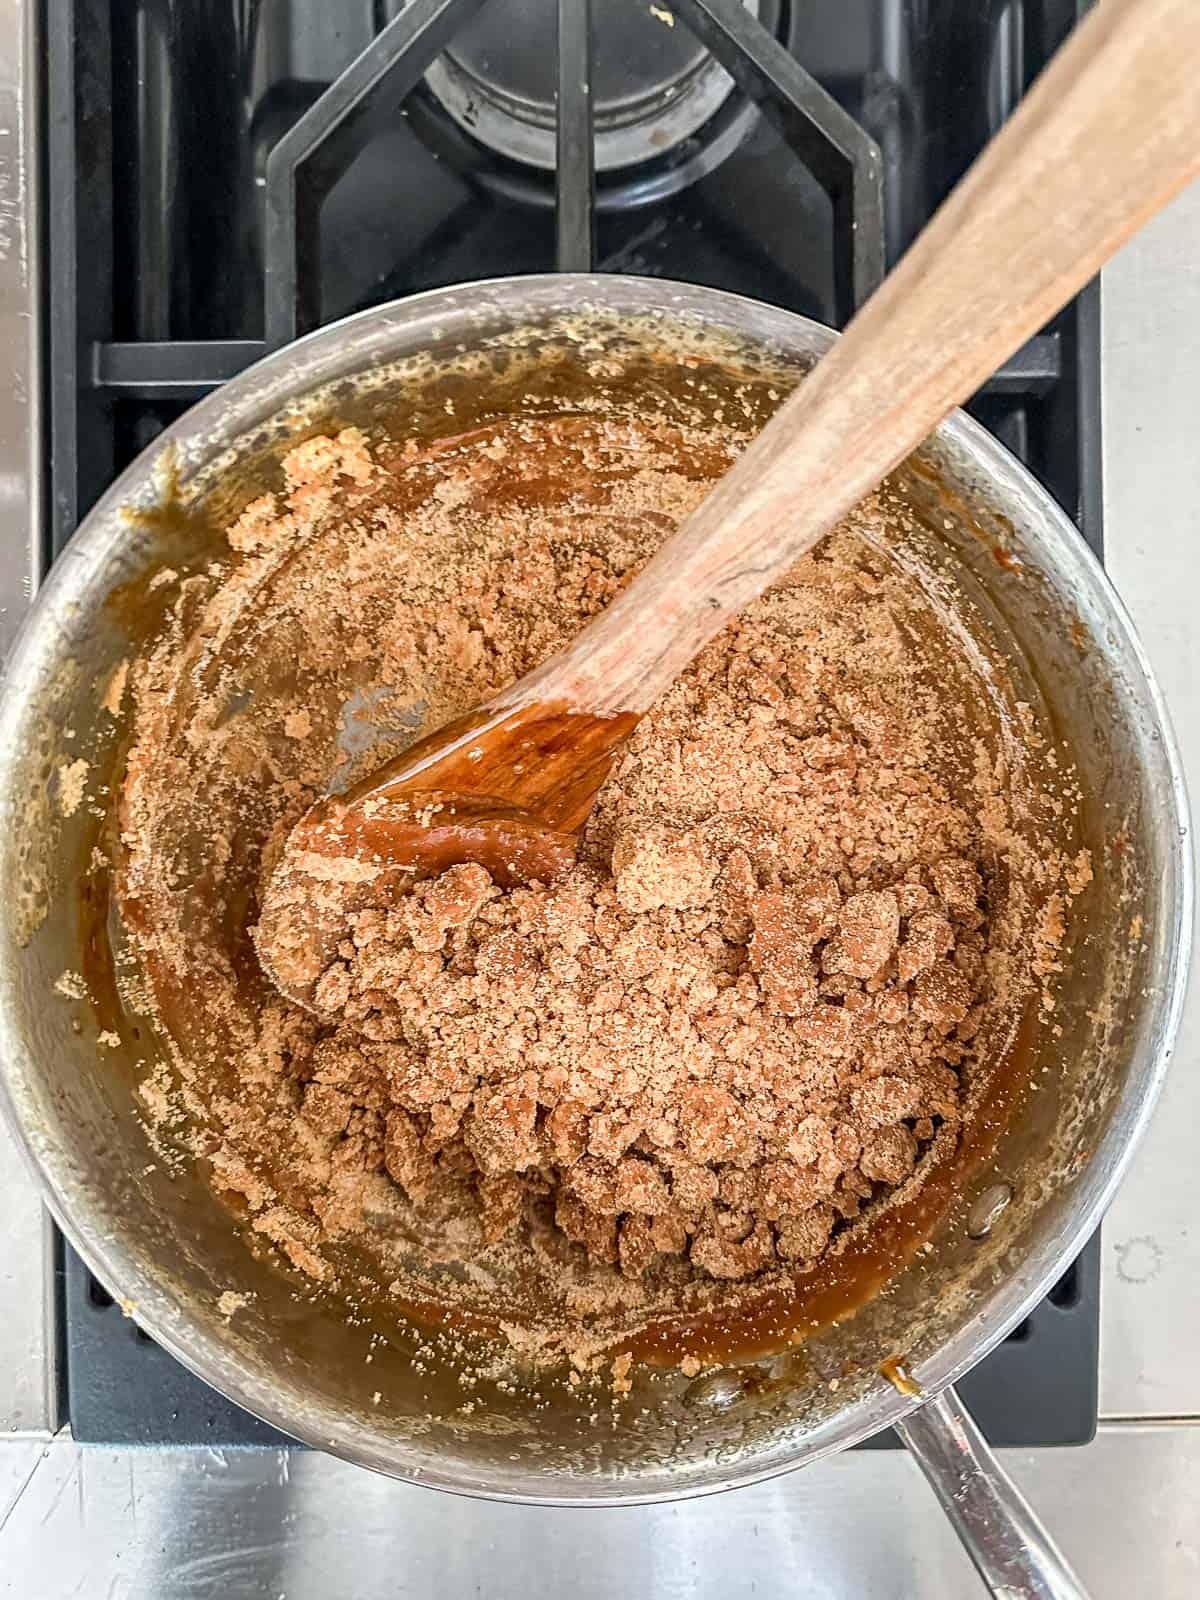
- Begin stirring the syrup ~ after a couple of minutes it will start to crystallize! You can also do this more easily in a stand mixer if you have one. It will look like a hot mess at first, but keep at it.
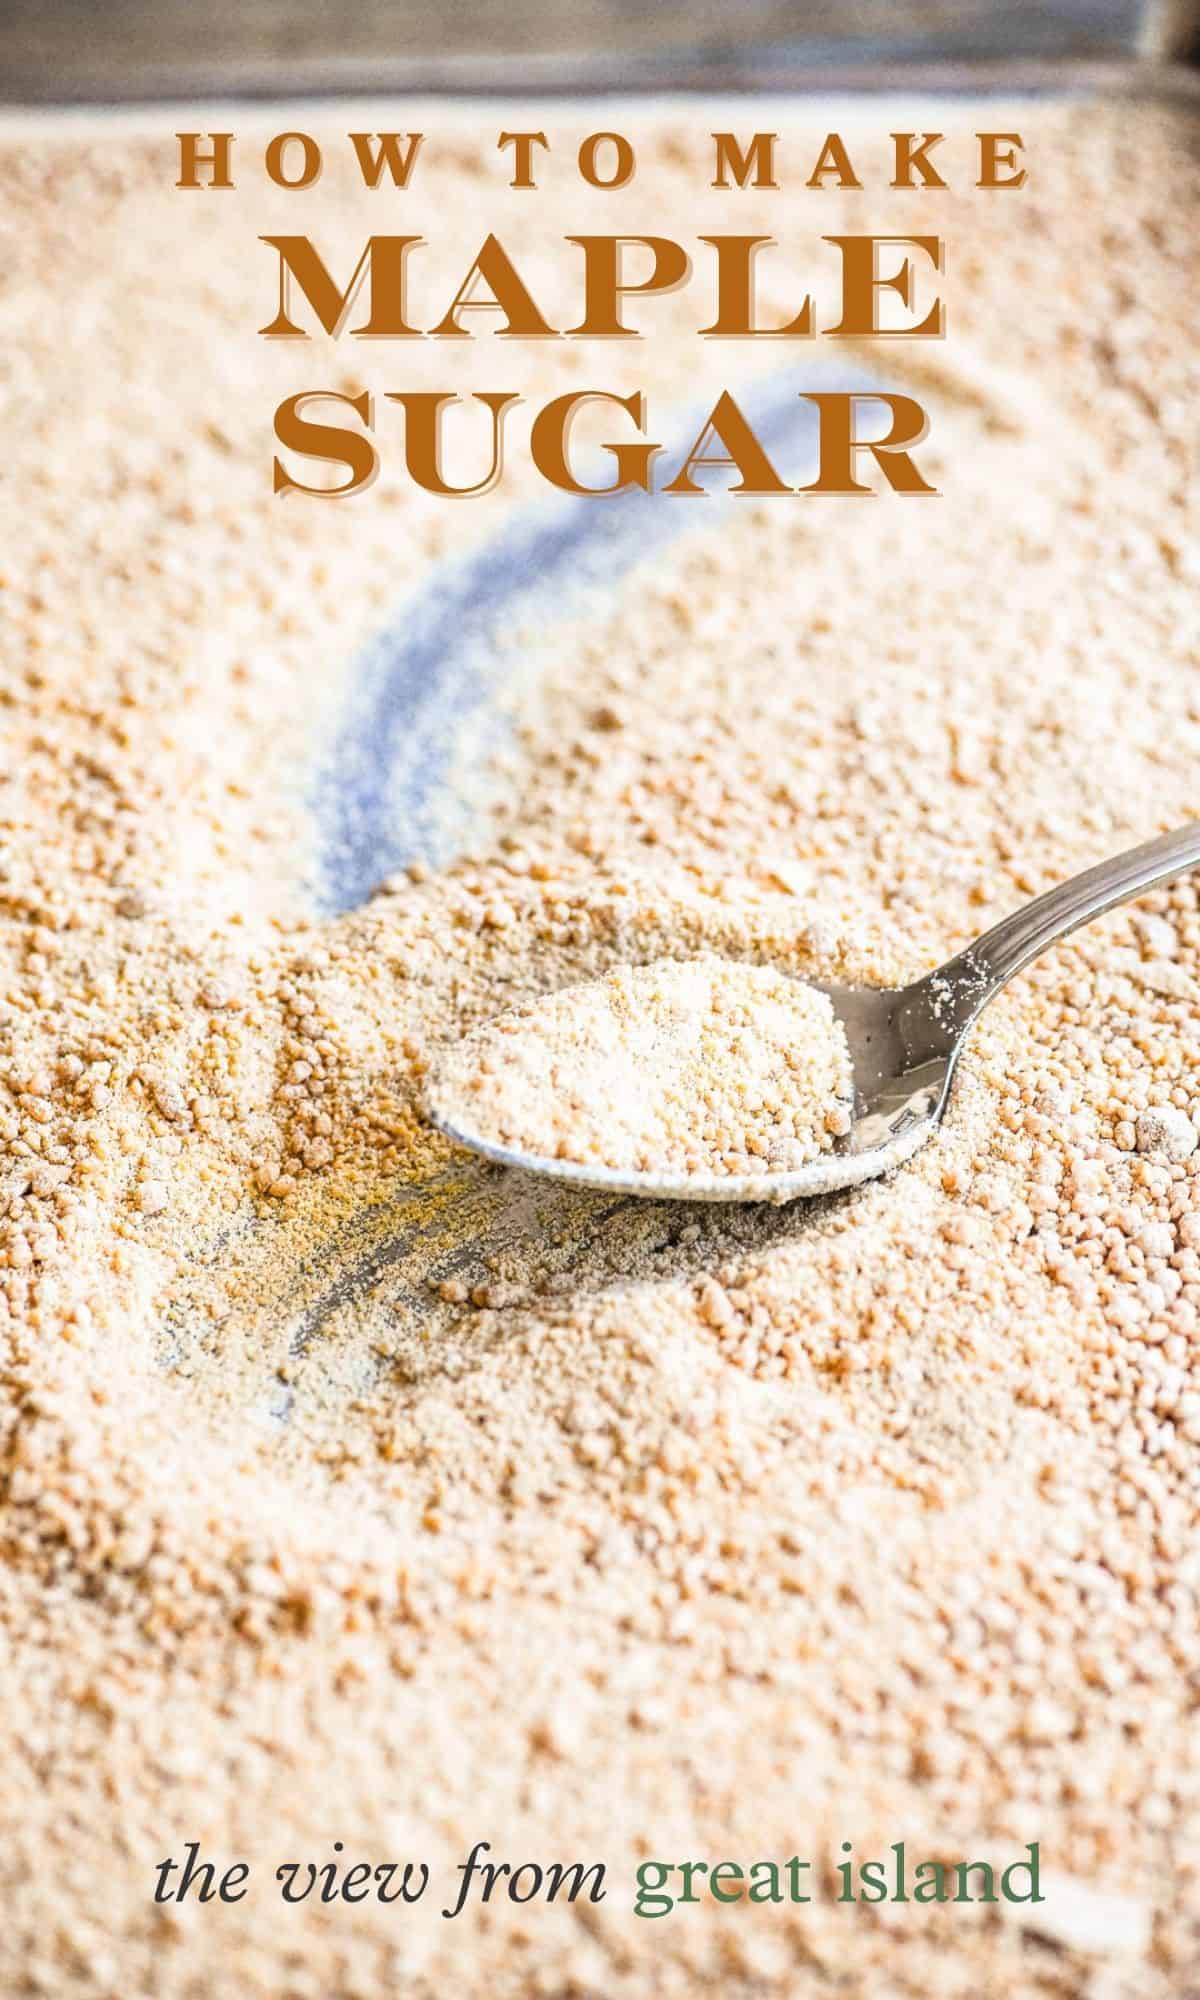
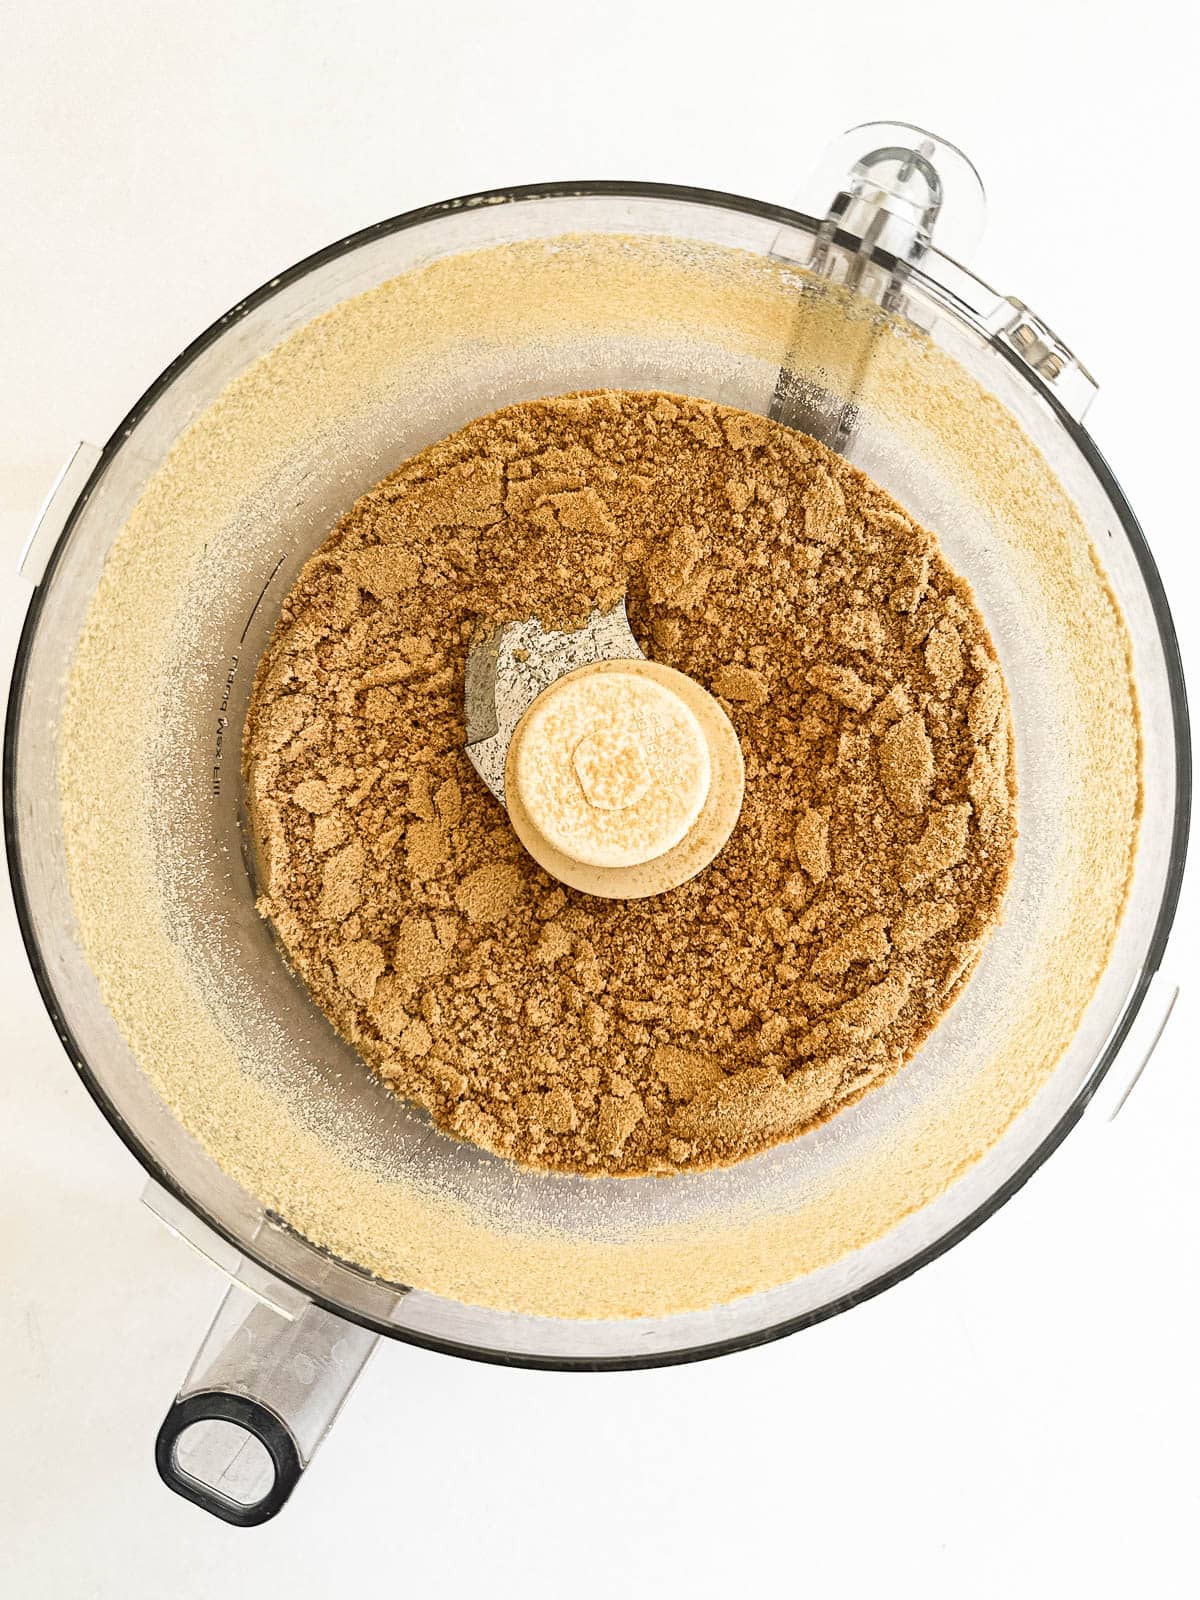
- Process the granulated sugar until smooth (optional) in a food processor or high speed blender to remove any lumps and give it a finer texture.
storage tips
Like regular sugar maple sugar doesn’t really spoil, as long as it’s kept dry. You can plan on using yours for at least a year. I make a fresh batch every year.
Maple sugar likes a dry environment, so an airtight jar in a cool dark cupboard is best. Don’t store in the fridge because cold air = condensation and maple sugar hates moisture.
This recipe makes a relatively small batch (1 1/2-2 cups) so you’ll use it up fairly quickly (see delicious ideas below the recipe.)
homemade vs store bought maple sugar
Homemade for the win!
- Deeper maple personality. You’ll get fresher, more complex maple notes (toffee, caramel,) than from commercial brands.
- Fresher aroma.
- You controlled the texture. I use my high speed blender to get a nice fine texture. As long as it’s dry and free-flowing, you’re set. And if you get a few tiny pebbles here and there? They’ll melt right into batters, doughs, and liquid ingredients.
Maple Sugar
Equipment
- large heavy bottomed pot with tall sides
- high speed blender or food processor
- instant read thermometor
Ingredients
- 2 cups pure maple syrup, can be light or dark syrup, both work.
Instructions
boil
- Pour 2 cups pure maple syrup into a deep heavy saucepan. Bring to a strong boil (no stirring) over medium-high. The syrup will foam up quite high as it boils, so your pan needs to be nice and deep. Modulate the heat or move the pan on and off the burner to prevent boil-over.
- Let boil until the temperature reaches 260°F (about 20–35 min, but that can vary). Use a candy thermometer to monitor the temp very carefully, especially after it hits 240F. After 240F the temp can climb quickly, so keep aware and don’t walk away! The minute the temperature reaches 260F remove the pan from the heat.
crystalize
- Begin stirring the hot syrup (be very careful as it is extremely hot.) You don’t need to beat the life out of it ~ consistency is more important than force. It takes a few minutes, so be patient.
- By hand: pour the hot mixture into a stainless steel bowl and stir constantly with a silicone spatula, scraping sides/bottom, until the liquid crystalizes into a dry and sandy sugar.
- Stand mixer (stainless bowl + paddle attachment): beat on low to medium low speed, it will turn matte, then pasty, and finally crystalize into granules (2–5 min).
cool & process
- Spread on a baking sheet; cool 15–30 min.
- If you want a smoother or finer texture to your maple sugar you can pulse it in a food processor or high speed blender to smooth out the lumps.
storage
- Store: Jar airtight in a cool pantry. Don't refrigerate or freeze.
- To clean your pan don't try to scrub, simply fill with very hot water and the hardened bits will melt away.
Nutrition
let’s bake with maple sugar!
Some recipes will call for maple sugar, but more often you’ll substitute it for regular sugar in recipes where you want that warm maple flavor.
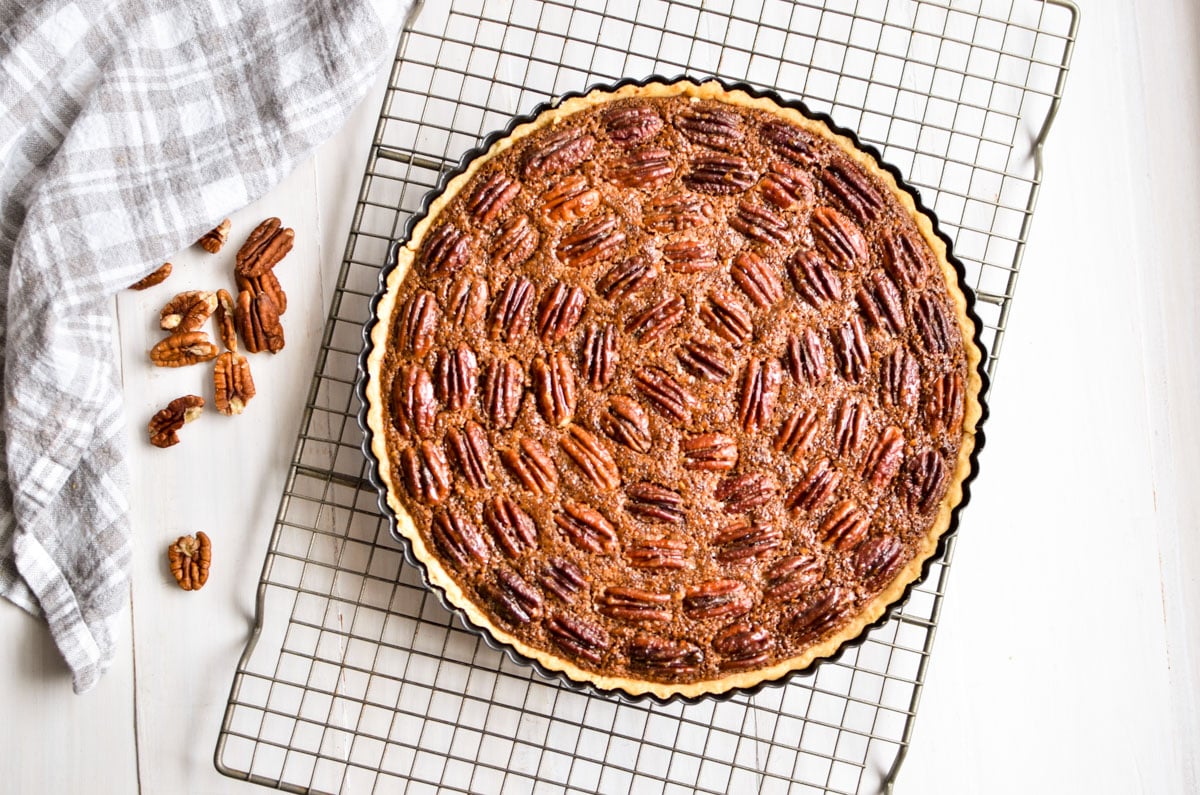
Maple Frangipane Pecan Pie
My Maple Frangipane Pecan Pie recipe is a delicious tart filled with a rich pecan frangipane flavored with vanilla bean, bourbon, and maple.

The Ultimate Maple Cheesecake
The Ultimate Maple Cheesecake is supremely creamy and so delicious it will outshine any pie on your Thanksgiving dessert table!

Maple Bourbon Pumpkin Creme Brulee
Maple bourbon pumpkin creme brulee is a rich and creamy dessert with a dramatic flair!
Our Favorite Fall Maple Nut Recipes
Our BEST maple nut recipes from scones and loaf cakes to smoothies and ice cream ~ maple nut is our favorite fall combo (move over pumpkin spice!) Pumpkin spice gets all the press this time of year, but let’s hear it for fall’s other star duo ~ maple nut! It’s a personal favorite flavor profile

Maple Oat Nut Shortbread
Take a bite out of fall with my maple-licious oat nut shortbread!

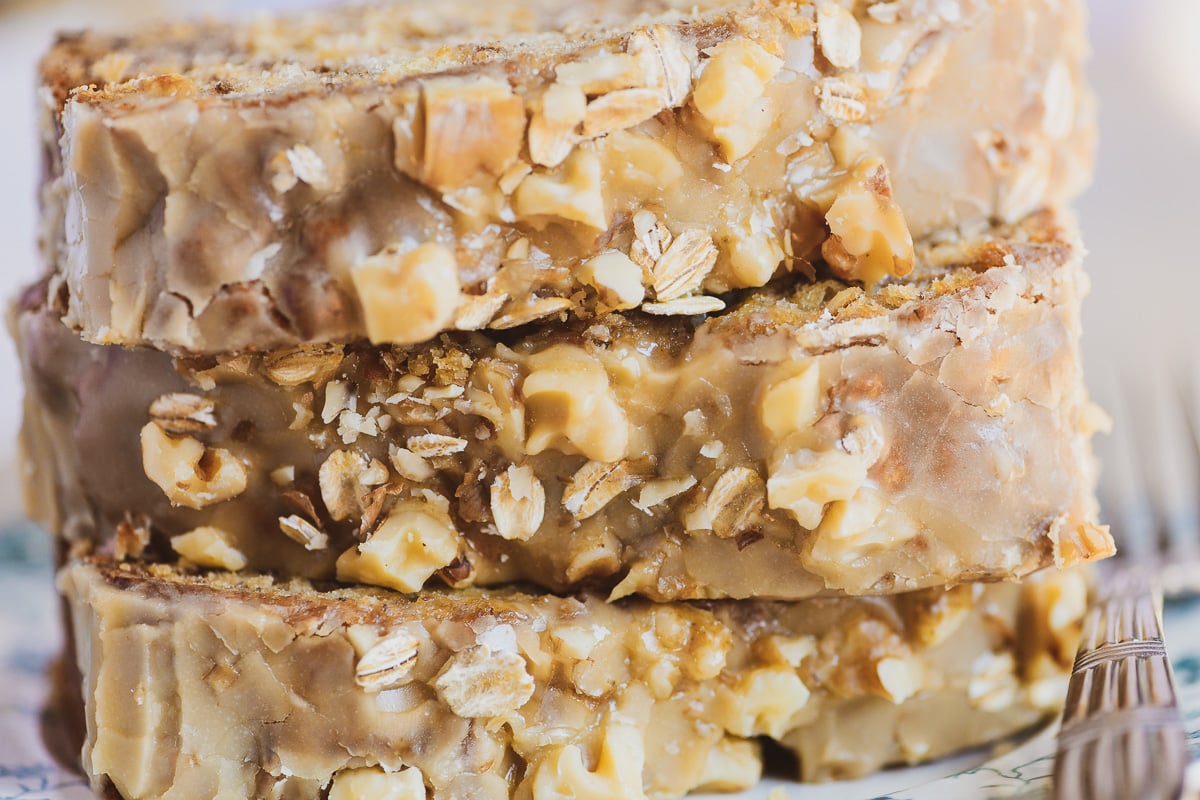
Maple Oat Nut Scones (Starbucks Copy Cat)
Craving the taste of Starbucks’ Maple Oat Nut Scones? Try my copycat recipe for a homemade version that’s even better!

Maple Walnut Apple Crisp
The classic apple crisp just got an upgrade with the rich caramel flavor of maple syrup and crunchy walnuts! It’s the ultimate fall dessert.
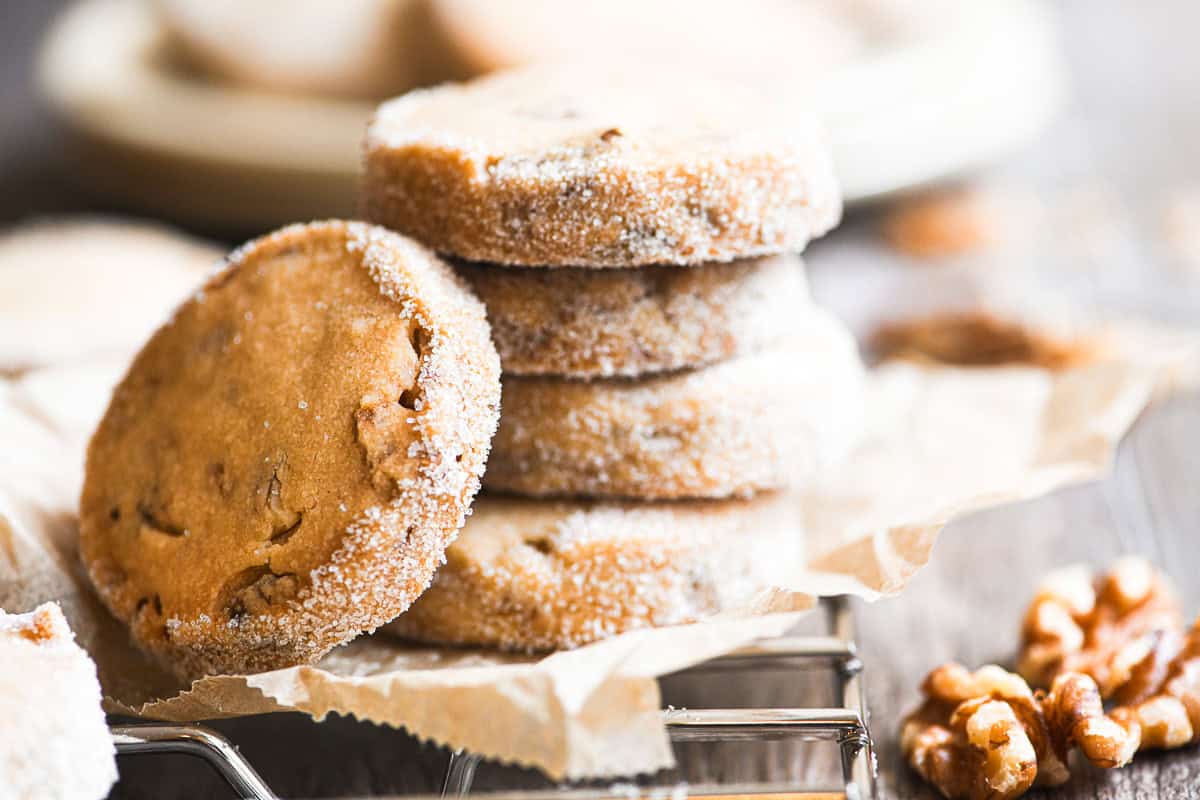
Maple Walnut Shortbread Cookies
The warm flavor of maple sugar mingles with toasty walnuts in these buttery maple walnut shortbread cookies. Roll them out or slice and bake!


I definitely have to try this!
Try a wooden spoon over the diameter of the pot. It won’t boil over.
Hope you love it Charlie, it’s fun! As for the spoon, that was my first thought but turns out the wooden spoon doesn’t work with maple syrup like it does with pasta. Something about the sugar syrup bubbles ~ they’re stronger and don’t respond to that trick!
I don’t know which recipe to try first! All look delicious. Love the idea of your homemade maple sugar.