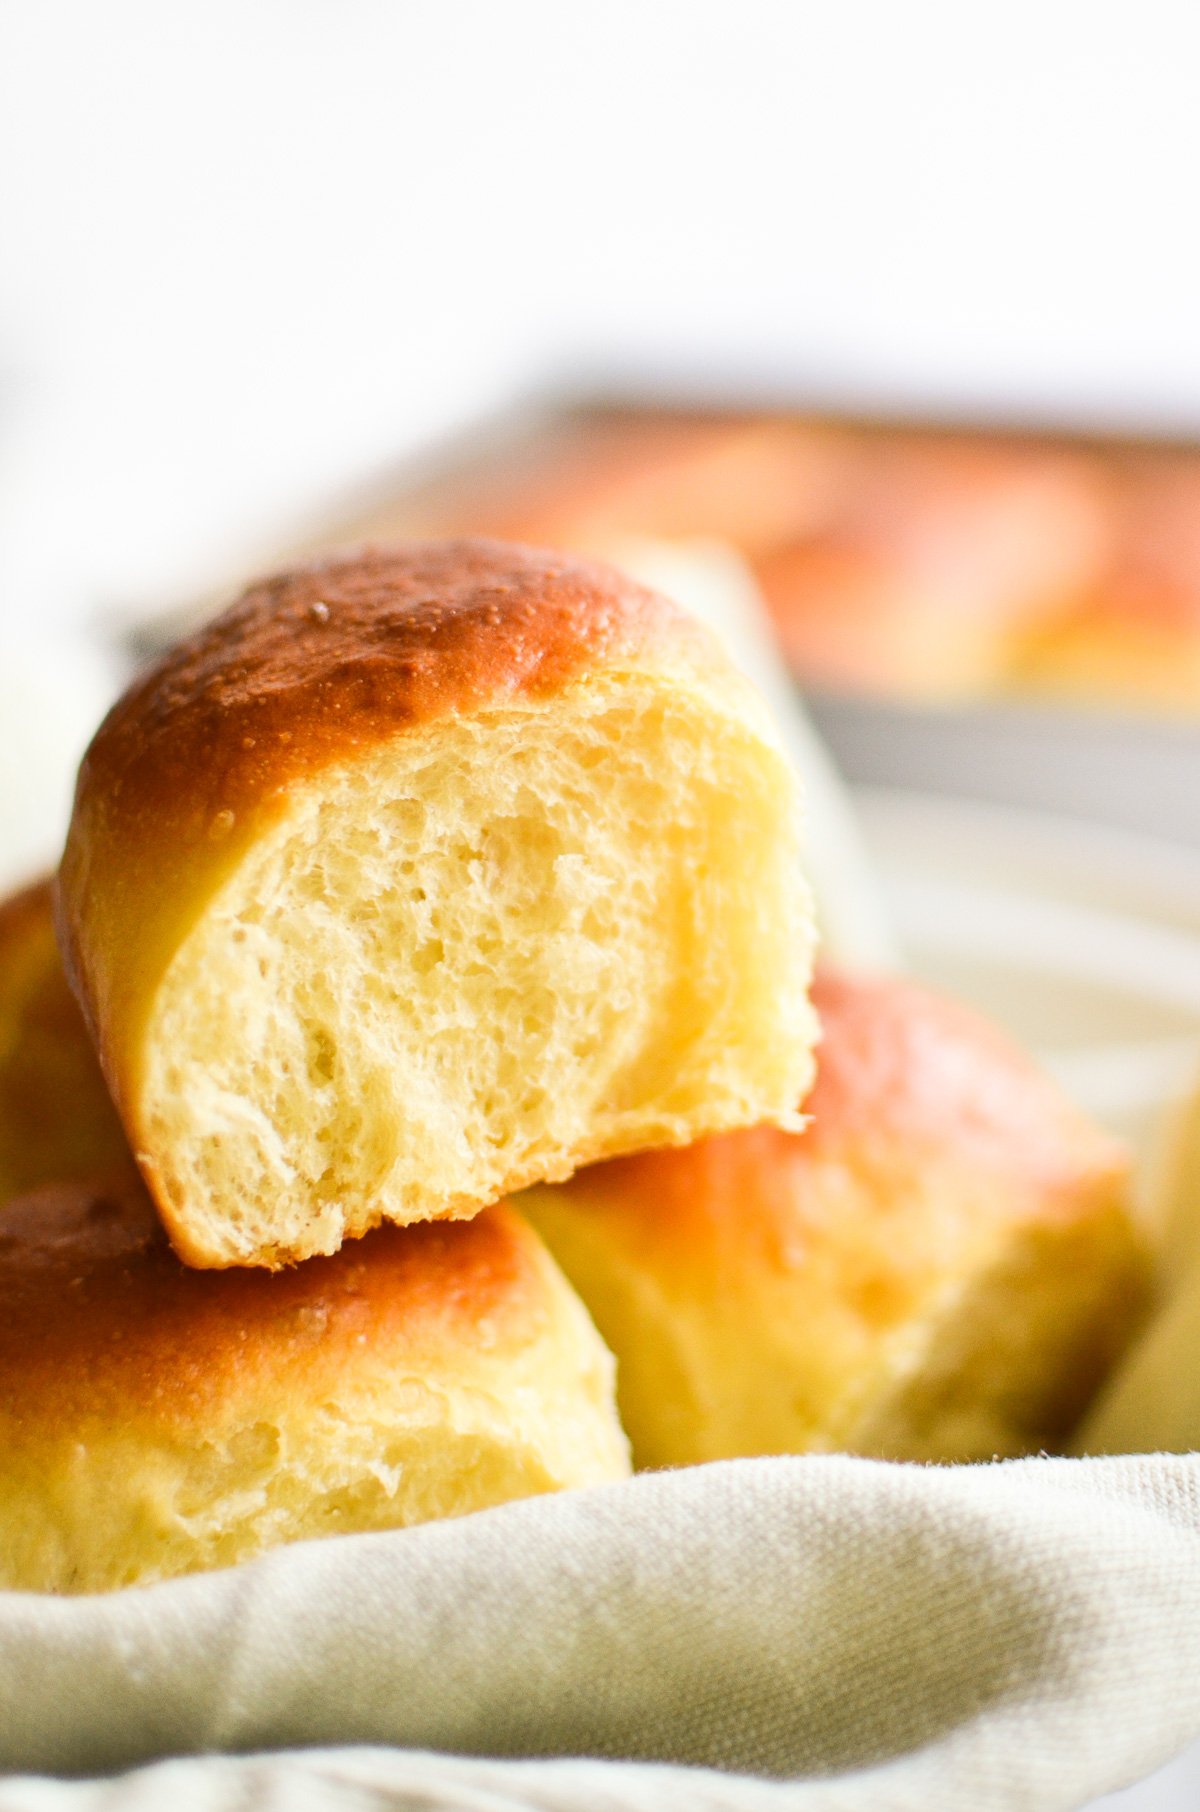
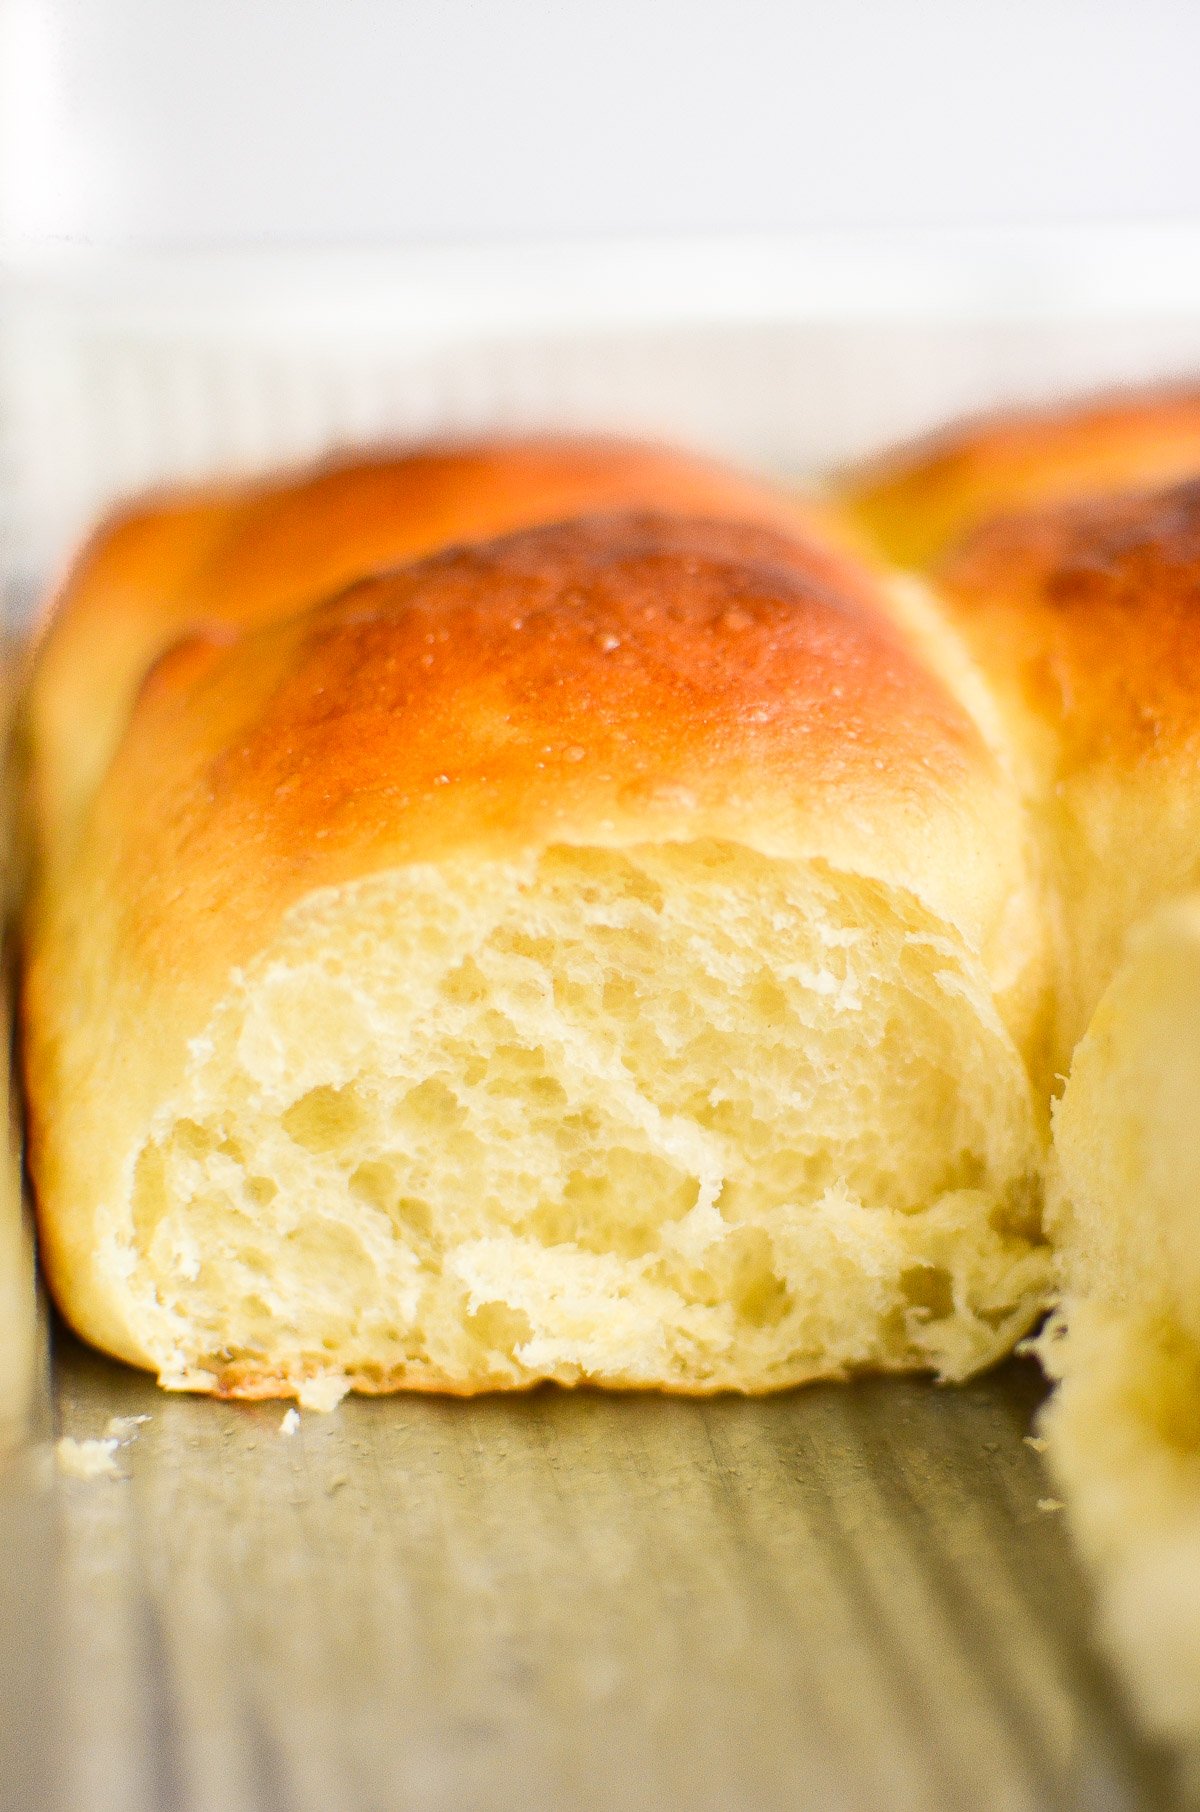
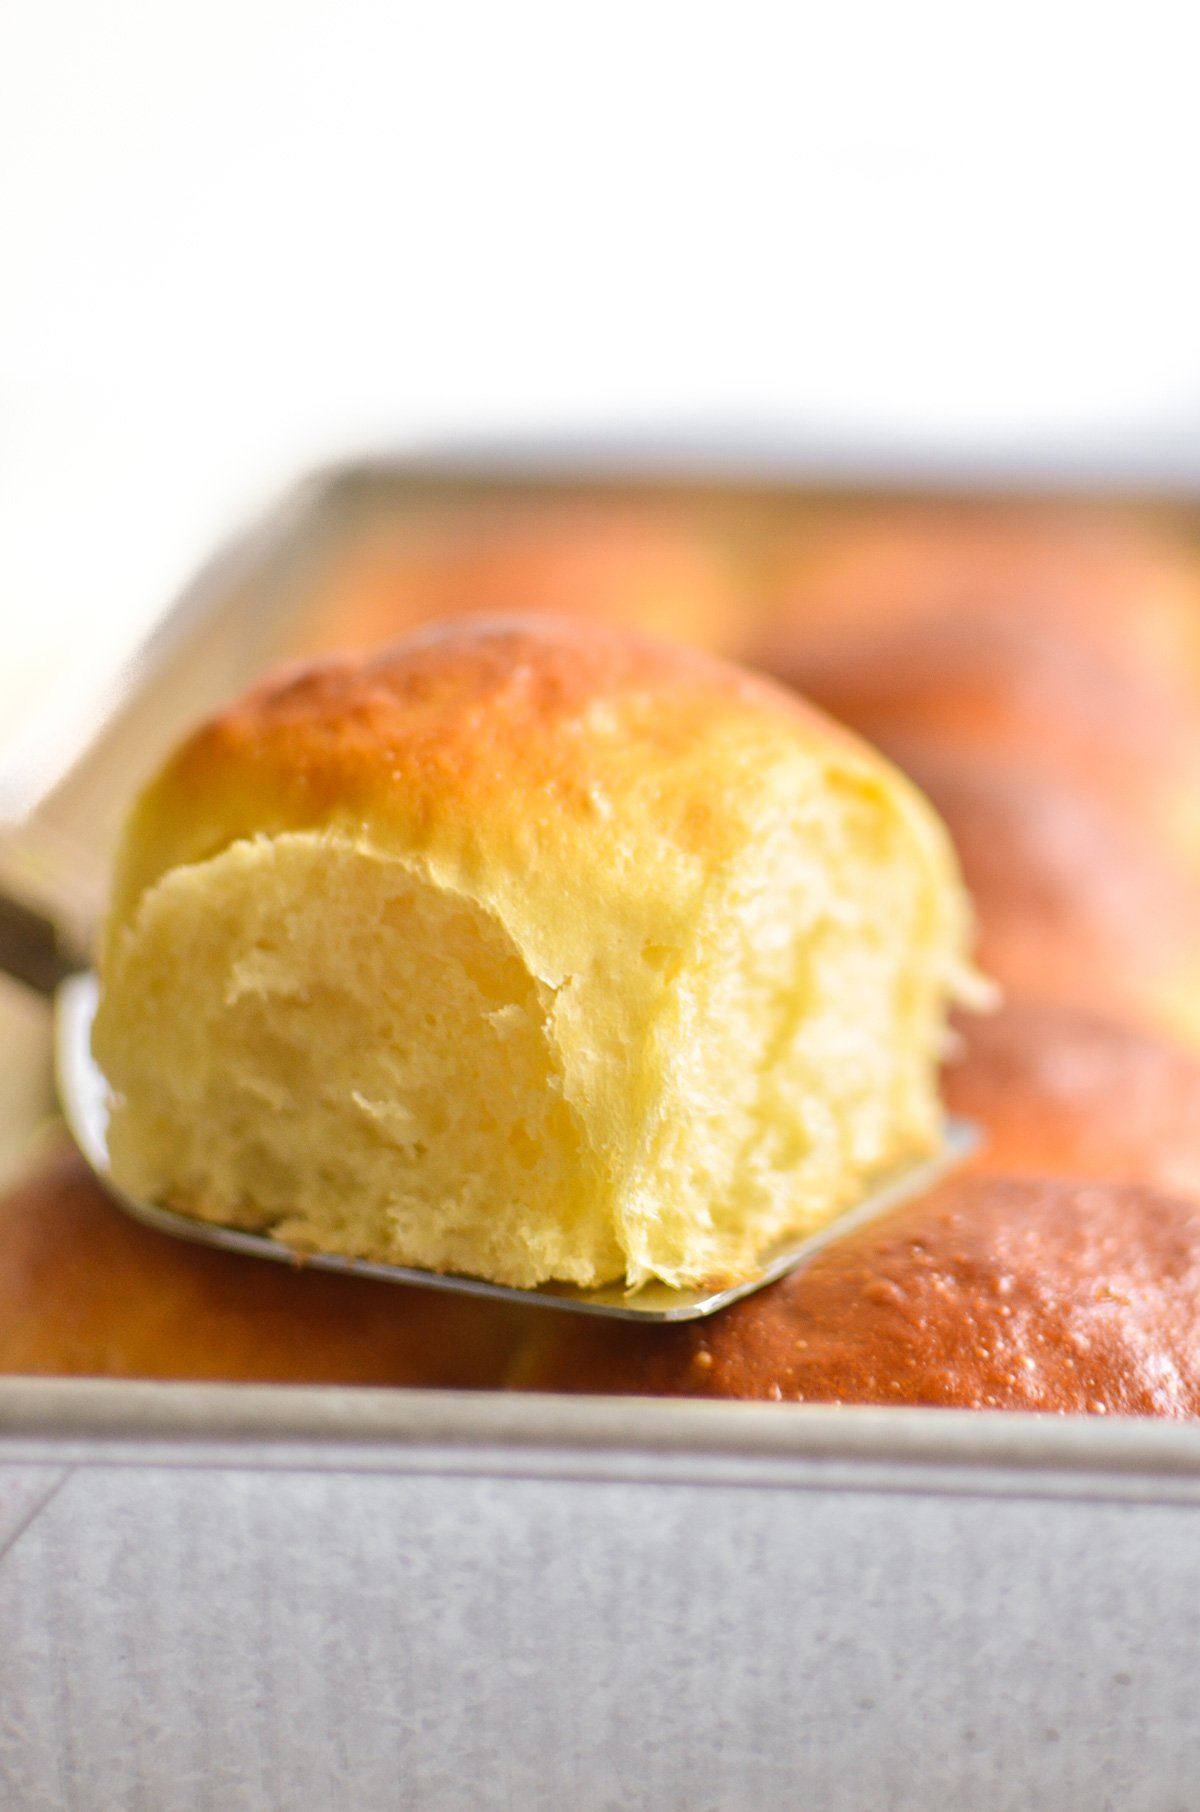
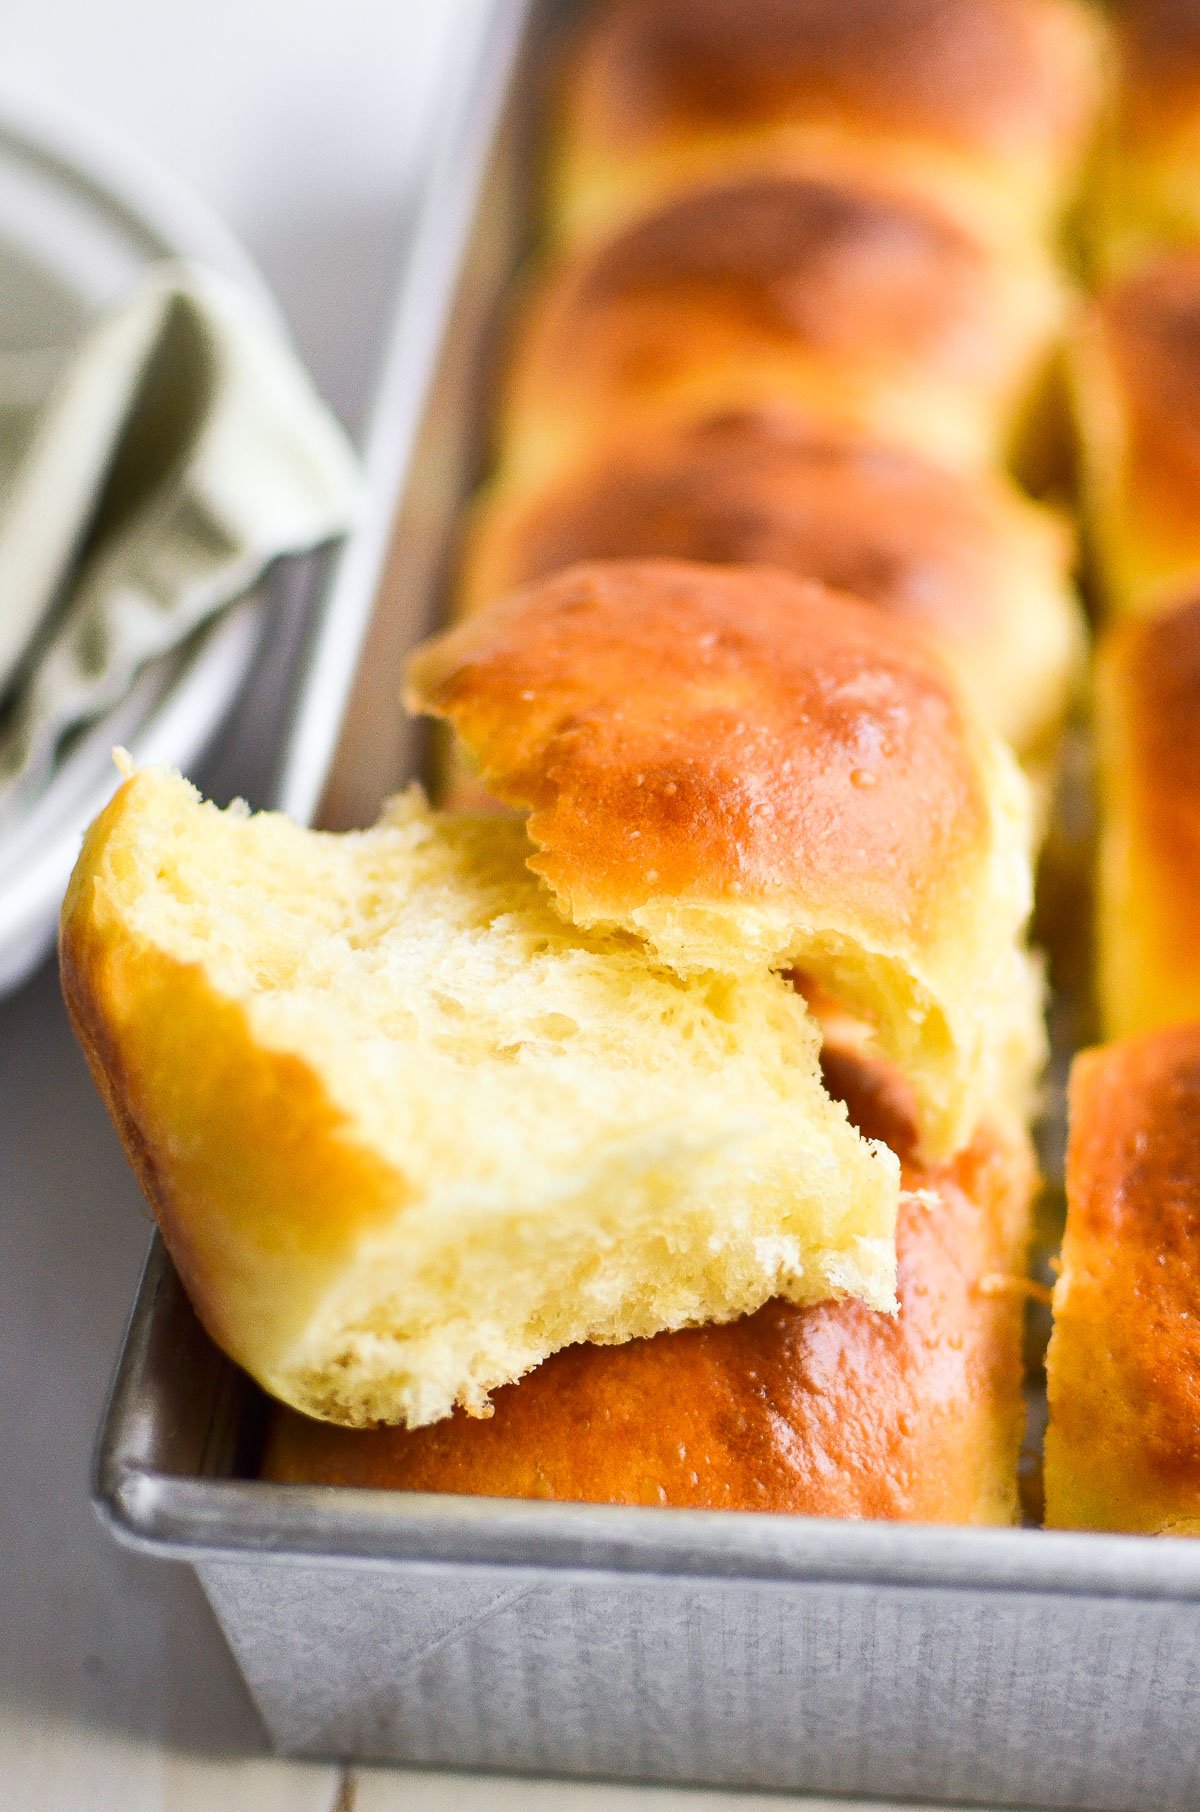
Homemade Hawaiian Rolls are a diy version of the famous King’s Hawaiian Sweet Rolls ~ these golden buns are soft, lightly sweet dinner rolls that will round out all your meals this summer.

Homemade Hawaiian rolls go with everything!
My winter bread baking urge has eased right into summer with these plush little rolls. They’ll become mini buns for all manner of sliders, barbecue sammies, and on the fly snacks this season. With very little effort, you can churn out 16 of them to feed a crowd, or just serve them straight up as dinner rolls for family meals.

What are sweet Hawaiian rolls?
The iconic King’s Hawaiian rolls that you’ve probably seen at the grocery store are the famous product of King’s Hawaiian Bakery which started in Hawaii in the 1950’s and became known for it’s sweet, soft rolls made in the Portuguese tradition of enriched breads. Many Portuguese families immigrated to Hawaii in the 1800’s and brought their traditional breads and pastries with them. Over time that tradition has become a part of Hawaiian food culture. Love the delicious mash up of cultures!

Pro tips for making Hawaiian rolls
- Use canned rather than fresh pineapple juice in your dough. Fresh pineapple juice can affect the texture of baked goods or dough due to the enzyme bromelain, which breaks down proteins. Gluten is a protein, and bromelain can weaken or degrade it.
- Don’t stress out if your dough seems very sticky ~ that’s how it should be! You’ll scrape your dough into a bowl for its first rise, and it should be easier to handle when you’re ready to shape them into rolls.
- Use a little oil, not flour, to coat your hands and work surface when you work with this dough.
- An easy way to divide your dough into equal portions for the rolls is to divide it in half, and keep dividing each half by two until you have the right number of rolls. In this recipe, you’ll end up with 16 equal portions, but I found that a standard 9×13 pan fits 15 rolls most comfortably.
- Leave enough time for rising ~ sweet, enriched doughs can take longer to rise than regular bread dough because of the sugar content, so be patient and you’ll be rewarded with beautiful, fluffy rolls.

How to store homemade Hawaiian rolls
Like all homemade bread, these Hawaiian rolls are best stored covered at room temperature for no more than a couple days. Store-bought bread often includes ingredients that help it stay soft for much longer, but the beauty of homemade bread is that it’s super fresh! So enjoy them within 1-2 days when they’ll be at their best.

We used our rolls as mini buns for our pulled pork with pineapple bbq sauce (look for the recipe coming tomorrow!) A quick homemade slaw finished these sliders off perfectly.
Barbecue sliders is just one way to use these versatile Hawaiian rolls:
- I love to use them for mini burgers. Try them with my favorite chickpea veggie burgers for a meatless option.
- Make chicken salad, tuna salad, or shrimp salad rolls for an elegant luncheon.
- Layer them up with deli meats and cheeses.
- Make mini meatball subs or mini sloppy joes.
- These little rolls make perfect kid friendly sized versions of all of the above.

yeast bread and roll recipes anyone can make
- Easy Dutch Oven Bread Recipe
- Everything Bagel Knots
- How to Make Easy English Muffins
- Rosemary and Olive No Knead Focaccia
- Perfect Homemade Pita Bread

Homemade Hawaiian Rolls
Ingredients
For the sponge
- 1/4 cup all purpose flour
- 1 Tbsp instant yeast , (I used 1 Tbsp + 1 tsp of dry active yeast)
- 2 Tbsp water
For the dough
- 1/2 cup canned pineapple juice*
- 4 Tbsp unsalted butter, softened to room temperature
- 1/3 cup lightly packed light brown sugar
- 2 large eggs
- 1 large egg yolk, (reserve the egg white for brushing the rolls before baking)
- 2 3/4 cup all purpose flour
- 2 Tbsp corn starch, or potato flour
- 1 1/4 tsp salt
Instructions
- First, combine the sponge ingredients in the bowl of a stand mixer (if using) or a mixing bowl. Let sit for 15 minutes (see note below about what it means to make a sponge for a dough).
- Add the pineapple juice, softened butter, brown sugar, and eggs to the bowl, and mix until everything is well incorporated. If you are using a stand mixer, I used my paddle attachment for this stage.
- Whisk together the flour, cornstarch, and salt, and then add it to the wet ingredients.
- Mix together well, at first using the paddle attachment on medium speed for a couple minutes, then switching to the dough hook and kneading for about 5-7 more minutes (or knead by hand.) This dough is VERY sticky, so don't worry if it seems very wet, but you can also add 1-2 tablespoons more flour here if it seems like it needs it.
- Scrape the dough into a lightly oiled bowl and cover. Let rise for about 1 1/2 – 2 hours, it should be about doubled in size or a little less.
- Lightly butter a 9 x 13 baking pan and set aside.
- After it is done rising, gently scrape the dough out onto a work surface for shaping the rolls. It should be a little easier to work with at this stage, but if it's still very sticky, lightly oil your hands and your work surface while you shape the rolls.
- Divide the dough into 16 equal portions, by dividing it in half, then dividing each piece in half 3 more times. A standard 9×13 baking pan will fit 15 rolls comfortably, so you can either discard the last little bit of dough, or bake it separately.
- Roll each portion of dough into a ball and place them in the prepared baker. Cover and allow to rise again for about an hour. They should be puffed up and filling out the space in the pan.
- Meanwhile, preheat oven to 350°F.
- Mix 1 Tbsp of water with your reserved egg white and lightly brush the mixture over the risen rolls. The egg wash gives them their signature soft, shiny crust.
- Place the rolls in the oven and bake for about 20 minutes. They should be a nice golden brown color. If they seem like they are starting to brown too much on top you can gently place some tinfoil over them while they continue to bake.
- Remove from the oven and allow to cool before removing.
Notes
Nutrition


I tried making this and ended up with what could best described as a batter rather than any kind of dough. I let it go through the first rise, but could not at all divide into rolls. I decided to look at the King Arthur Flour recipe to see if maybe something was significantly different. I found that they have a note at the bottom that if you use fresh pineapple juice you must first heat it to 200 degrees to kill enzymes that kill gluten. I had used fresh juice so that must be the reason for my batter.
I have never been disappointed by one of your recipes before so I was very confused.
Anyway, to others–don’t use fresh pineapple juice without heating it first.
To Sue–maybe you should add that note also.
Christmas 2022
It’s been so many years since I’ve made fresh rolls for holidays since retiring this December I’ve found it quite fitting and sure to warm hearts and memories with this recipe!!
Thank you for sharing.
First time making rolls! They turned out fairly well, but we’re too dry. Despite the utter being room temp, it never fully mixed with the wet ingredients. Maybe we should heat the butter a bit next time so it will mix? Add more butter? The first ride was more than double. And second rose went well. Dough was nice and sticky…I have to use my bench scraper to shape the little balls. Somehow wanting them less dry? Ideas.
I’m not sure what went wrong, I’m going to re-test these and I’ll get back to you.
I’m making these right now and first the spoung is way too thick and then then ending dough is not sticky at all. I feel like I’ve wasted all these ingredients. There is not enough liquid in this recipe to go along with the dry ingredients.
Hi Paula, so sorry you are having trouble with this recipe! It’s tricky to know what might have gone wrong, but a couple of things come to mind. It can be really easy to over-measure flour, so you might try spooning your flour into your measuring cup and then leveling it off, if you aren’t doing that already. The sponge here isn’t meant to be very liquid-y or foamy like in some bread recipes, so a thick paste-like consistency is fine. Also, if you by any chance omitted any of the butter or the eggs in the recipe, they also add moisture here. I hope that helps!
Any idea of the calorie content.? Mine did not turn out very light and not as sweet as I had hoped for. Edible. I used all instant yeast, no dry yeast. I’ll have to look for that. I’m going to try again because my husband does love the kings Hawaiian rolls.
Thanks for replying. I don’t think I over measured the flour. I was very careful. I make a lot of bread and the liquid is way less than any other of my recipes compared to the dry ingredients. This recipe just isn’t for me. I’ll have to try another one. I’d love to see a video of you making this bread to see your consistency.
Hello. Just starting to make this recipe. So I put together the ingredients for the “sponge”. Are you sure it is 1/4 cup flour? I couldn’t get it to stir together it was so thick. So I added a couple more TBSP of water. Was this a typo?
No, that’s correct, although it’s possible to get varying amounts of flour due to the way we measure, so add a bit more water if you can’t mix it up.
Can you make these the night before and cook them the next day?
You could make them through step 5, but instead of letting them rise at room temperature, put them in the refrigerator until the next day.
I don’t know what I did wrong, but the consistency was more like a biscuit than a roll.
It also wasn’t as sweet as I was expecting.