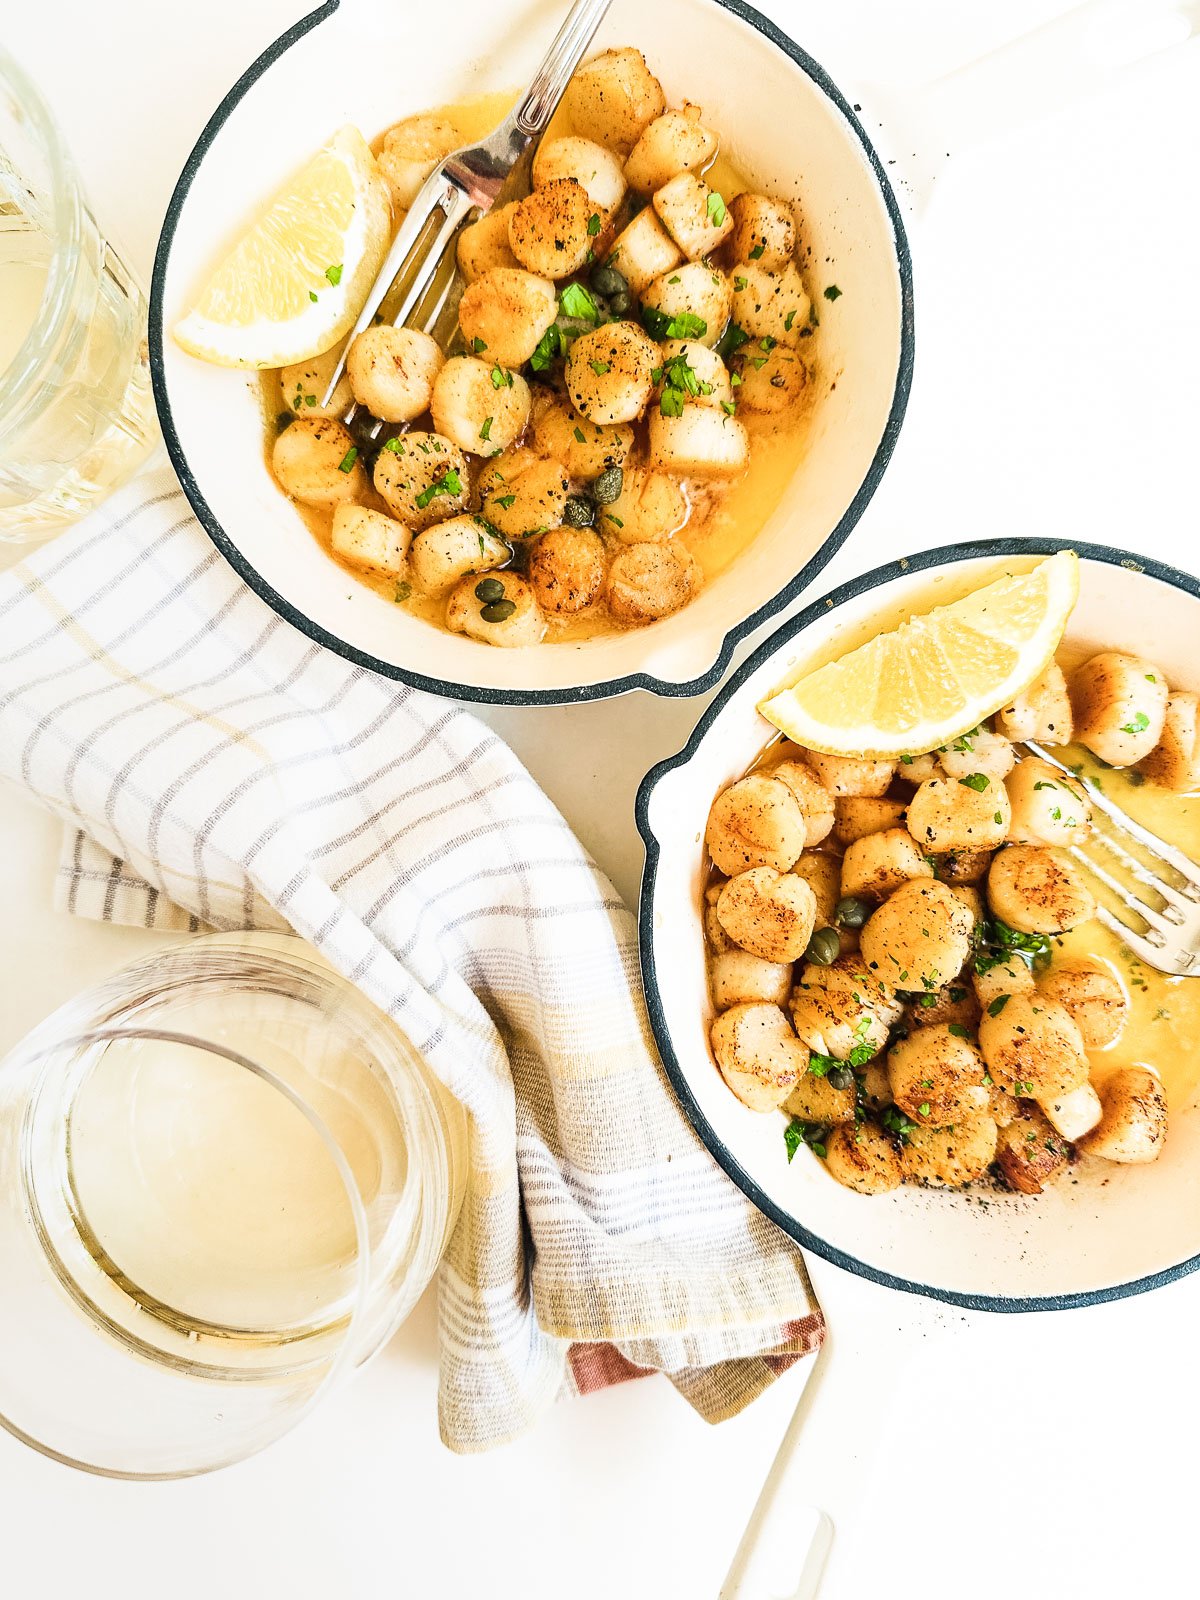
If you’ve got bay scallops and 10 minutes, you’ve got dinner ~ fast, low-carb, and done in one pan with minimal cleanup.
WANT TO SAVE THIS RECIPE?
Enter your email below & we'll send the link to your inbox. Subscribe to see brand new recipes!
You don’t see bay scallops every day, so when you do, you need to act decisively. Know that if you grab a lemon, some parsley, butter and garlic you’ve got the makings of a classic seafood dish that takes minutes to prepare. And there are very few if any animal proteins on earth with the equivalent delicate flavor and tender texture you get from sautéed bay scallops.
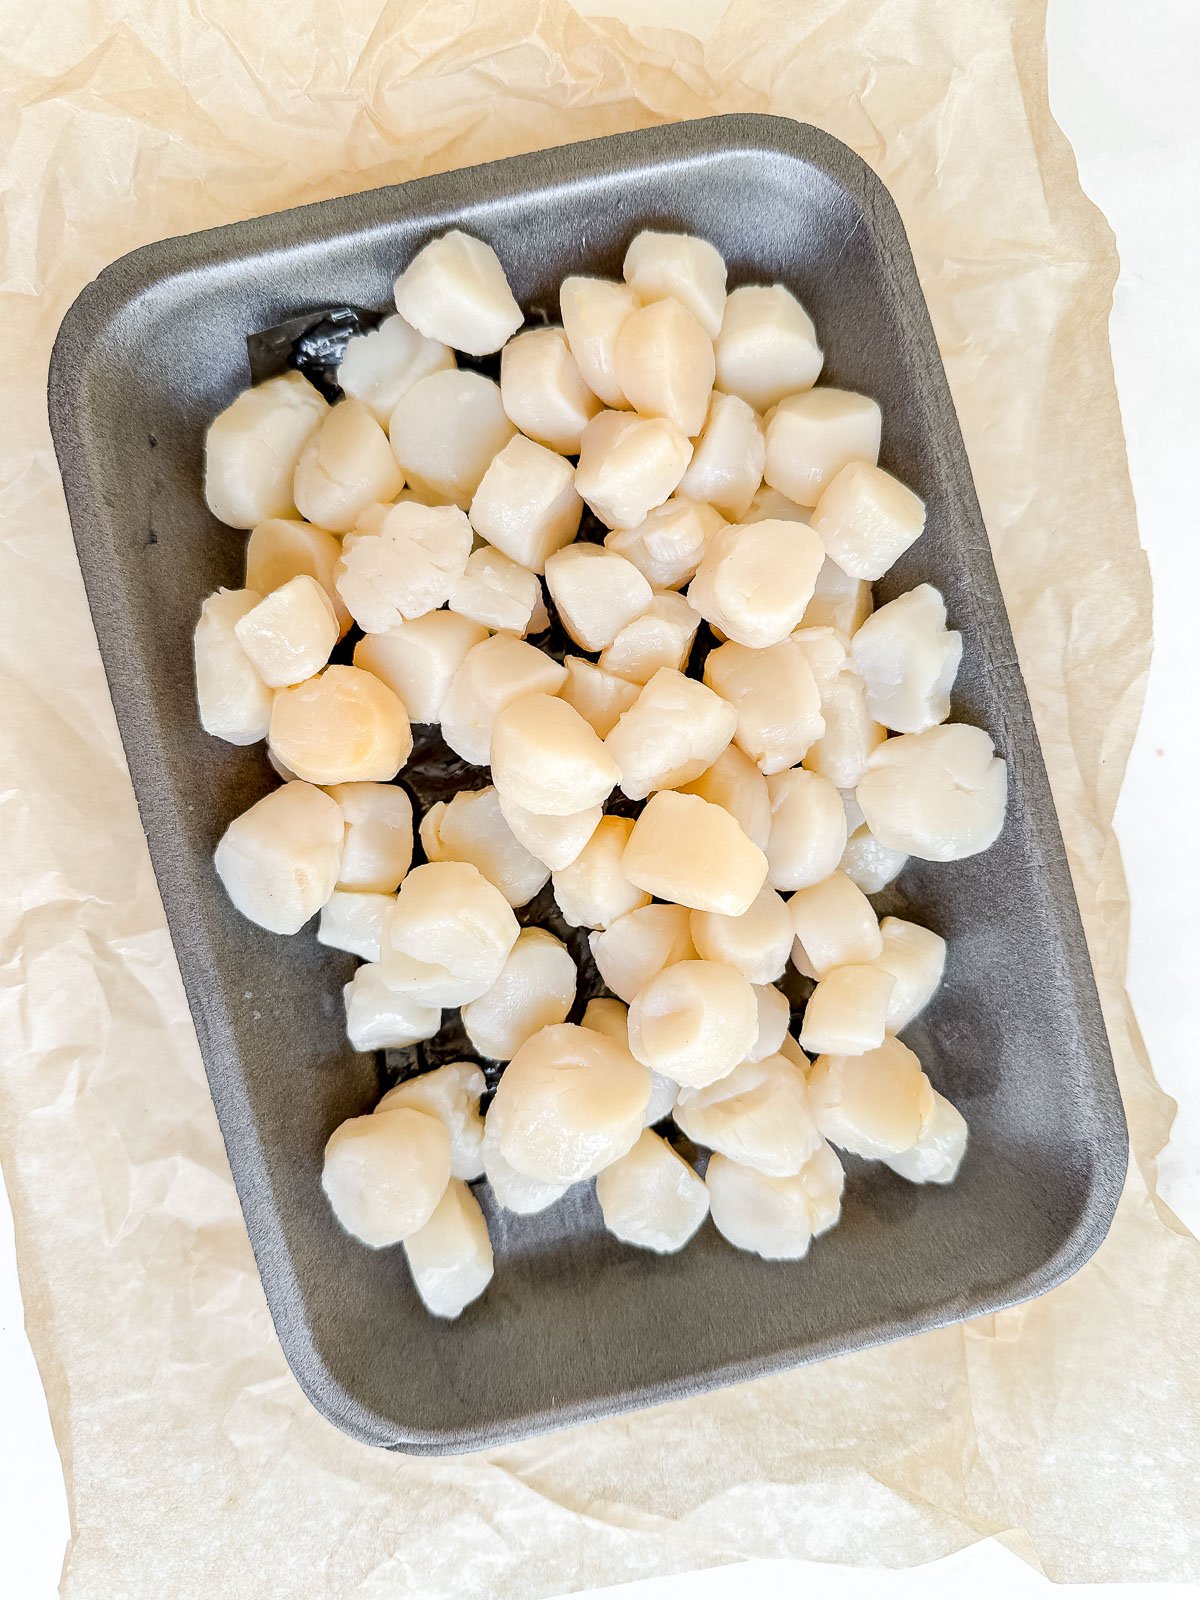
Bay scallops are the small, sweet cousins of sea scallops ~ they’re smaller, about the size of a dime, but what they lack in size they make up for in sweetness and tenderness. They cook in a minute and have a buttery, almost melt-in-your-mouth texture. Their short season makes them a special treat ~ especially when you can find them fresh.
sautéed bay scallops ingredient notes
I love cooking seafood because there’s no pressure to come up with an elaborate recipe. We don’t add anything more than is absolutely necessary to allow the delicate flavor of the bay scallops to take center stage.
BAY SCALLOPS ~ Allow about 1/4-1/3 lb per person depending on how you’re serving. I’m using fresh domestic wild caught scallops, look for them (ask for them) at your fish counter. Fresh are usually available from fall through spring. If you need to use frozen bay scallops thaw them in the refrigerator overnight and dry them well.
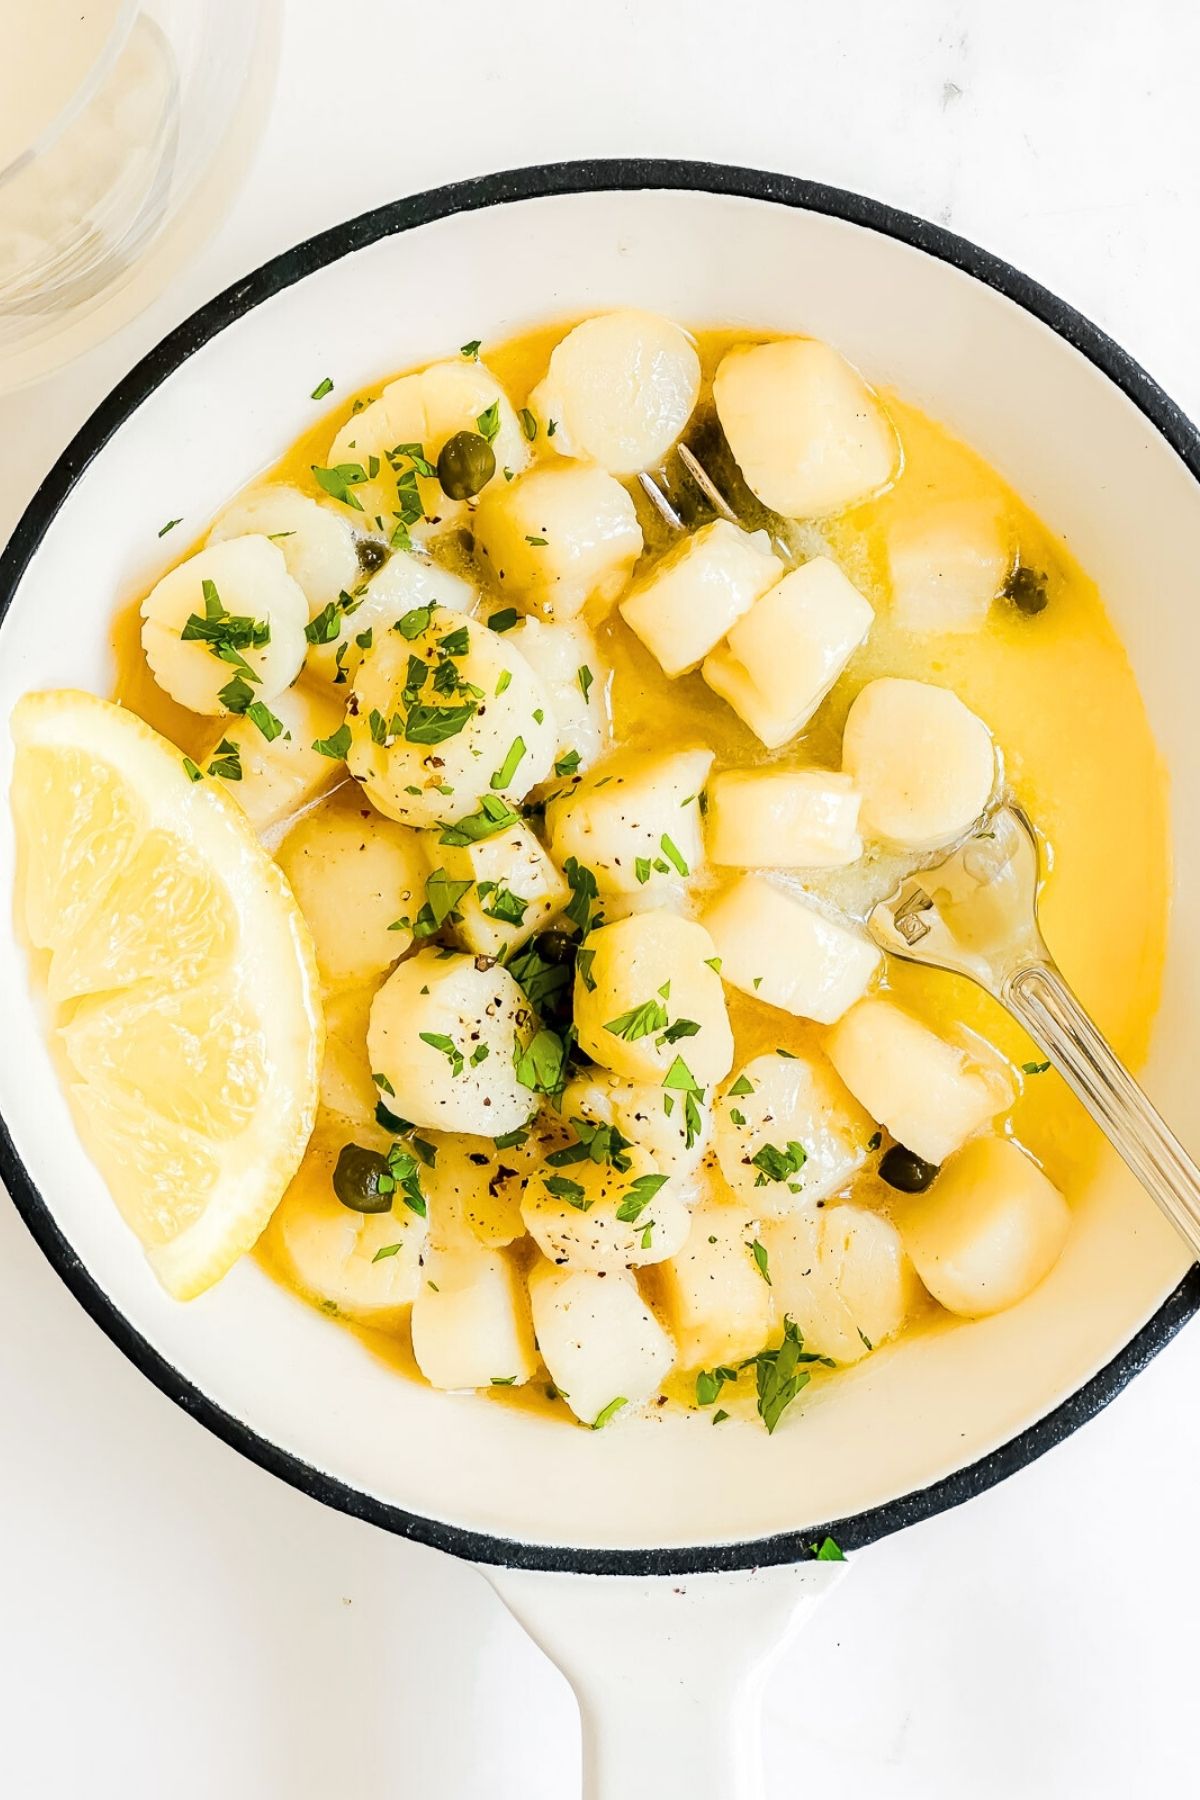
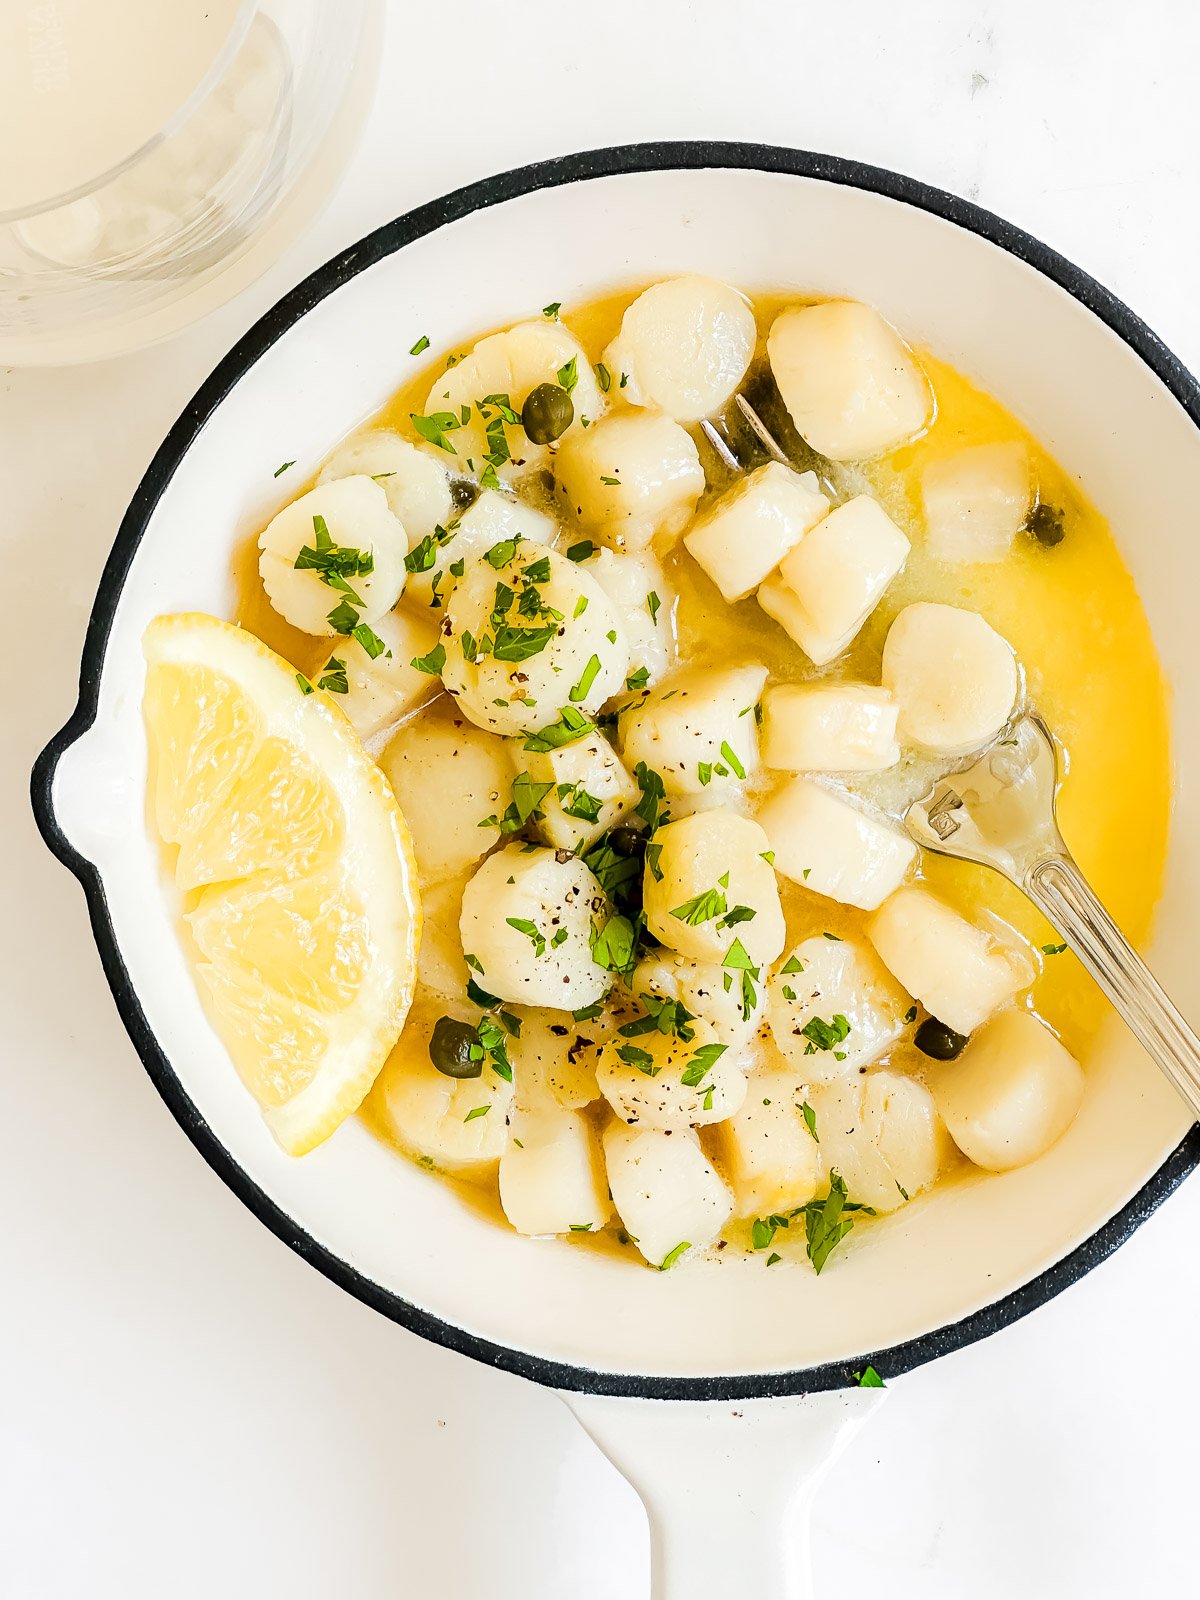
LEMON BUTTER SAUCE ~ Just lemon, butter, maybe a clove of garlic, and parsley.
Tips for sautéing bay scallops
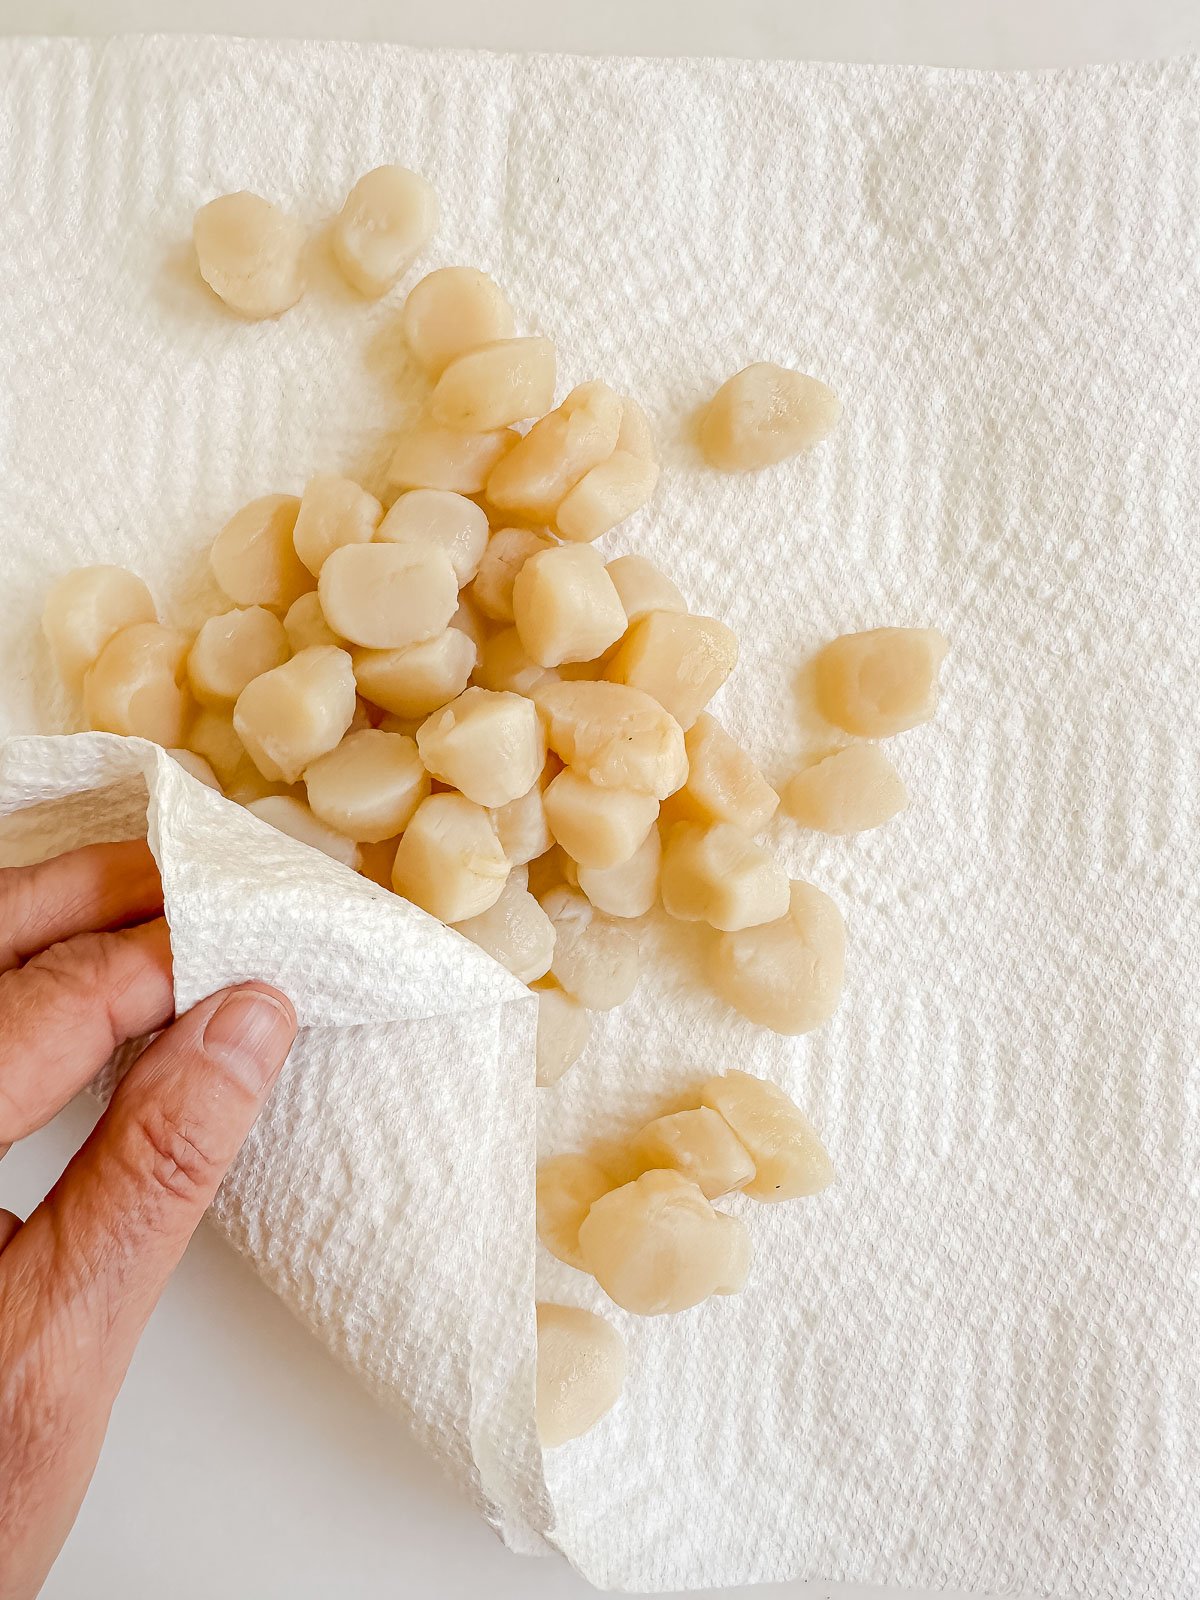
Pat them dry ~ Moisture can make them steam instead of sauté.
Use butter, not oil ~ butter has so much more flavor.
Use high heat, briefly ~ A hot pan with a slick of butter lets them cook fast—just 1 to 2 minutes each side.
Don’t crowd the pan ~ Give them space so they cook evenly and don’t release too much liquid.
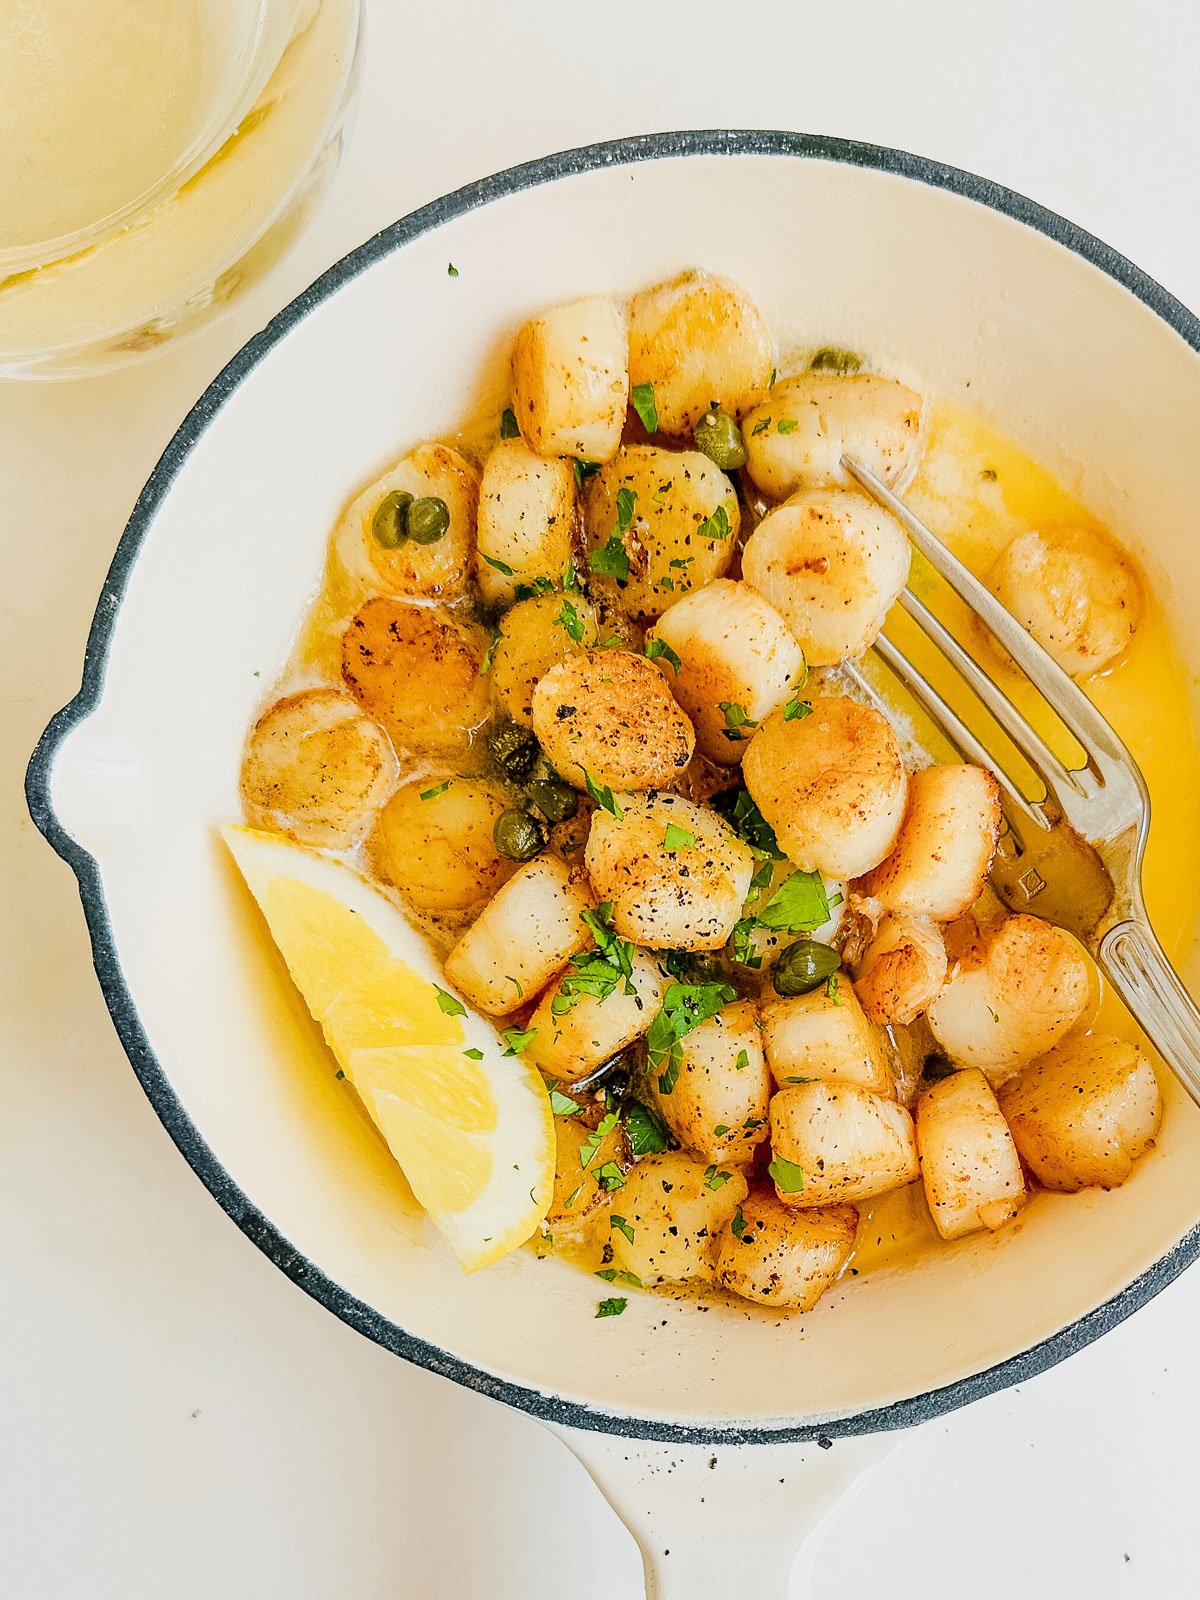
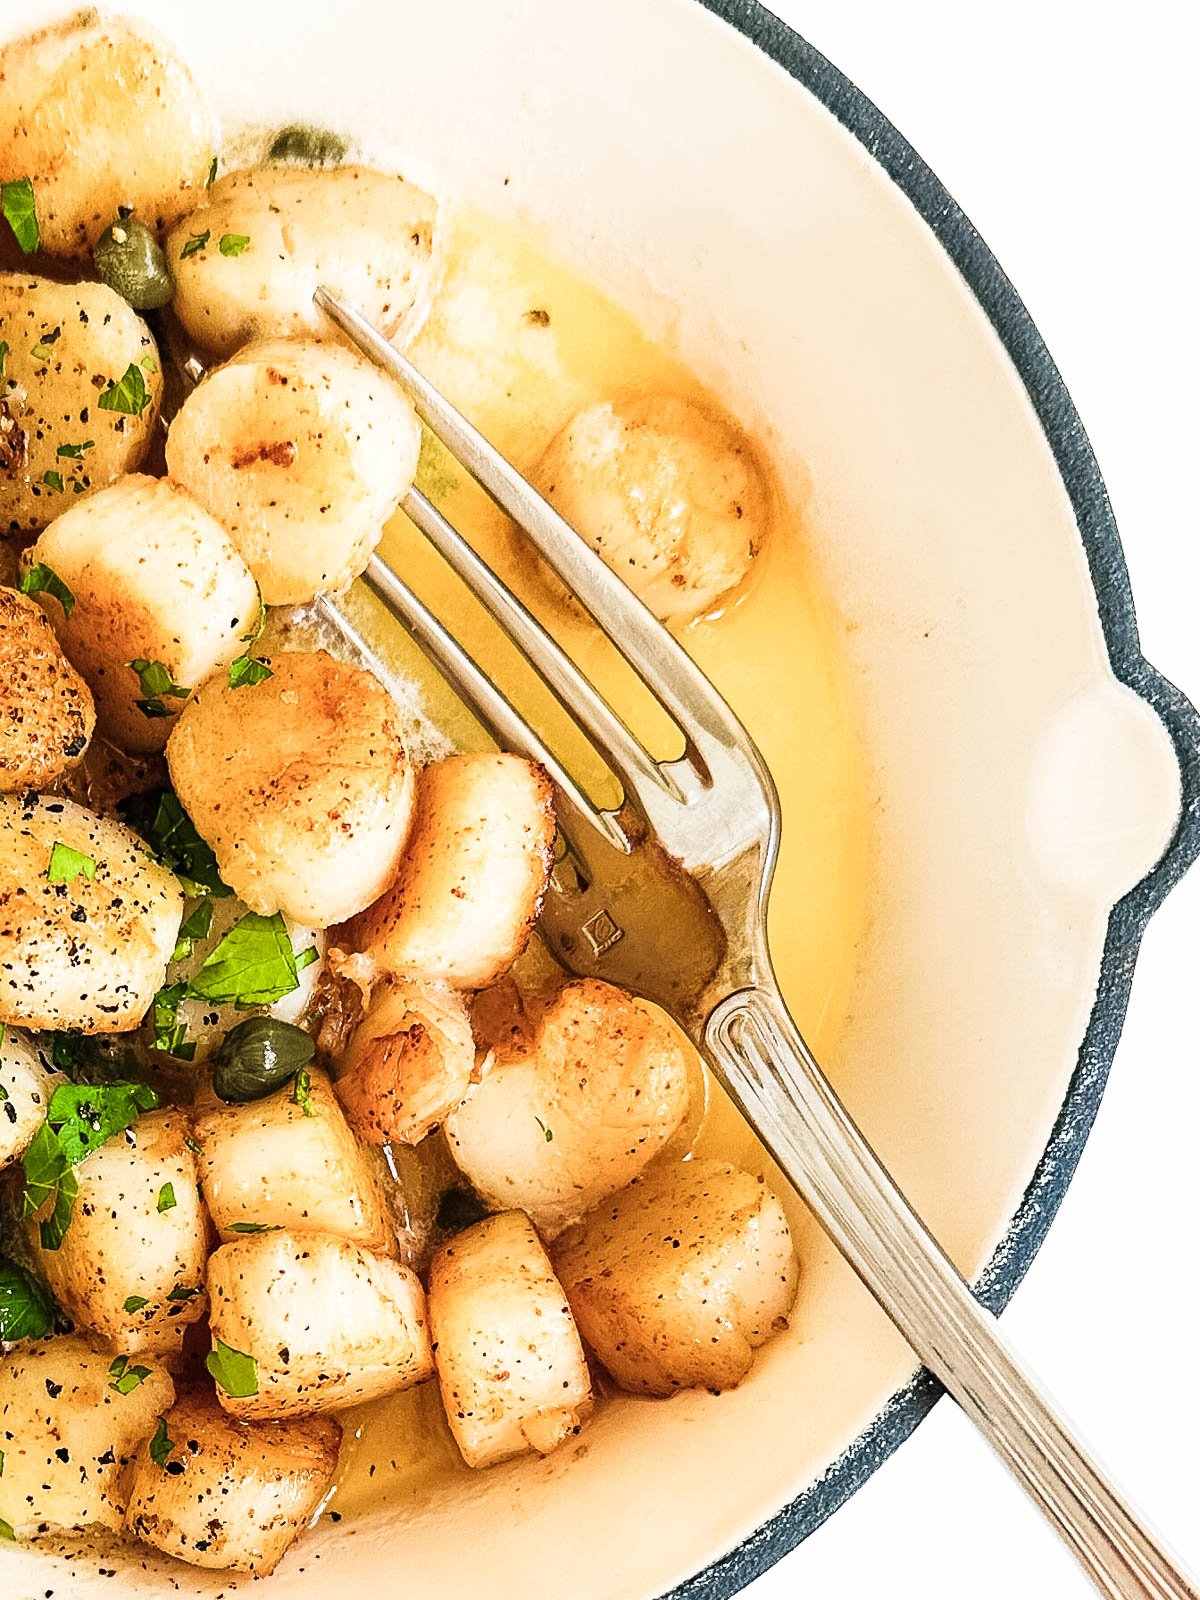
Be aware that sautéed bay scallops (as opposed to sea scallops) don’t get really browned ~ most beautifully “browned” bay scallops you see online are either carefully staged or overcooked. Bay scallops are almost always served pale or just lightly golden because they cook so quickly. That being said, there are a couple of tricks you can try if you want a little more color:
After patting your scallops dry dust them with some paprika. This will give them some color when sautéed.
Cook the bay scallops in browned butter, which you can then spoon over the scallops for serving.
Classic sautéed scallops in a lemon butter sauceSautéed scallops tossed with paprika before cooking
Make your sautéed bay scallops a meal
I suggest a wonderful salad and a loaf of bread which will help everybody get every last bit of that precious buttery sauce.
Place your 1/2 lb fresh bay scallops on paper towels to dry. Pat them over the top, too.
Season lightly salt and fresh cracked black pepper. Dust with paprika, if using.
Heat a wide skillet over medium-high heat. Melt 1–2 tsp butter, just enough to coat the bottom of the pan.
Add scallops in a single layer ~ don’t crowd the pan. Sauté for 1–2 minutes and then toss/flip them once and continue for another minute or so. They should turn opaque but will stay pale.
Transfer immediately to a warm plate and tent with foil.
make the lemon butter sauce
Lower the heat to medium and add the 1 clove garlic, minced. Stir just to heat through, but not brown. Deglaze the skillet with 2 Tbsp lemon juice, scraping up any bits from the pan.
Swirl in the 4 Tbsp butter, a tablespoon at a time until the sauce emulsifies and looks silky. Melting the butter gently helps keep the sauce smooth and emulsified. Note: If you melt it too quickly or over high heat, the butter can break, meaning the fat separates from the milk solids, resulting in a greasy or curdled-looking sauce.
Stir in the 1 Tbsp fresh parsley and 2 tsp capers. Taste and adjust with more lemon, salt, or a pinch of pepper.
Spoon the warm sauce over the scallops or return them briefly to the pan to coat (off heat).
Scallops are best eaten right away, but if you have leftovers you can reheat briefly in the microwave.
Notes
Heads up—if your garlic turns a little blue or green, don’t panic.It’s a harmless reaction that can happen when young fresh garlic meets acid (like lemon juice). Totally safe to eat, just a little kitchen chemistry at work. The color change comes from sulfur compounds in the garlic reacting with acid.Fresh young garlic hasn’t had time to cure, so it still contains higher levels of enzymes and sulfur compounds that react more easily with acid (like lemon juice in your sauce). That makes the blue-green color shift more likely in spring and early summer, when garlic is fresher and less processed.Simple test: you can slice or crush a clove and drizzle it with a little lemon juice or vinegar—if it’s going to turn color, you’ll usually see a shift within 10–30 minutes.
Nutritional information is provided as a courtesy and is an estimate only. This information comes from online calculators. Although The View from Great Island attempts to provide accurate nutritional information, these figures are only estimates.
Did You Make This?We love seeing what you’ve made! Tag us on social media at @theviewfromgreatisland for a chance to be featured.
This was delicious & we will definitely make this again. Unfortunately, I did not have capers, which would have made it great! Adding a half an onion was the only other addition I made, Very easy.
Hey there ~ I'm Sue. I love to make delicious food, photograph it, and write about it, but mostly, I just love to EAT. Isn't that what it's all about? My recipes are creative, vibrant, and totally approachable no matter what your skill level. Let's grab a bite together!


This was delicious & we will definitely make this again. Unfortunately, I did not have capers, which would have made it great! Adding a half an onion was the only other addition I made, Very easy.