An easy white bread recipe that makes the best toast I’ve ever had! This one rise yeast bread delivers that perfect warm craggy crumb.
WANT TO SAVE THIS RECIPE?
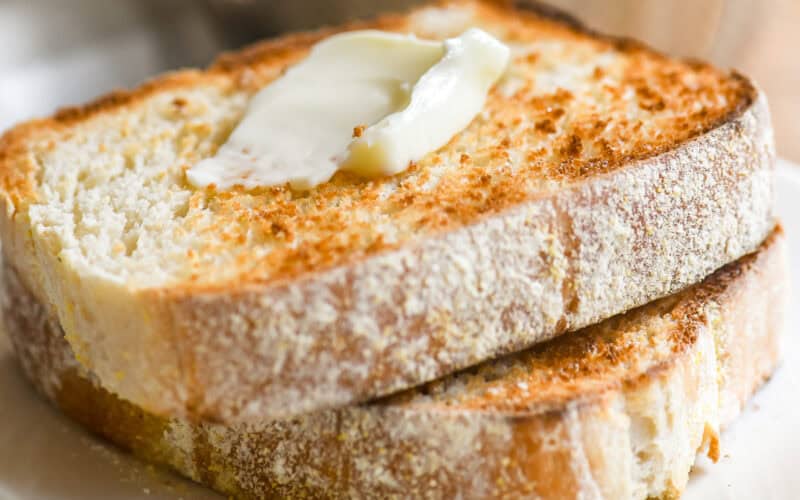
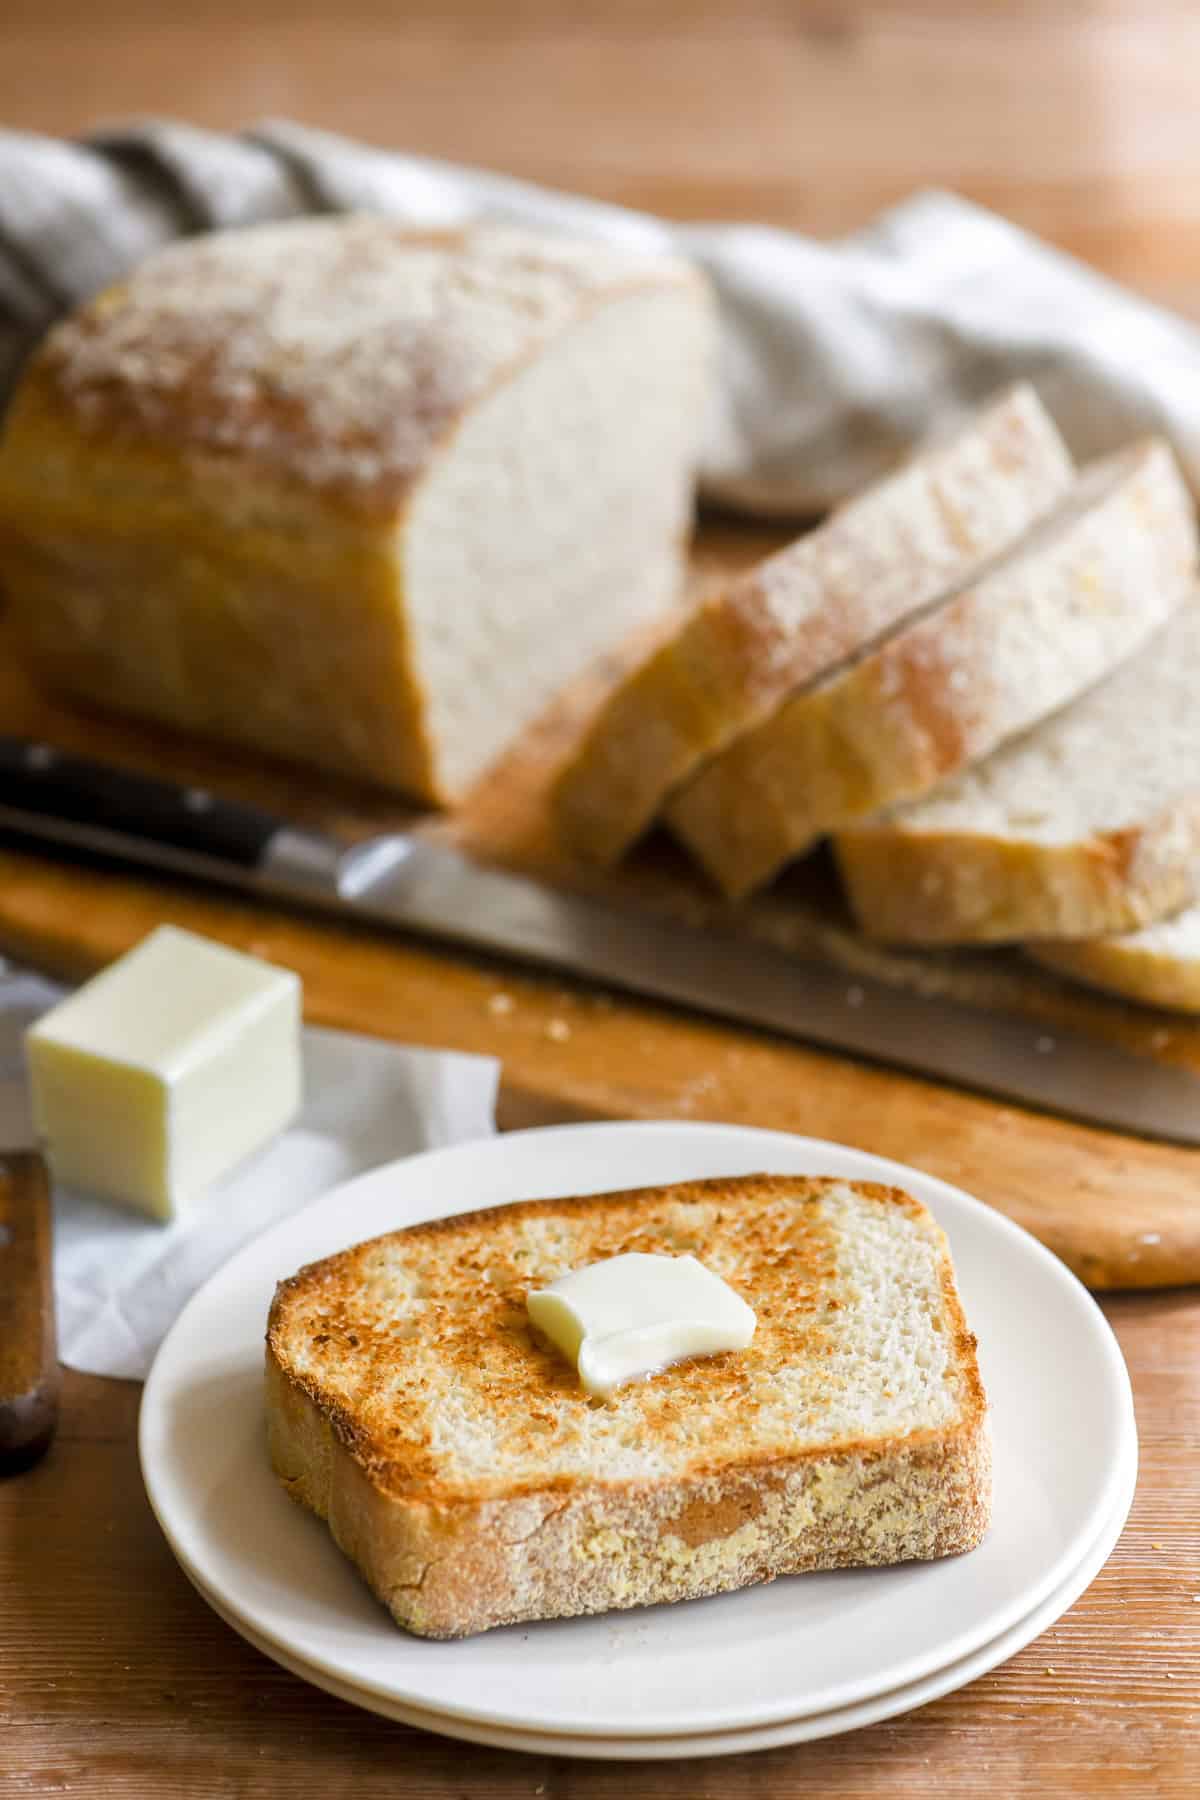
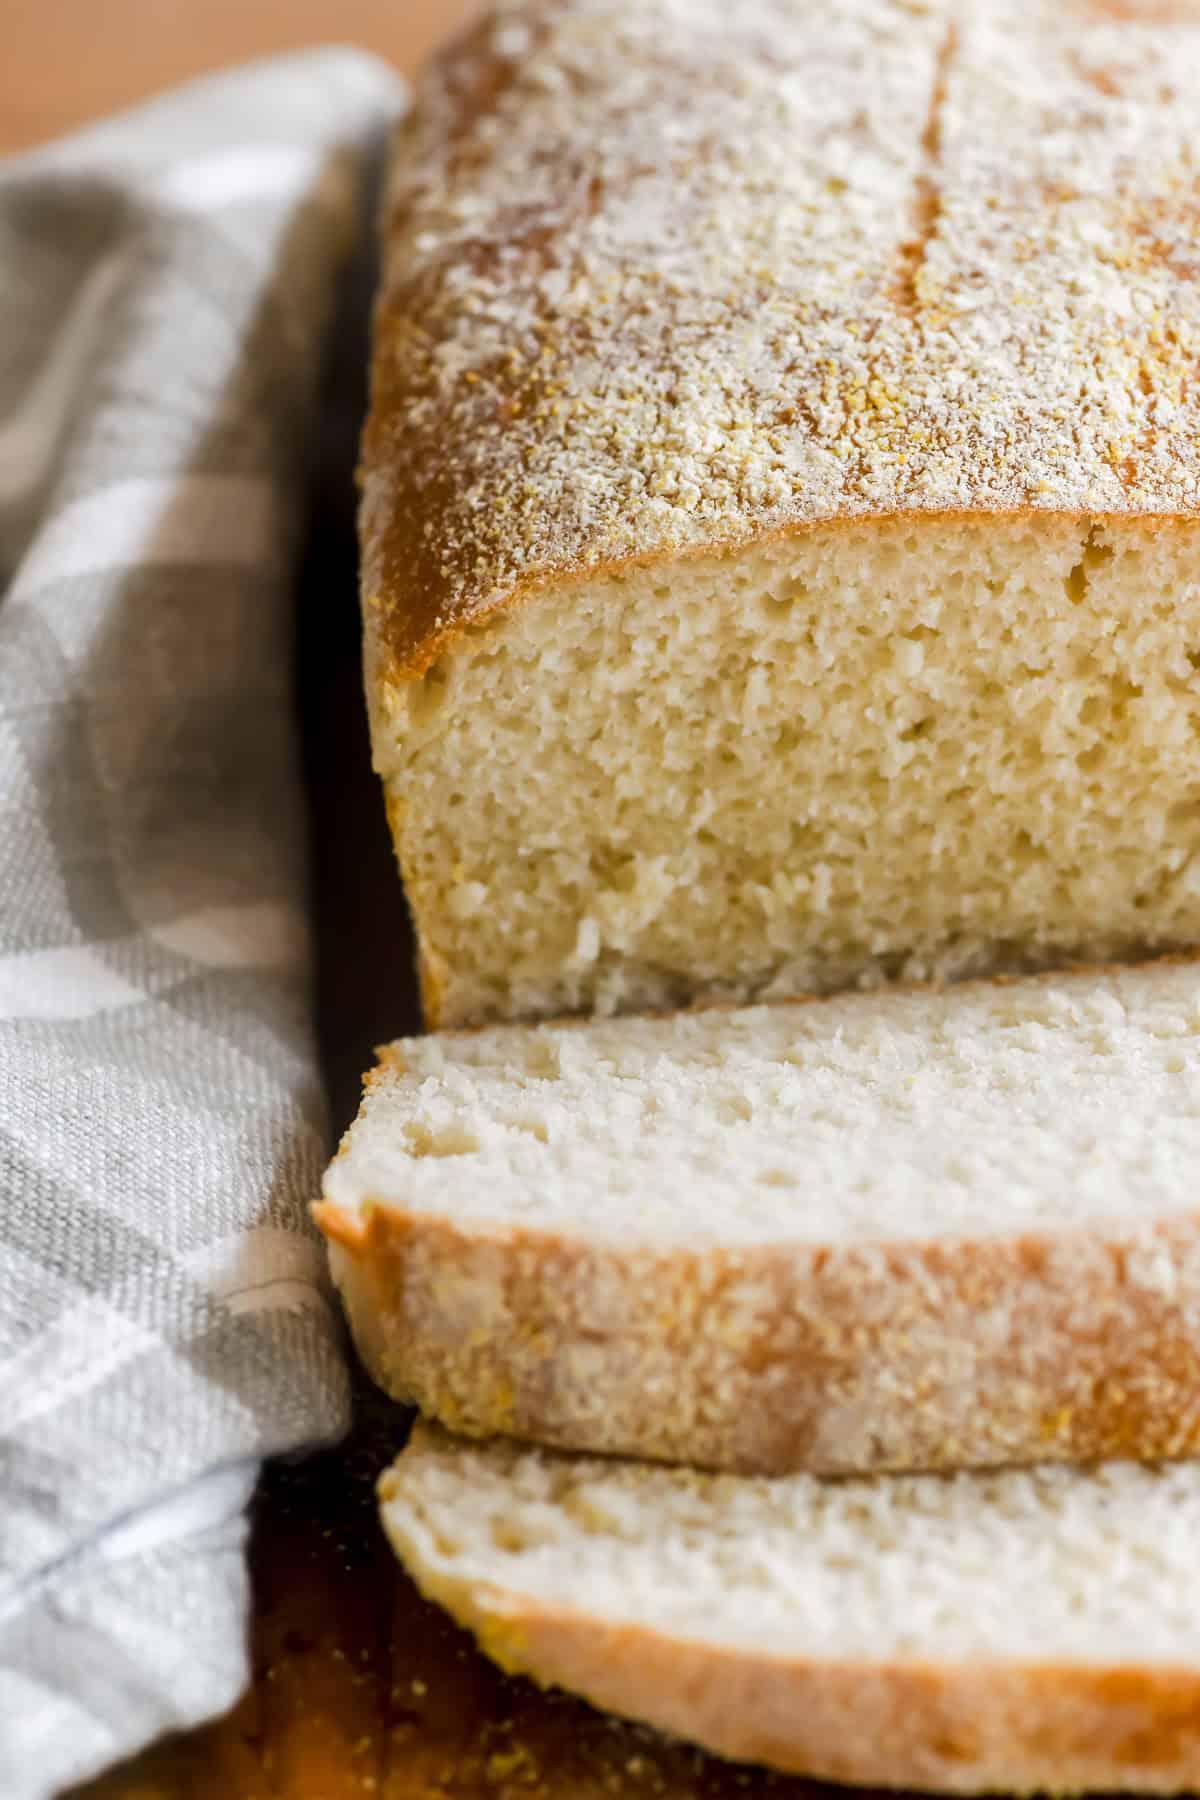
This is homemade bread the Great Island way. It’s named after the Pepperidge Farms toasting white bread I grew up with. Only these slices are thicker and plusher than anything you’ll ever find in the grocery store.
- Only one rise and it’s one hour.
- Bake time is quick and the bread can be sliced right away if you like.
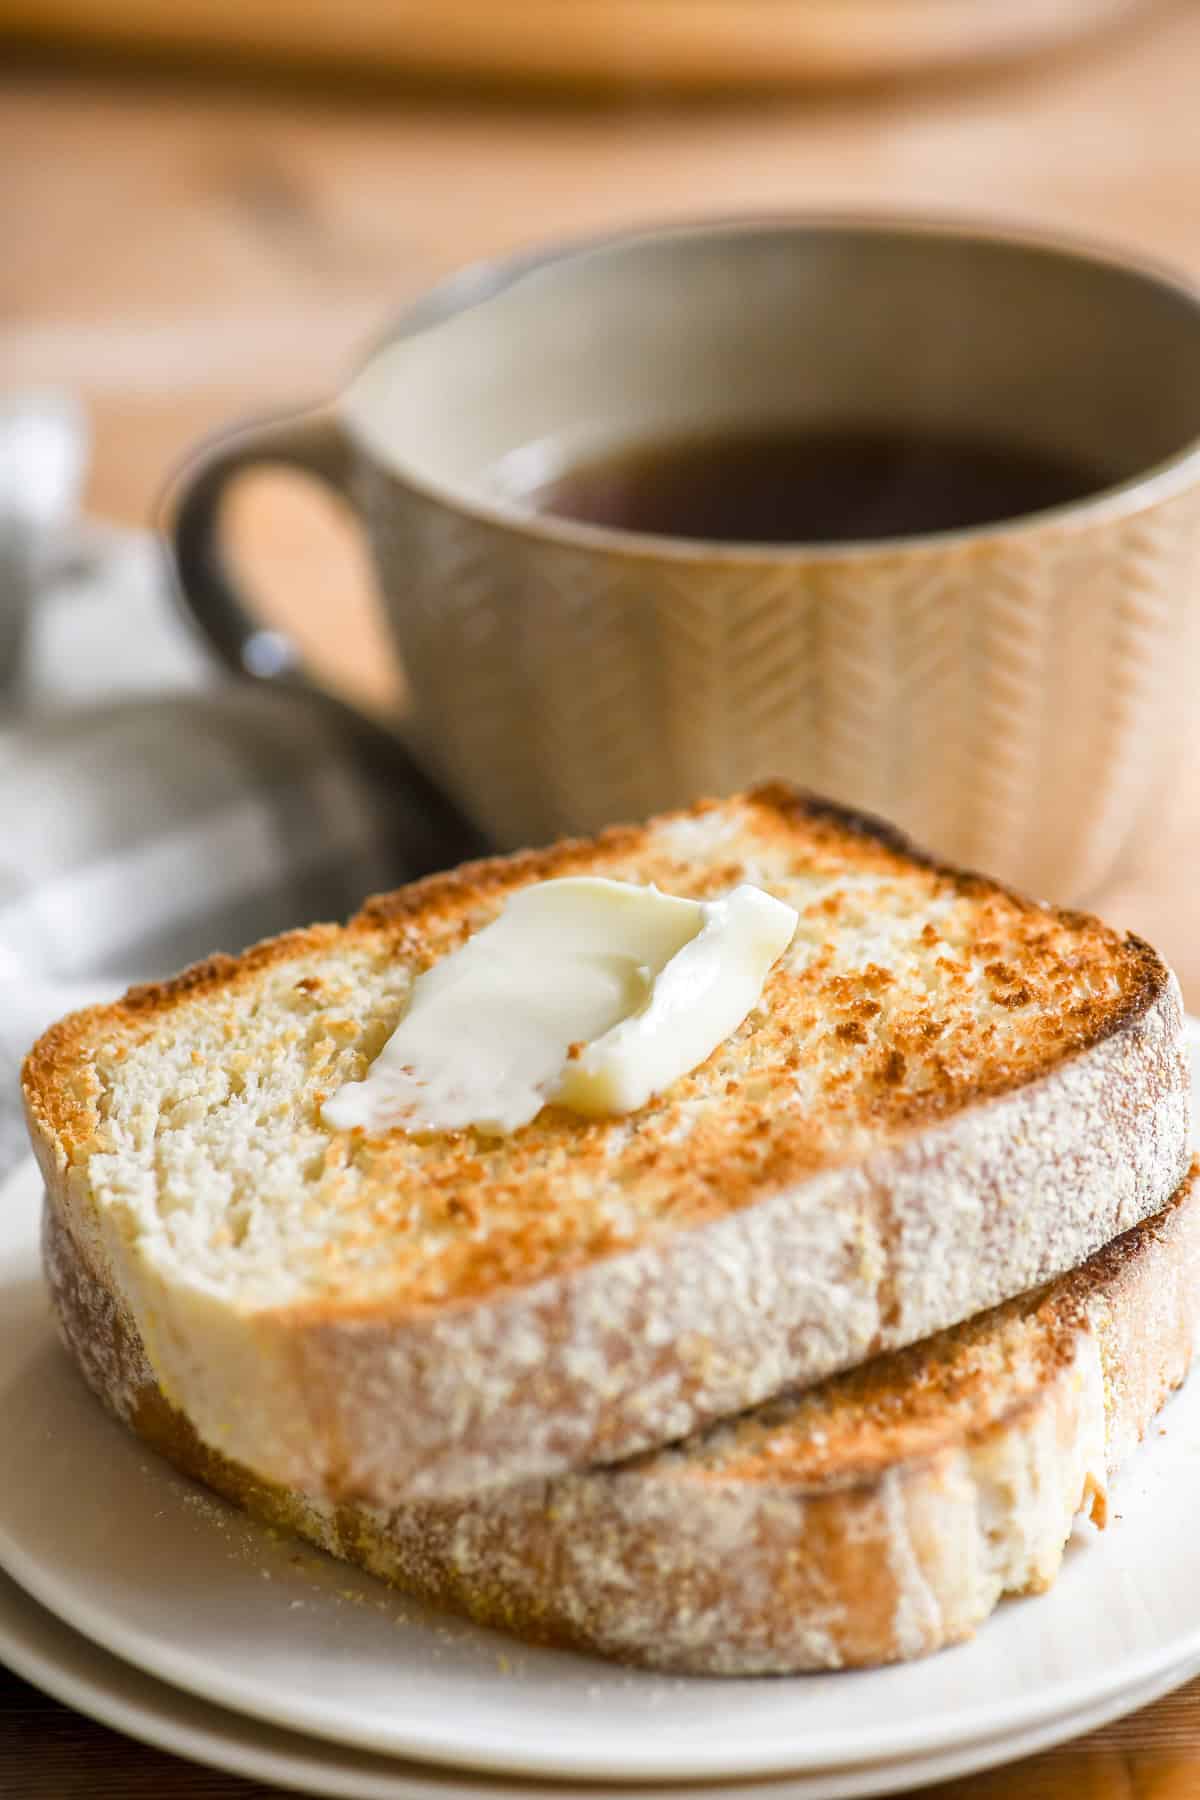
- The English muffin-like texture grabs butter and jam for the best toast ever.
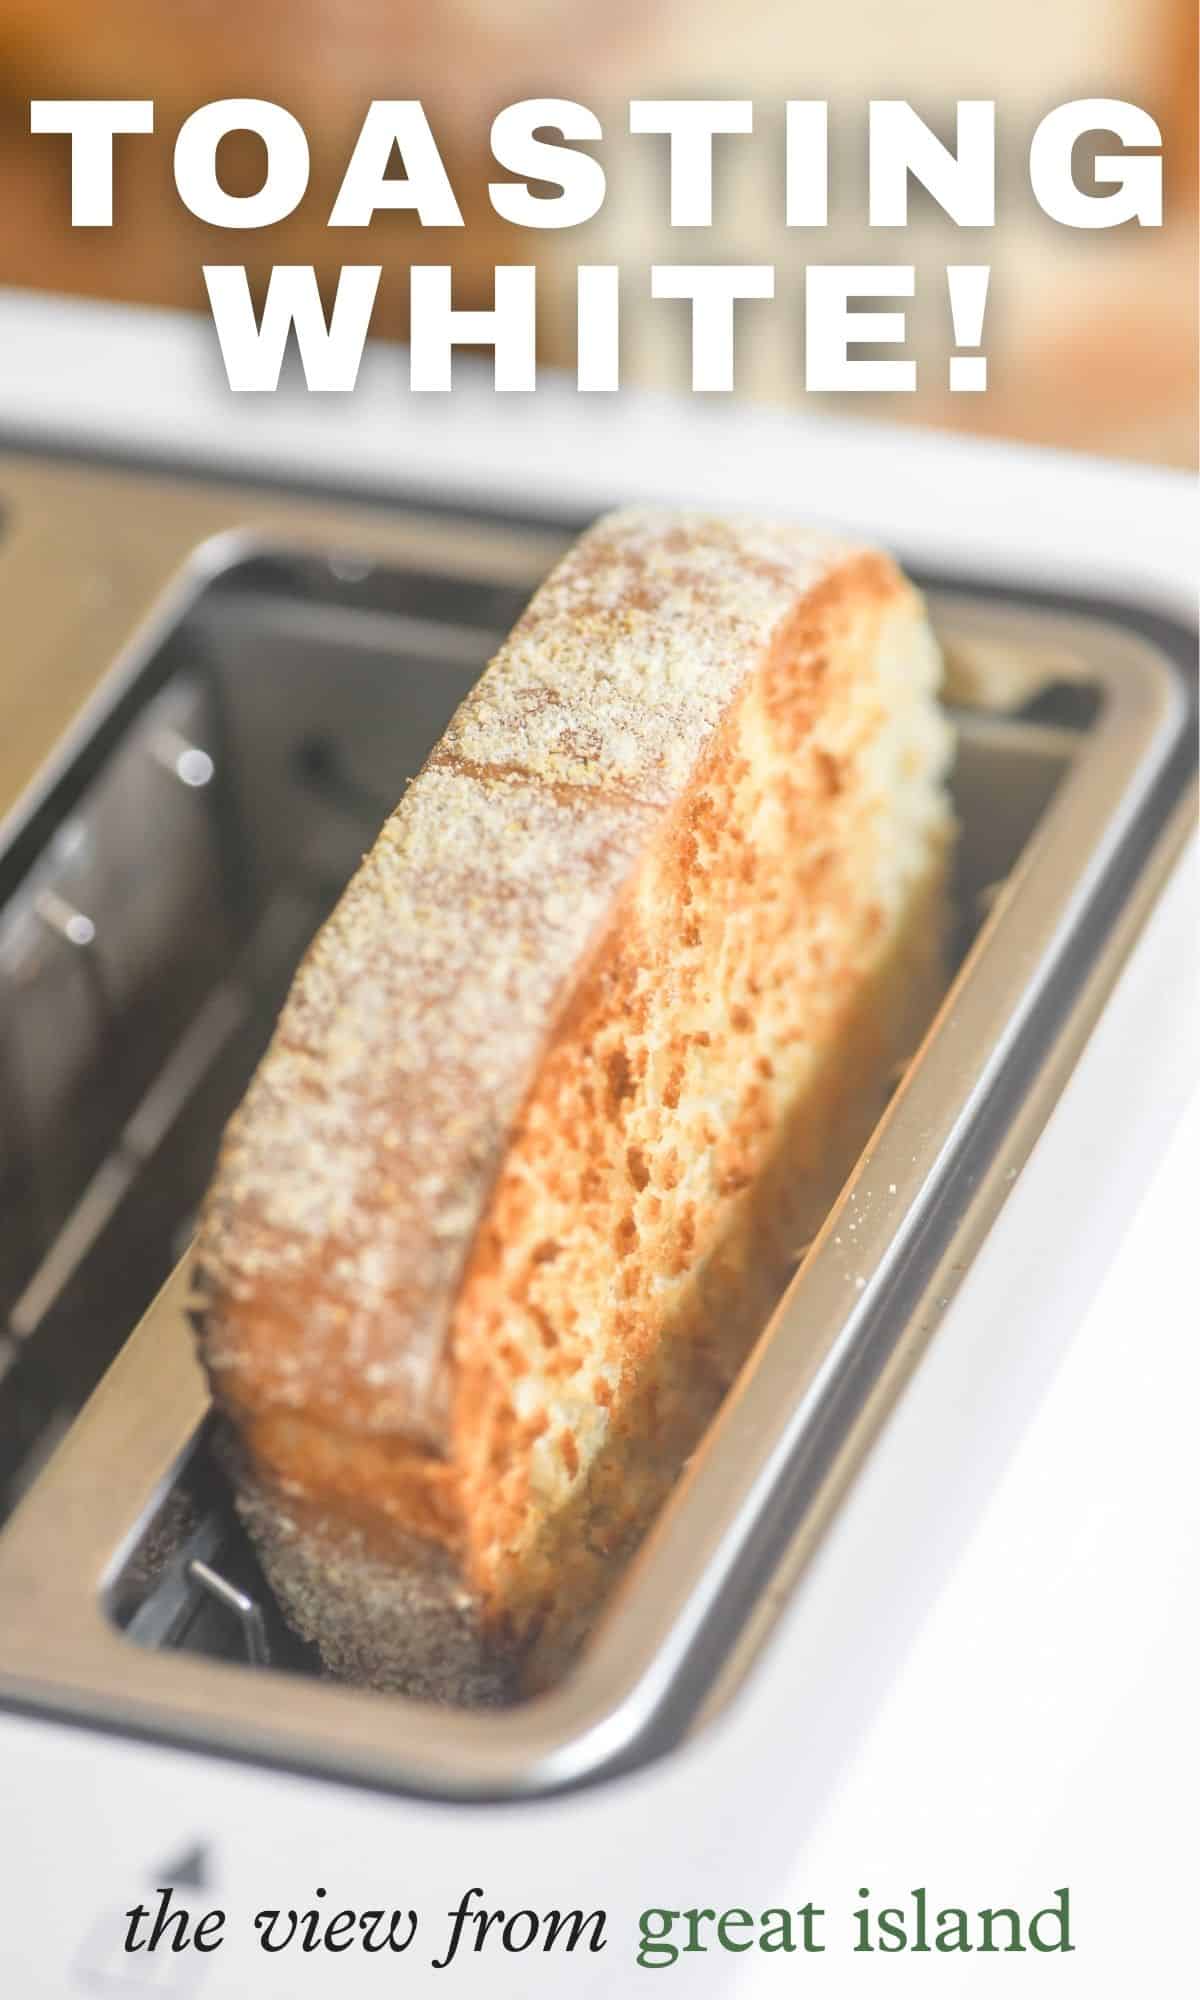
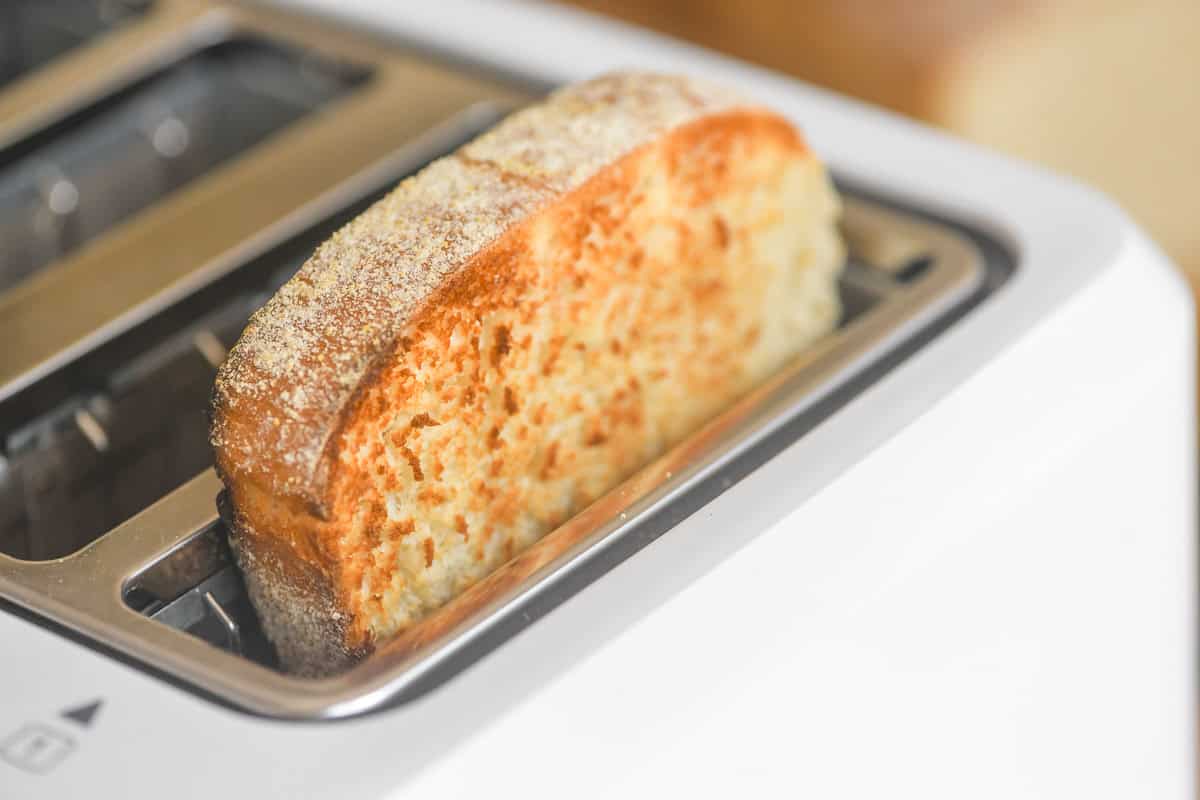
what is toasting white bread?
It’s a classic white bread with a slightly larger crumb made to be sliced thicker than your average sandwich bread ~ but most importantly it’s specifically made for toasting. Although nothing is stopping you from making a fabulous Tomato Melt or Sheet Pan Tuna Melt with it.
there are really only 3 secrets to great yeasted bread
- Your yeast has to be active ~ so check the label and replace as needed.
- You need to knead! That’s why I love to use my stand mixer for this bread, the kneading is hands free!
- You need a warm spot to allow the bread to rise ~ if you love to make bread, invest in a simple proofing box, it’s collapsable for storage and can be set to the perfect rising temperature.
- Great for yogurt and kefir too!
why I use my stand mixer to make toasting white bread
Mixer knead: one minute on high works because you’re delivering a lot of mixing energy very fast ~ enough to develop gluten quickly without warming up the dough.
The hands free method makes homemade bread quick and mess free. So do-able for any day of the week. Just transfer the dough from the mixer bowl directly to your loaf pan!
the bottom line
I absolutely love this bread, it makes the best white toast I’ve ever had. It also happens to be a beautiful looking bread. The texture is plush and chewy with lots of nooks and crannies to soak in butter and jam. I found the recipe in Midwest Made, where it was called English Muffin Bread. After testing it I didn’t feel like that was quite accurate (still working on that recipe!) so I’ve renamed it. I highly recommend you give it a try.
Toasting White Bread
Equipment
- 9×5 full sized standard loaf pan
- stand mixer optional but handy
- proofing box optional, buy mine here
Ingredients
- butter, oil, or cooking spray for pan
- cornmeal for dusting pan
- 2 1/4 tsp instant yeast*, a standard U.S. packet (¼ oz / ~7 g)
- 1/3 cup warm water, about 110F
- 1 Tbsp sugar
- 3 cups all purpose flour**
- 1 1/2 tsp sea salt
- 1/4 tsp baking soda
- 1 cup cultured buttermilk, at room temp (you can very briefly warm it in the microwave if necessary, check at 15 seconds.)
- 2 Tbsp vegetable oil
Instructions
- Lightly grease your standard loaf pan. Dust the inside with cornmeal on all surfaces. Hold the loaf pan upside down and sharply tap it to remove any excess.
- Stir the 2 1/4 tsp instant yeast* and 1/3 cup warm water together in a small glass and set aside.
- Put the 3 cups all purpose flour**, 1 Tbsp sugar, 1 1/2 tsp sea salt, and 1/4 tsp baking soda in your stand mixer (with paddle attachment) and blend to combine.
- With the mixer on low add in the room temp 1 cup cultured buttermilk, the 2 Tbsp vegetable oil, and the dissolved yeast.
- Once the ingredients are combined turn the mixer speed to high and run for one minute, stopping to scrape down the sides of the bowl once. Your mixer head may want to jump around a bit as it kneads the thick dough, so hold it in place if necessary.
- Turn your dough directly into your loaf pan. It will be sticky. Gently spread it out evenly and nudge it with your fingers to all corners of the pan.
- Preheat the oven to 400F.
- Cover the pan loosely with plastic wrap and set in a warm place to rise until doubled. It should pretty much fill the pan at that point. This will take an hour is your spot is nice and warm. I use my easy to set up proofing box.
- Bake for about 22-25 minutes. The bread will be nicely risen and depending on your oven it may be starting to turn golden on top. If you are unsure you can use an instant read thermometer ~ it should read at least 190F.
- Let cool a few minutes and then turn the bread out onto a rack to continue to cool.
Notes
Nutrition
more bread made for toasting!

How to Make Easy English Muffins
These easy English muffins with all those wonderful nooks and crannies are so much better than store bought ~ and you cook them right on the stove top!

Easy Dutch Oven Bread Recipe
Easy Dutch Oven Bread ~ this simple white bread recipe is perfect for beginning bread bakers, or experienced cooks who crave a quick delicious loaf
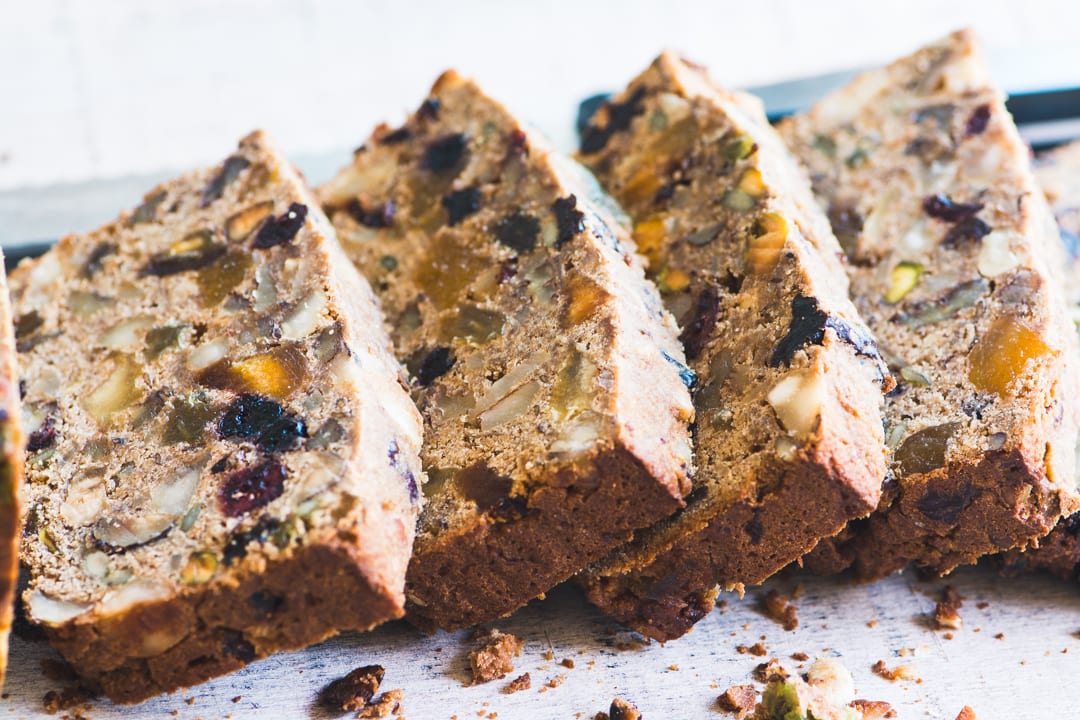
Paleo Fruit and Nut Breakfast Bread
Paleo Fruit and Nut Breakfast Bread ~ this amazing chunky quick bread is grain free, and dairy free, with no added sugar. It’s also an ingenious way to use up all the random dried fruit and nuts in your cupboards.

Paleo Fruit and Nut Bread
My quick and easy Paleo Fruit and Nut Bread is grain free, dairy free, without added sugar. This quick bread is also amazingly versatile ~ serve it for breakfast or as an energizing healthy snack. It also happens to be absolutely fabulous toasted!

Muesli Toasting Bread
Muesli Toasting Bread ~ some bread is just meant to be toasted, like this chunky fruit and nut bread. When the thick biscotti shaped slices hit the hot coils the nuts begin to toast and turn fragrant, the bits of fruit get all jammy, and the smell of fresh baked yeast bread fills the kitchen.


Will this work with bread flour? I have some that I need to use.
This one’s a keeper. I use Red Star Platinum Yeast for all of my bread and pizza doughs; this rise was to the edge of the loaf pan in about an hour just sitting in the room temperature oven.
So happy this worked so well for you! The rising is amazing, and so satisfying!
I haven’t tasted it yet, but just took it from the oven and it smells amazing. So easy to put together. One rise!
I did use my proofing box, set to 75, took one hour.
This was delicious! I made the dough at night, let it sit in the fridge overnight, and baked it in the morning . I was a little impatient and did not let it rise as long as it could have. Will try this tasty loaf again soon! Thanks for a great recipe.
This bread is sooo good! Using the kosher salt instead of the sea salt, which I didn’t have, was fine…totally perfect toast!
Can I sub kosher salt for the sea salt? Thx
Definitely.
Love that you do the testing and bring us simple processes! I just printed this out and can’t wait to try it.
This may sound crazy but can you use Kefir as a buttermilk alternative?
I think that should work fine M.
I think you have a big typo in your instructions. They say: n your food processor (with paddle attachment) and blend to combine. Don’t you mean bowl of your stand mixer?
Thanks Sandy, yes it’s the stand mixer, I corrected that.
This seems to suggest preheating the oven for a whole hour while the bread rises? That seems extravagant.
It’s sometimes hard to place the pre-heating your oven prompt in a recipe, just give it enough time to fully heat up.