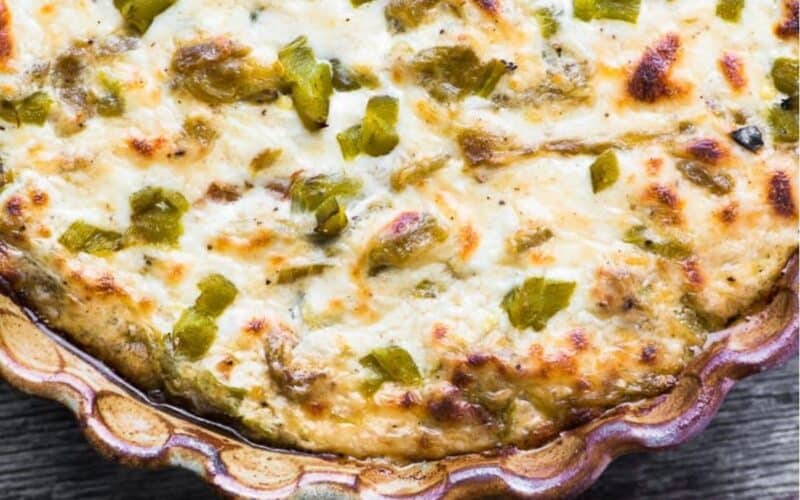
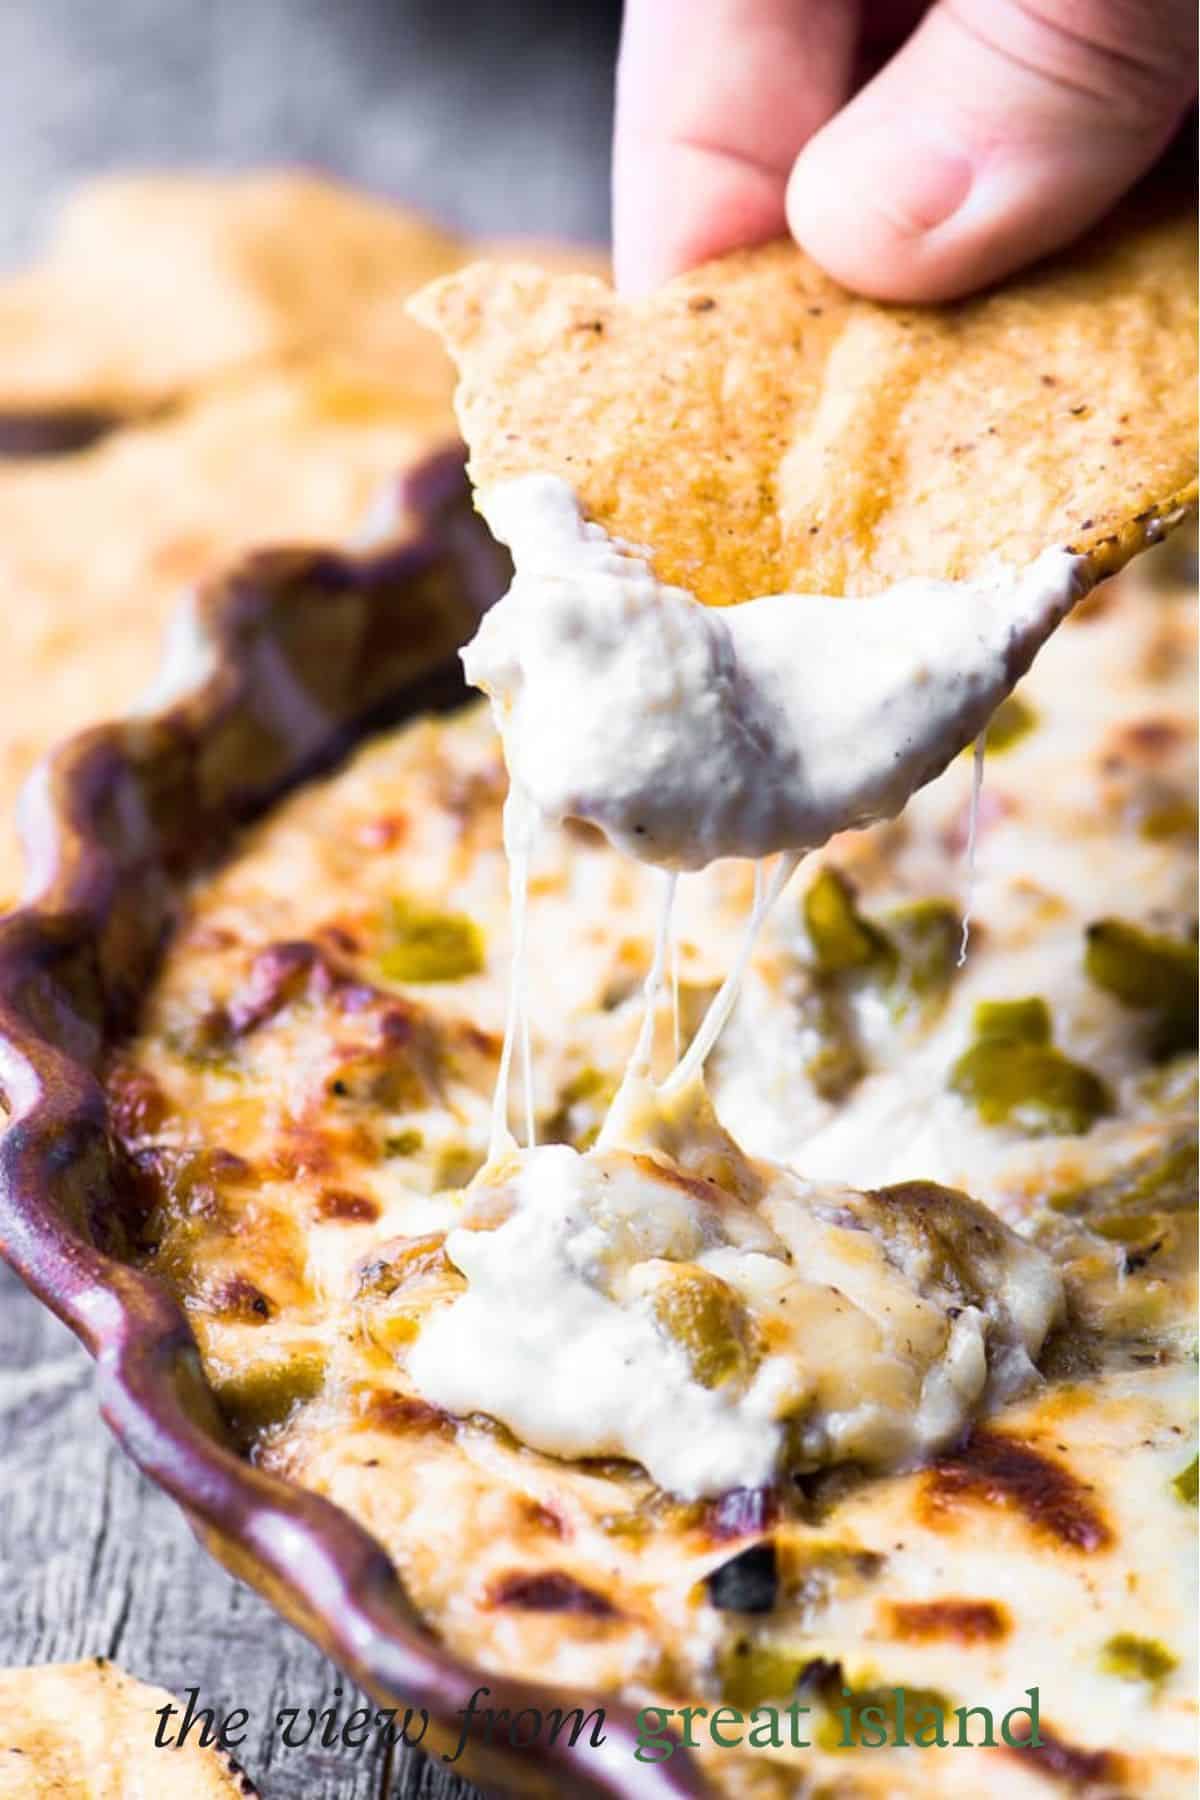
This easy Hatch green chile dip is a hot baked cheese dip loaded with fresh roasted Hatch chiles ~ perfect for late-summer entertaining, game days, and parties.
Don't Lose This Recipe!
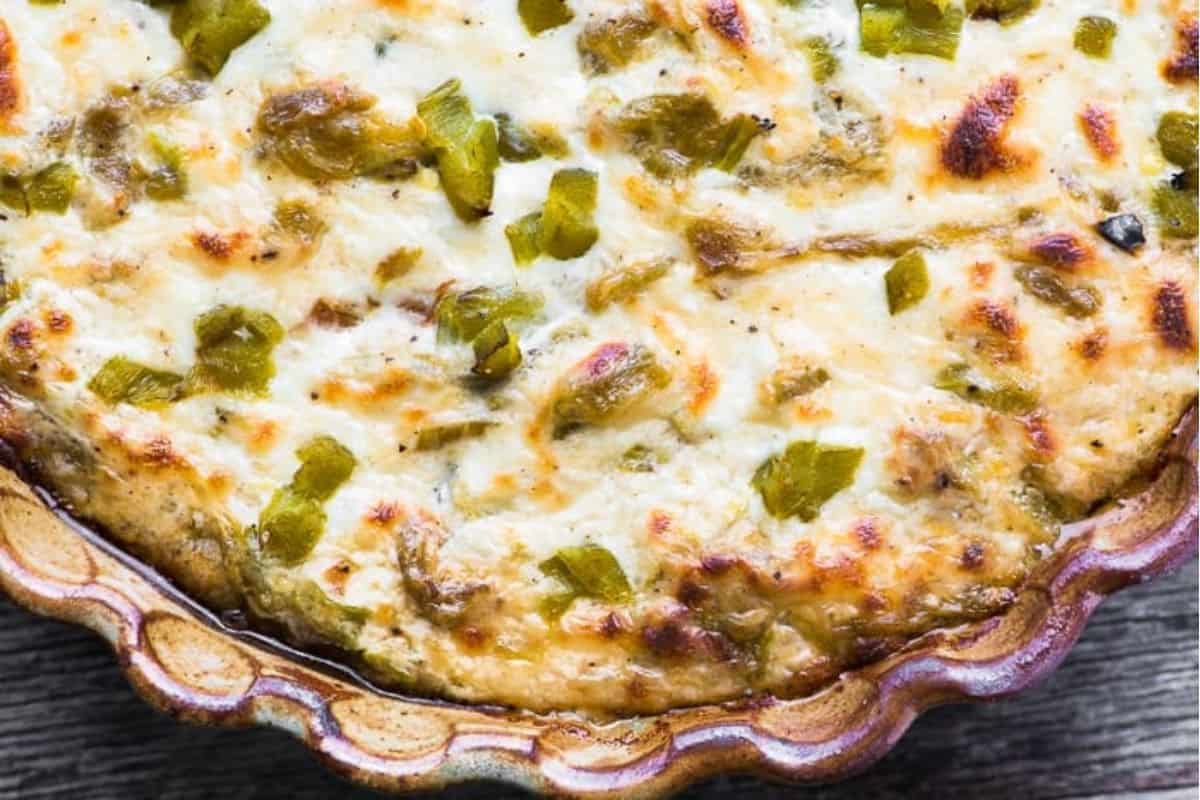
Hatch green chile dip is the ultimate hot appetizer for chile lovers ~ creamy, cheesy, a little spicy, and made for scooping up with salty tortilla chips. Roasted Hatch chiles give it that deep, smoky green chile flavor that makes this dip so good. And yes, you can use canned chiles when you can’t find fresh.

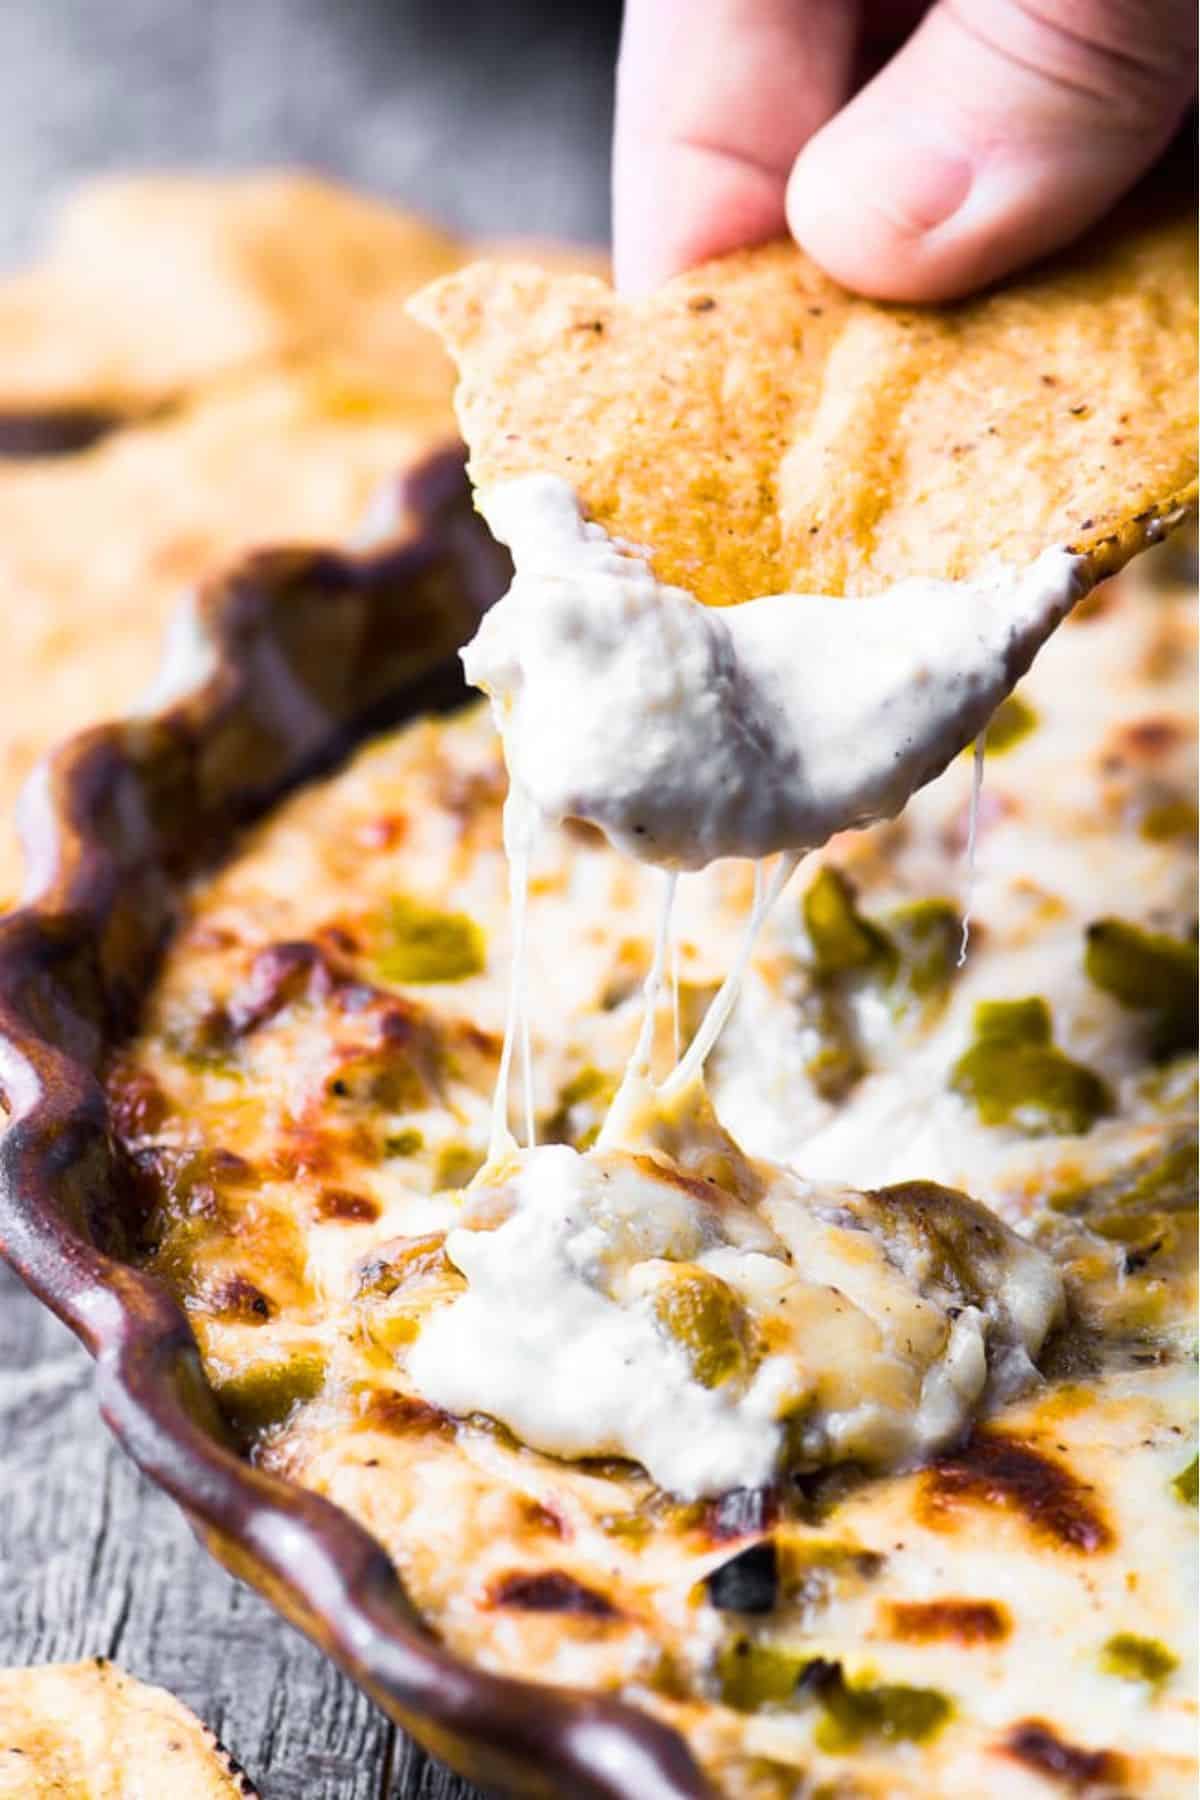
Hatch green chile dip is irresistible.
What readers are saying
➡ So good! Everyone gobbled it up so fast and raved about it. Will be adding this to my football food file.
➡ I made this dip and it was a huge hit with all of us!
➡ Great recipe! I found a Hatch chile plant at a local nursery & grew them for the first time this year.
Hatch chiles are special!
Hatch chiles are New Mexican-type green chiles grown in the Hatch Valley of New Mexico. “Hatch” isn’t a specific variety, it’s a location label, and several different varieties are grown there. Their heat can range from mild to quite hot.
Fresh Hatch chiles have a famously short season, starting in August and running into early fall, which makes them something of an event when they show up in markets.
Luckily, we don’t have to wait all year for them. Roasted Hatch chiles are available canned or frozen year-round.
More Hatch chile recipe inspiration
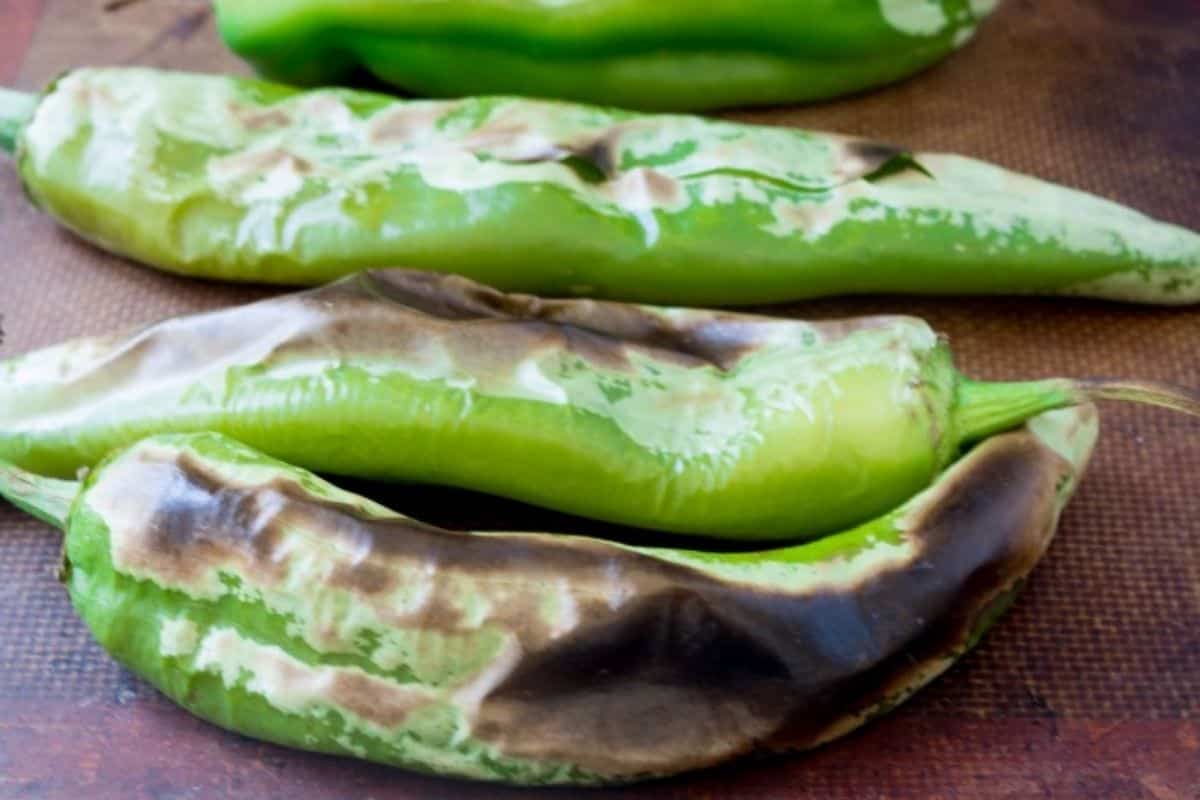
What you’ll need to make Hatch green chile dip
- Roasted Hatch chiles
- use fresh roasted chiles, canned, or frozen chiles for this dip. Instructions for roasting fresh Hatch chiles are below.
- Onion and garlic give a little savory depth to the dip.
- Cream cheese, sour cream and mayo form the base of the dip.
- Shredded cheese
- you’ve got lots of choice here. I usually recommend sharp cheese for dips, but in this case I want the chiles to be the star of the show, so I use mild Mexican cheese blend.
- Don’t forget the tortilla chips!
What do Hatch green chiles taste like?
Roasted Hatch chiles have a rich, smoky flavor with a little sweetness and that unmistakable roasted-chile taste.
Their heat level ranges from mild to hot, with most falling somewhere between a mild green chile and a jalapeño.
If you’re sensitive to heat, taste a little of your roasted chile before adding the full amount to a recipe. You may get a very mild batch, or one with a definite kick.
Tips for buying them
In season (August through September) you may find them in supermarket produce sections. You can order them year-round from The Hatch Chile Store, as well.
Can’t locate fresh? Canned Hatch chiles are usually available in your supermarket.

How to oven roast Hatch chiles
This method works for Hatch chiles or any similar long green chile.
- Preheat the broiler and position a rack about 4–6 inches from the heat.
- Rinse and dry the chiles, then arrange them in a single layer on a foil-lined baking sheet.
- Broil until the skins blister and char, turning the chiles with tongs as needed so they blacken on all sides, about 8–12 minutes total.
- Transfer the hot chiles to a bowl and cover for 10–15 minutes. The trapped steam will help loosen the skins.
- Peel off the loose, charred skins with your fingers. Don’t worry about getting every little bit.
- Remove the stems and seeds, if desired, then chop or use the chiles as your recipe directs.
- Tip: Don’t rinse the peeled chiles under water ~ you’ll wash away some of that great roasted flavor.
How to freeze roasted chiles
Roasted Hatch chiles freeze beautifully, and you don’t even need to peel them first.
Let the roasted chiles cool completely, then pack them into freezer bags or airtight containers with the skins still on. Press out as much air as possible and freeze.
When you’re ready to use them, thaw the chiles in the refrigerator. The loosened skins will usually slip right off after thawing, which makes peeling especially easy. Then remove the stems, seeds, and membranes as desired and chop the chiles for your recipe.
For best quality, use frozen roasted chiles within about 6 months.
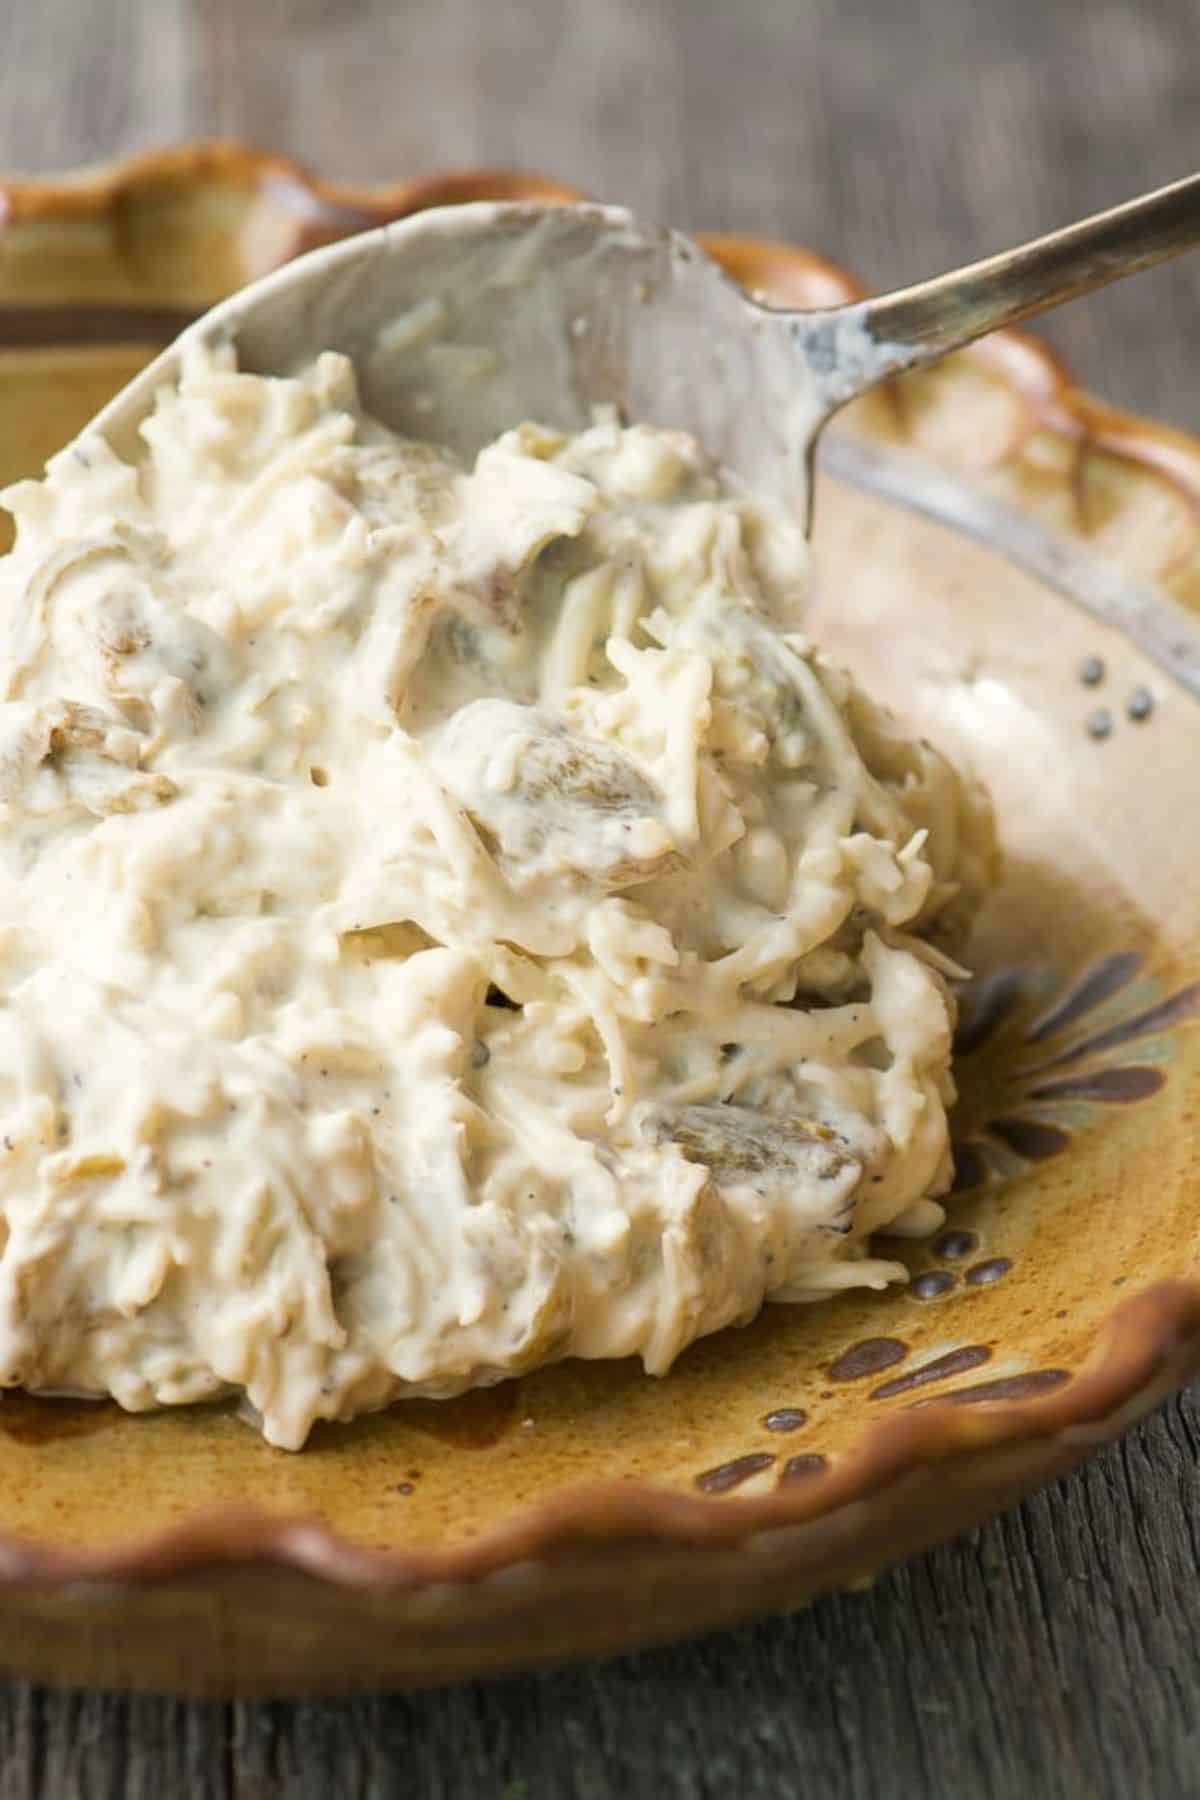
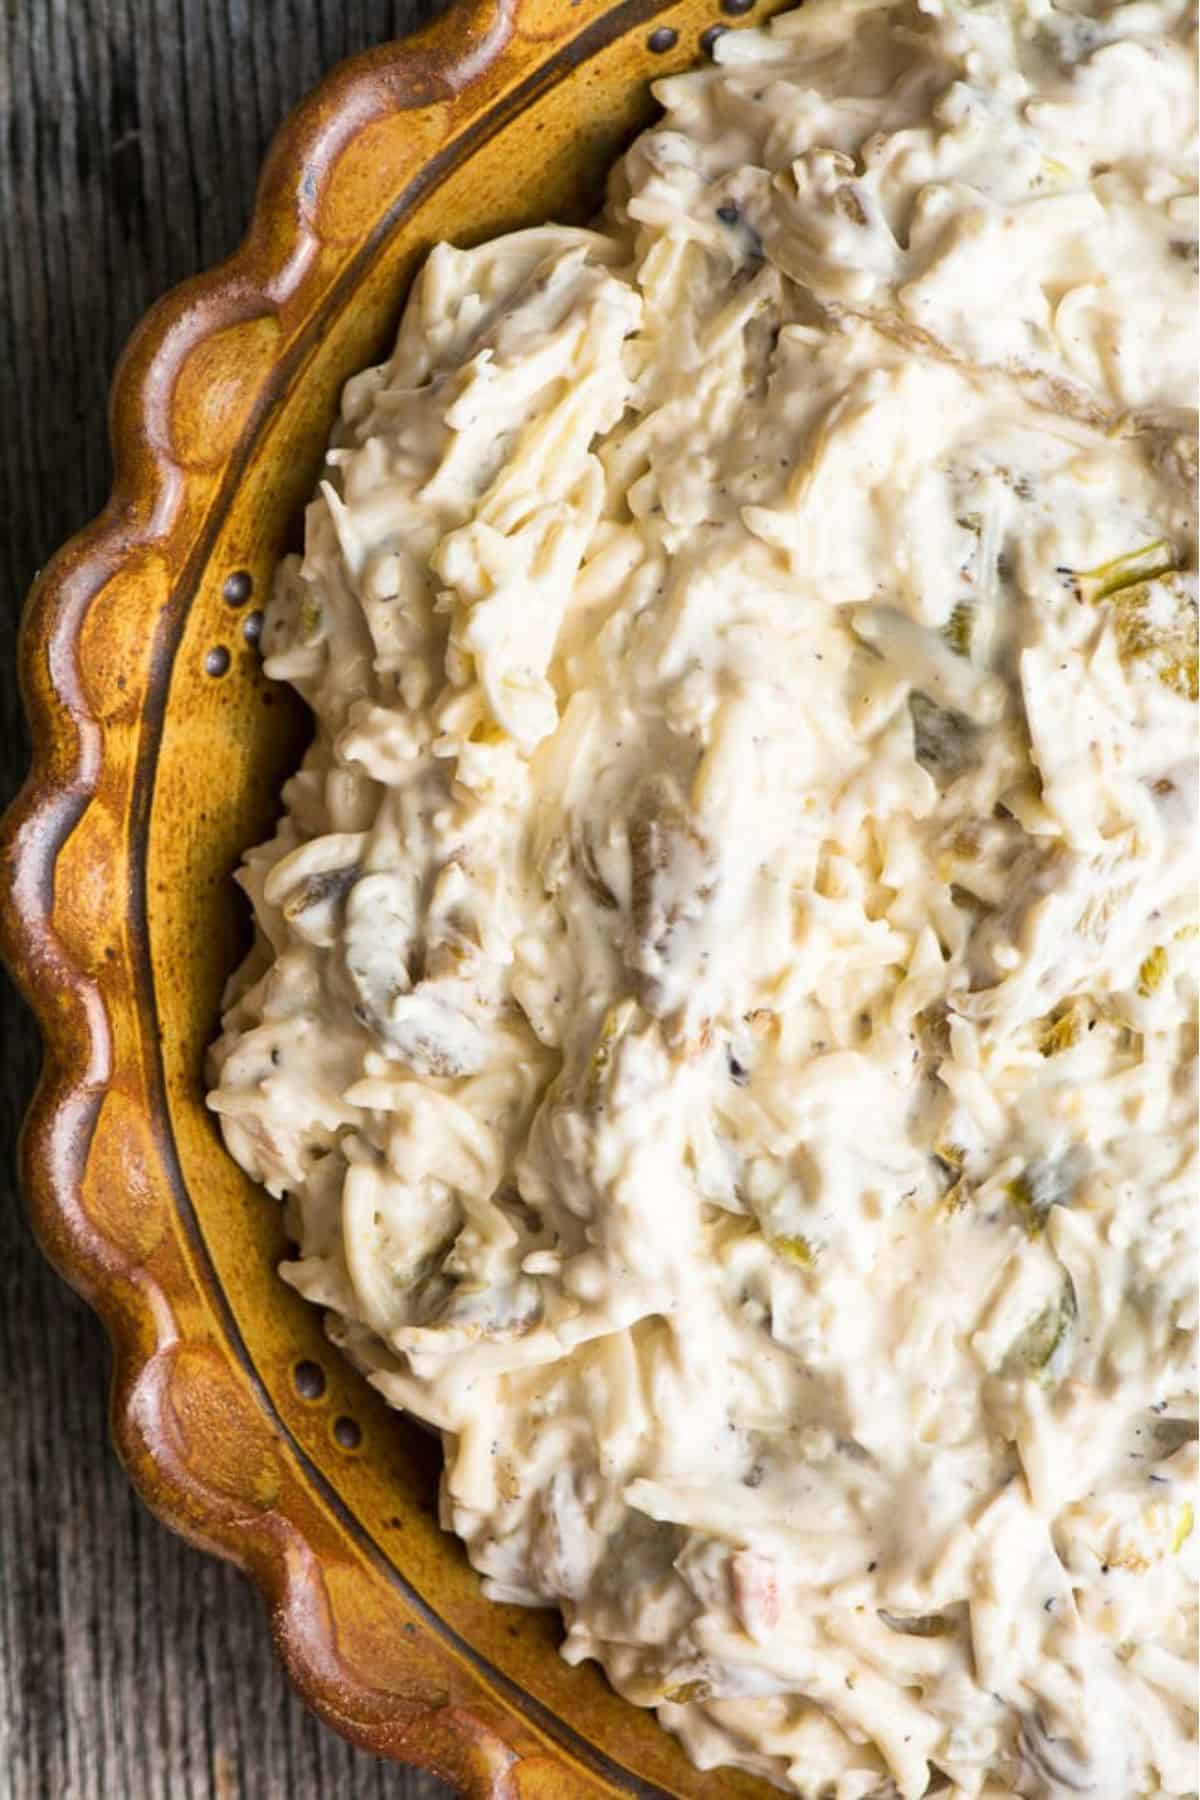
Tips for making Hatch green chile dip
Taste your fresh chiles first. Fresh Hatch chiles vary a lot in heat, so know what you’re working with before adding all 1½ cups.
If using canned chiles, drain them well. Extra moisture can make the dip loose or watery.
Bake the dip in a shallow casserole or pie plate so it will heat quickly and evenly. There’s nothing worse than digging into a dip that’s lukewarm in the center.
Don’t overbake. Pull the dip when it’s hot and bubbling around the edges; prolonged baking can cause the cheese to get oily.
Make it ahead. Assemble the dip, refrigerate, and bake when you’re ready to serve. Add a few extra minutes if it’s going into the oven cold.
I don’t recommend freezing Hatch chile dip. Creamy cheese dips can separate or become grainy after freezing and thawing.
 Add The View from Great Island as a Trusted Google Source

Cheesy Hatch Green Chile Dip
Ingredients
- 1 1/2 cups chopped roasted Hatch green chiles, fresh or canned, well drained.*
- 1 Tbsp olive oil or butter
- 1/2 cup finely diced onion
- 2 cloves garlic, minced
- 8 ounces cream cheese, softened
- 1/2 cup sour cream
- 1/4 cup mayonnaise
- 2 cups shredded Mexican cheese blend, divided
- 1/2 tsp salt, or to taste
- tortilla chips, for serving
Instructions
- Preheat the oven to 350°F. Lightly grease a 1 1/2-quart gratin dish or 9-inch deep-dish pie plate.
- Heat the olive oil or butter in a skillet over medium heat. Add the onion and sauté for about 5 minutes, until soft and translucent. Add the garlic and cook for another 30 seconds to 1 minute.
- In a mixing bowl, stir together the cream cheese, sour cream, and mayonnaise until well combined.
- Fold in the roasted Hatch chiles, sautéed onion and garlic, 1 1/2 cups of the Monterey Jack, and the salt. Taste and adjust the salt if needed.
- Spread the mixture evenly in the baking dish and sprinkle the remaining 1/2 cup cheese over the top.
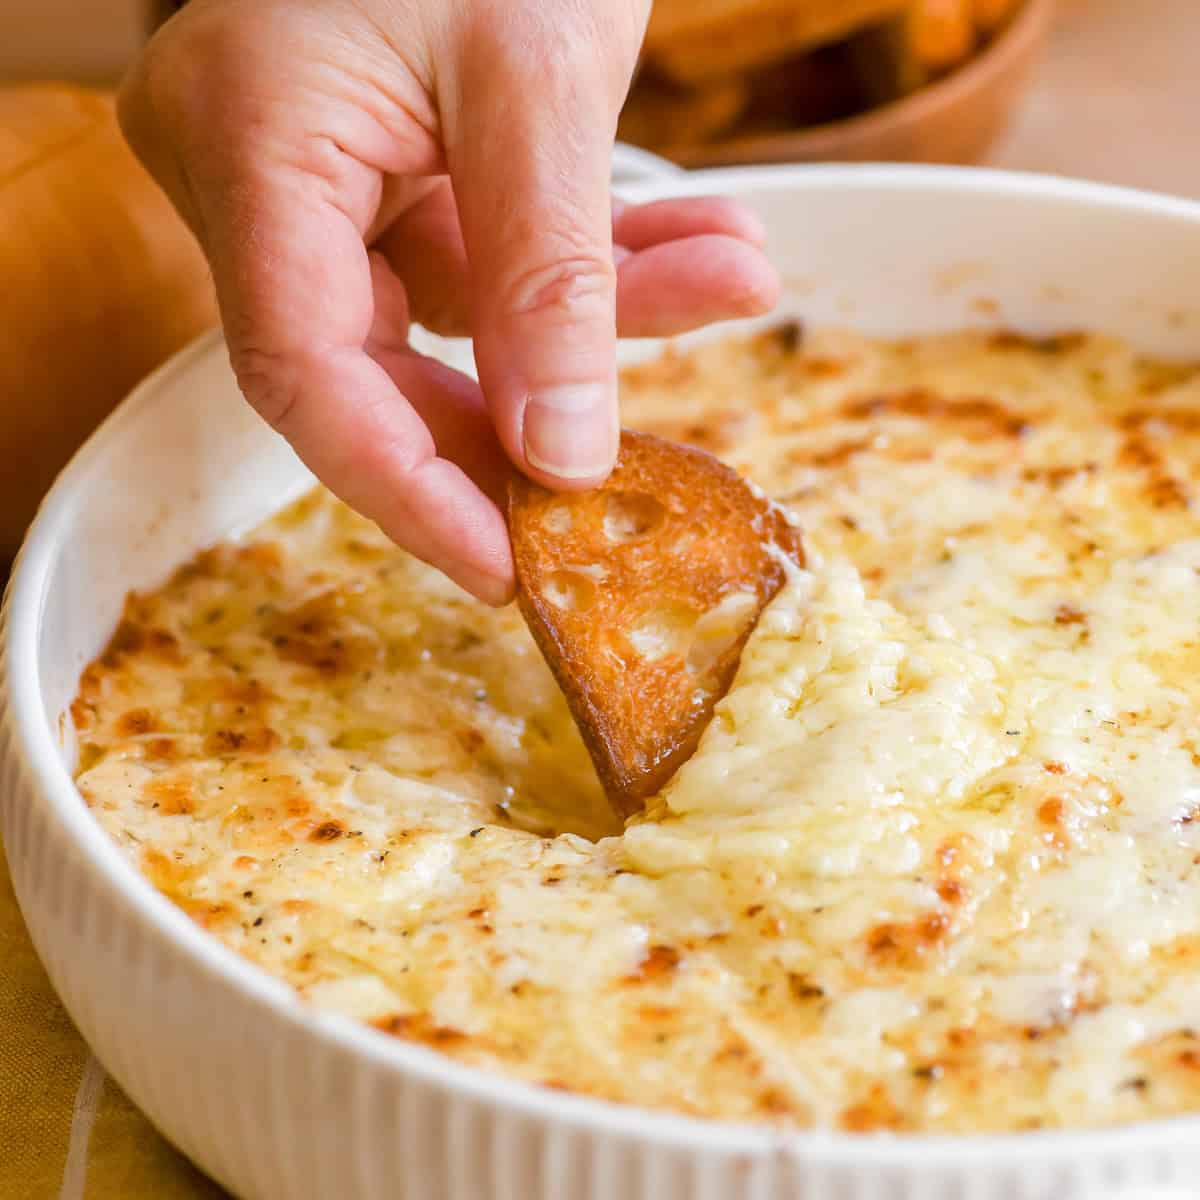
- Bake for 20–25 minutes, until the dip is hot and bubbling around the edges.
- Serve hot with tortilla chips.
Notes
Nutrition
Substitutes for Hatch chiles
So what if you can’t find Hatch chiles? No worries, here are some great subs~
- Canned Green Chiles: If you want to use canned chiles, use a generic ‘green chile’, either mild or hot.
- Anaheim Chiles: These chiles are similar in flavor and heat level to Hatch chiles. They are often used as a substitute in recipes that call for Hatch chiles.
- Poblano Peppers: Poblanos are milder than Hatch chiles but still offer a nice flavor profile. Roasting them can enhance their smokiness and depth of flavor.
- New Mexico Chiles: These chiles are related to Hatch chiles and offer a similar flavor. They can be a good substitute if you’re looking for that distinctive New Mexican chili taste.
- Cubanelle Peppers: These peppers are mild and slightly sweet. While they are not a chili pepper, they can work in recipes that call for roasted chiles for a milder flavor.
- Jalapeño Peppers: For heat and flavor, you can use jalapeños. However, they are generally spicier than Hatch chiles, so use them cautiously and adjust the quantity according to your desired heat level.
More hot cheesy dips!












Great recipe! I found a hatch chile plant at a local nursery & grew them for the first time this year. Who knew they would be so prolific in Tennessee! Hope I can find them again next year.
I’m remaking the recipe tomorrow, can’t wait!
Yummy!